Easy DIY Off-the-Shoulder T-Shirt Using Elastic
I enjoy giving advice on how to make great DIY fashion from old items in your wardrobe.

Off-the-shoulder tops are perfect for anyone. They're comfortable, relaxed, and you can wear it for any occasion, whether you are going to the mall, grocery shopping, or just hanging out with friends.
The best thing about DIY outfits is that you can create something unique without having to use a sewing machine. I have never used one, and I love creating new DIY clothes using old shirts and pants.
I found the following DIY while I was surfing the web, and it is very easy to do! You can simply cut the shirt and throw it on, or fold the end over and sew it together with a machine or by hand. I added my own little twist to it by threading elastic through the top to make it more form-fitting and a little classier.

What You Need
- An old T-shirt. Crewneck T-shirts are usually the best to use. You can also use V-necks for a different look.
- Scissors.
- Elastic band. Use white for lighter-colored shirts and black for dark shirts.
- A piece of chalk. You can use any color chalk, however white is best, even if you're using it on a white shirt. If you use a darker color, you run the risk of smearing the chalk and ruining your shirt.
- Pins.
- Matching color thread and a needle.
- Safety pin.
You can buy any of this stuff at your local JoAnn Fabrics, Pat Catan's, or Hobby Lobby. You may even be able to find something at Target or Walmart for a lower price.
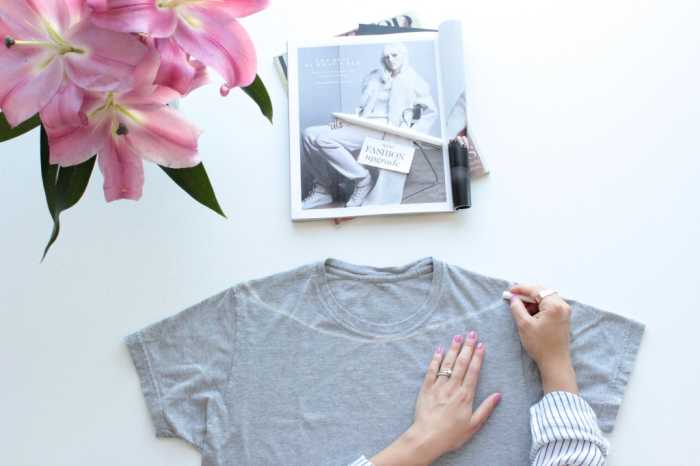
Step 1
- Take your shirt and lay it flat on a table.
- Take your chalk and trace a line from the center of the neckline to about 1" or so above the top of the seam of the shoulder.
- Repeat this step on the other shoulder.
Read More From Bellatory


Step 2
- Take your scissors and cut along the line.
- Some people say you should cut the front side first, and then use the front as an outline to cut the back. I do find this method to be easier, but if you are used to sewing and cutting, and you feel comfortable cutting both sides at once, then go for it.
- Try to be as steady as possible. You don't want your line to be uneven, crooked, or messy.

Step 3
- Turn your T-shirt inside out.
- Take your pin and make a 1" hem around your new neckline. You may need more than one pin. I would use at least three to keep it in place.
- After you have pinned your soon-to-be new seam, stitch all around the hem using your hands or a machine.
- Make sure you leave an opening at the ends so you can thread the elastic through.

Step 4
- Don't cut the elastic to the appropriate length because you don't want to come up too short or too long.
- Simply take the loose end of the elastic and insert it into the gap that you left open.
- Thread the elastic through to the other end.

Step 5
- Try on the T-shirt to measure the length of elastic you'll need.
- Once you figure out the right fit, snip off the excess elastic and sew the two ends of the elastic together.
- Then, sew the gaps of the hem.
- Once you have done this, turn your top right side out.