Nano Rings: The Best Hair Extension Application for the DIYer
I love finding ways to do things myself, especially when it comes to hair and beauty.
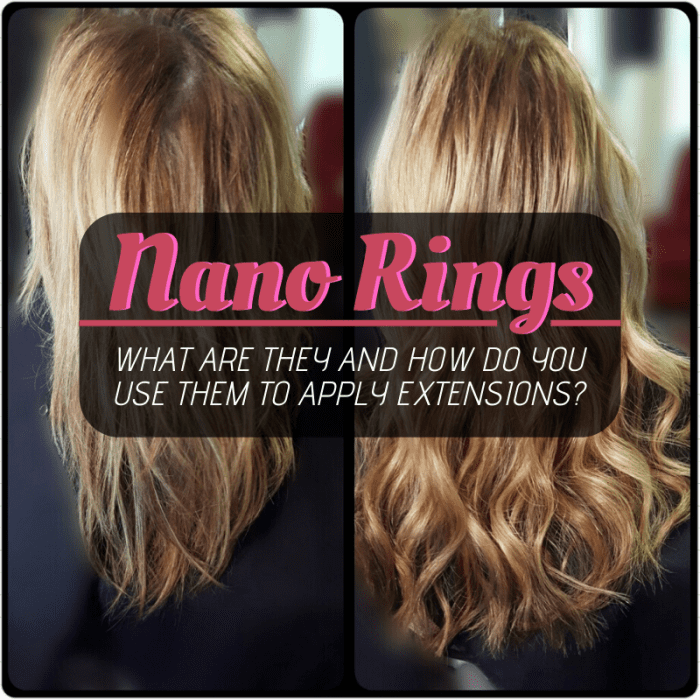
Nano rings are most discreet and long-lasting hair extension application method on the market. Learn how to make them work for you!
In my opinion, the nano ring is the smallest and most innovative way to apply hair extensions. They are tiny, comfortable, and almost impossible to detect—even when you're wearing your hair up in a ponytail. If you are a DIYer like I am, this is a dream come true. The nano ring is applied in the same fashion as its predecessor, the micro ring, and there are many informational videos and how-to guides available on the internet for both.
How Do Nano Rings Work?
The nano ring can only be used to attach nano-tip extensions to your hair. The regular I-tip hair extensions are too big and will not thread through the nano ring. At the end of each hair extension is a tiny wire. This is different than the tip of an I-tip hair extension, which uses a keratin bonding agent to glue the hair together. Because of the wire, nano-tip extensions are lighter and allow your hair more freedom of movement. You attach the extension by threading both the tiny wire and the hair it will be attached to through the nano ring (don't worry, there is a bead application tool that makes this easy) then clamping the two together using pliers to crimp the nano ring.
How Long Will My Extensions Last?
The hair I have purchased lasts up to three years with good care, and the actual application can last up to six months. Because of this, nano rings make for a very low-maintenance hair extension application method. It is also very easy to fix extensions that have slipped or grown out.
Where Can I Buy Rings and Extensions?
Nano tips and nano rings can be found for sale on various websites. When purchasing hair, make sure you choose Remy human hair. The extensions will be in your hair for a long time, and while you will want to save money by doing the work yourself, you really should not skimp on the quality of the hair you choose.
Supplies You Will Need
- Nano-tip Remy human hair extensions: If you are going for a really thick, luxurious look for your locks, purchase about 300 strands. For a moderate boost, purchase 200 strands. For a partial application, purchase 150 strands. These extensions can be purchased from a number of websites. I like AliExpress because they have many different Remy hair extensions to choose from. Their communication and delivery were awesome, and I received free fake eyelashes and hair rollers with my purchase. Who doesn't like free?
- Nano beads: These can be found on eBay, Amazon, AliExpress, and other websites. You will want to choose the color that best matches your hair.
- Crimp pliers: These aren't that expensive, and they're worth owning a pair of, so don't use the pliers from your toolbox—trust me. You will want small pliers without any ridges to crimp the small bead. I've found that curved-tipped pliers are the best. I found mine at the local craft store in the jewelry section, but you can purchase them online as well.
- Deep-cleaning shampoo: You are going to want to pull out all the dirt and oil in your hair prior to the application so that your crimps last. Do not use conditioner. I found my deep-cleaning shampoo at my local grocery store.
- Spray-on leave-in conditioner: Your hair extensions are not attached to your scalp and do not get much exposure to your natural oils, so they can dry out if not properly taken care of. I've found that spray-on leave-in conditioner helps my extensions look full and healthy.
- Hair clips: These are crucial for sectioning your hair during the application process. They can be found at any convenience or beauty store.
- Bead application tool: There are a few types to choose from, but because the beads are so small and such a small amount of your own hair is used, I recommend using the hook applicator tool. This too can be found on the net.
- A good pair of hair-cutting scissors: The safest bet when cutting or trimming extensions is to go to a salon professional who has experience cutting extensions. However, if you are fearless like me, go ahead and cut them yourself—but be sure to use a good pair of scissors. Don't use your kitchen shears on this project.
- A baseball cap: This process takes forever if you are doing it by yourself. I think mine took 10 hours (I applied 300 strands). I have very thick hair, and the world didn't care that I did not want to be disturbed. I had to go pick the kids up from school mid-application, and every salesman and friend knocked on my door that day. Keep some sort of hat nearby. You'll be glad you did.
Tips for Successful Application
- Watch as many Youtube videos and read as many blog posts as you can find about extension application (search micro link/micro bead/micro loop application) before beginning your own. You should also research extension care, dyeing, and cutting. Read reviews of the product you are plan to use before purchasing it. You want to be fully educated before attempting this on your own. That said, it can be done successfully—I promise.
- Learn about hair texture and grade. I cannot stress enough the importance of good hair. You will want human hair and you will want a good grade. There are different textures, but I personally find Brazilian to be a safe option.
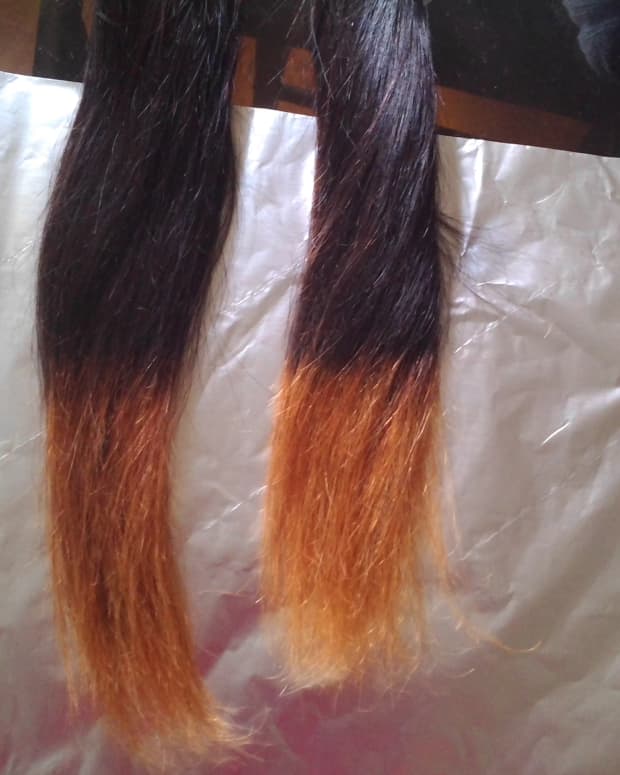
- The hair will not match yours completely, so consider dyeing both your hair and your extensions to match. You will always want to dye darker. It is difficult to get extensions to dye lighter and look the same as your own hair.
- Understand that you cannot cut hair extensions the same way you would cut your natural hair.
- Get a buddy to help you do the back of your hair. You'll want a nice and patient buddy since they will be spending hours on this process (for this reason, I do not recommend spouses).
- Wash your hair at least twice with your deep-cleansing shampoo and dry it completely before beginning the application.
- Give yourself plenty of time. This is a long process, but the resulting locks of long, beautiful hair are worth it.
Installation Instructions
- To install nano beads, work from the bottom layer of your hair (near the nape of the neck) to the top layer (the crown of your head). Section off the bottom layer of your hair with the stick end of your comb and clip the rest of your hair up out of the way.
- Load your bead application tool. If you have a hook, simply thread the bead over the hook so that the bead is resting on the stick. You can also load on extra beads to use for subsequent extensions.
- Use the tail of your comb to section off the small amount of hair to which you will be attaching the first extension. Using your bead application tool, hook the hair and pull the first bead up over the hooked hair so that the hair is threaded through the bead.
- Take a nano tip extension. Insert the wire into the bead (if the wire is in a loop, you may need to flatten it first so that it will fit).
- Move the bead and the extension as close to the root as possible without pulling the hair. Using your pliers, crimp the bead so that it holds the extension in place securely.
- Repeat this process until you have reached your desired amount of coverage.
Read More From Bellatory


Extension Application Video
Although this video shows how to install micro bead extensions, the technique is the same with nano rings. The difference is in the supplies—instead of using micro tip extensions and micro beads, use nano tip extensions and nano beads.
Alternative Application Methods: How Do I Choose?
With so many options available on the market, it can be a daunting task to pick the right hair-extension application method for you. Salons and beauty product manufactures all swear their methods are the best, which doesn't make it any easier to research the best application method to use at home. I personally prefer using nano-ring hair extensions, but let's take a look at the other options on the market so you can make an informed decision.
Skin Weft
A skin weft is a long section of hair that looks like it is growing from the scalp using an imitation skin. The skin weft is applied by using a bonding glue directly on your scalp. They last five to eight weeks before needing to be reapplied. Skin wefts are not for everyone, but they work well for people experiencing hair loss associated with chemotherapy, radiation, alopecia, trichotillomania, hereditary hair loss, and surgery scars.
Hot Fusion/Keratin
In this method, strands of the extensions are bonded to your hair using a keratin-based bonding polymer and heat. Because chemicals and heat are used during the bonding process, this method can cause some hair loss and breakage. Extensions applied in this way generally last for two to four months. Hot-fusion-bonded hair extensions are nearly invisible, and while wearing them, you can still wear your hair up. If you choose this method, you should be aware that the bond should only be removed by a professional. The removal process will come with an additional cost and may cause stress on your hair.
Cold Fusion
This is basically the same application method as hot fusion, only instead of heating the polymer with an iron, an ultrasound applicator is used. This method is very pricey, but it's also long-lasting and invisible. It is a great method for short hair because without the heat, extensions can be placed closer to the scalp. As with hot fusion, cold-fusion hair extensions must be professionally removed for an additional cost and may cause damage to your hair.
Brazilian Knots
This method employs a strand-by-strand technique using elastic thread. There are no chemicals applied to the hair, and because the thread is lighter than glue, there is less pulling on your natural hair. Brazilian knots last about three to four months. This type of application must be done by a professional and is time-consuming and expensive. It can take anywhere from four to ten hours. This method can also be painful, as your hair will be tugged and twisted during the application process.
Clip-In
This option is great for those who only want extensions for a special occasion or who aren't sure they want more permanent extensions. They are easy to apply and are a great do-it-yourself option. However, keep in mind that they can be difficult to store since you need to keep them tangle-free and clean. You will have to wash these periodically. The styling options are limited because they cannot be heated and should not be exposed to styling products like hairspray. They are also heavy and can cause stress on the scalp and hair after long-term use.
Micro Bead
This process is very popular with do-it-yourself hair enthusiasts. The micro-bead application is one of the smallest and easiest applications to do at home. This is a strand-by-strand application for I-tip hair extensions that involves using micro beads to crimp each extension onto a few strands of your hair. Although this method is the second best I have found (after nano rings), there is definitely some room for improvement. The micro-bead is very small (usually about 4.5 mm in diameter), but after applying about 300, it gets heavy. Although the micro beads are nearly invisible, you can still see them if you try to wear your hair up unless you are wearing a low ponytail. They are easy—though time-consuming—to apply and remove. This method does little to no damage to your hair.
This content is accurate and true to the best of the author’s knowledge and is not meant to substitute for formal and individualized advice from a qualified professional.