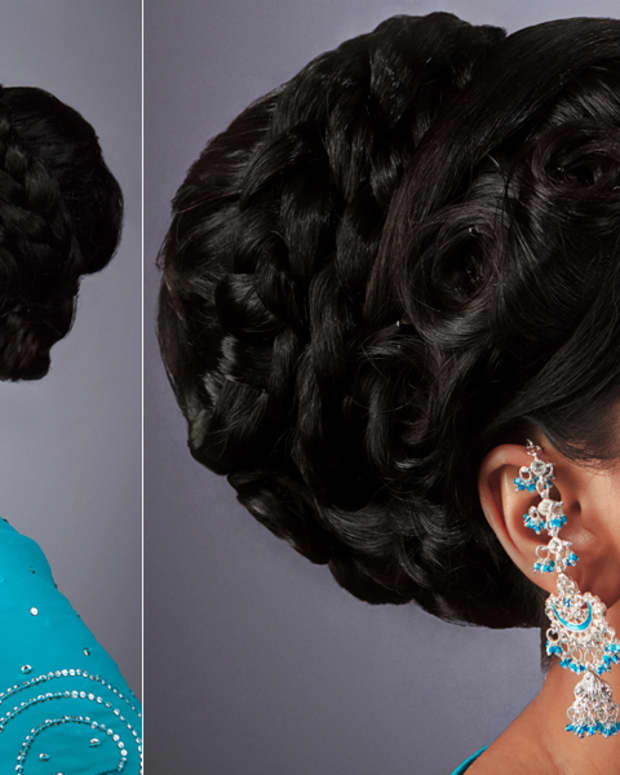
Nine Hairstyle Ideas for Little Girls
I'm Megan, a freelance writer and mom of two little girls. I like to write about topics ranging from parenting to business to gardening.
Get some inspiration for cute hairstyle ideas for toddlers and little girls.
Megan Machucho
Having a little girl with long hair can be fun, but it also takes some work and creativity. If you don't take extra time to plan out your daughter's hairstyles each day, you'll probably end up putting it in a ponytail or a braid everyday, and what's the fun in that? With a little preparation and inspiration, you can have your girl looking stylish every day.
Style Ideas
Below are several hairstyles and instructions for you to try, including step-by-step photographs:
- French-Braided Headband
- Ladder-Braided Headband
- Heart Braid
- Ladder French Braid
- Double Ladder Braids
- Split Rubber Band Sections
- Rubber Bands and Ribbon Headband
- Cascading Rubber Band Pigtails
- Thick Cornrow Braids
Items You'll Use for Styling
Depending on the hairstyle, you'll need some or all of the following to do it:
- Wide-tooth comb for detangling
- Rat-tailed comb for parting
- Styling gel
- Bobby pins
- Elastic bands of varying sizes and colors
- Clips to keep sections of hair out of the way while styling
- Stylish hair bows to finish the look
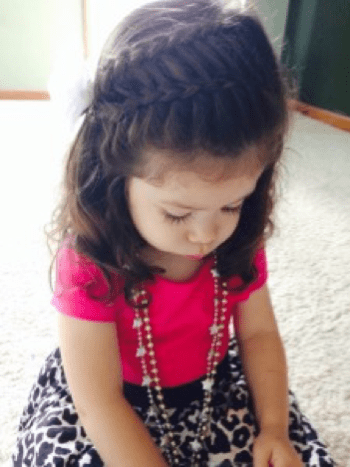
French-braided headband.
Megan Machucho
1. French-Braided Headband
This one looks difficult but is actually pretty easy. If you know how to French braid you can do this style.
Instructions:
- Start with wet, detangled hair. Part off a 3-4 inch section from ear to ear. Secure extra hair with a clip or elastic.
- Starting at one ear, begin an inside-out French braid. As you go, only add hair from the front of the head, keeping the braid as close to the part as you can.
- Continue braiding in this fashion until you reach the other ear and have used all the hair that was sectioned off.
- Continue as a regular braid all the way down, and secure with an elastic. That's it!
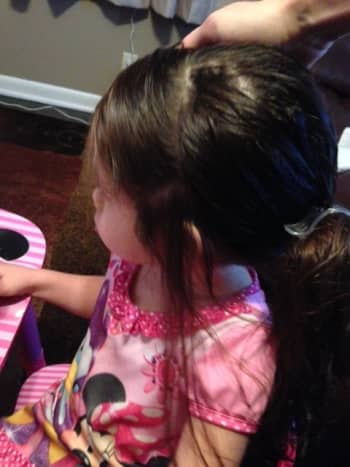
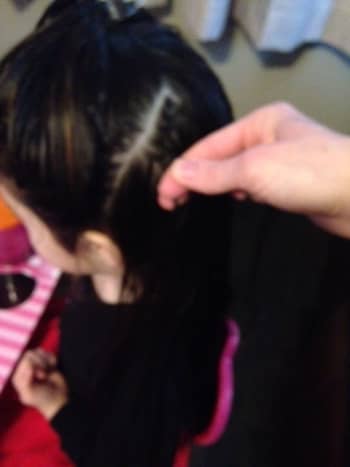
Step-by-Step French-Braided Headband


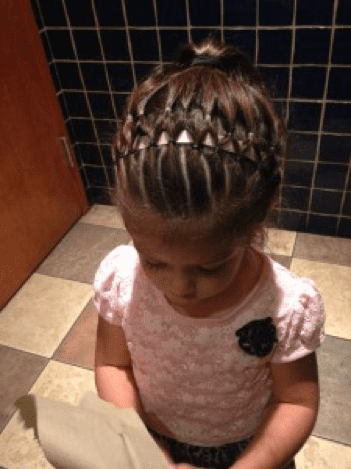
2. Ladder-Braided Headband
This style looks complicated but is really an extension of the braided headband.
Instructions:
- Part a section of hair 2-3 inches wide ear to ear, and secure the rest of the hair with an elastic or clip.
- Starting from one ear, begin an inside-out French braid, only adding hair from the front of the head.
- After the first complete braid pattern, begin separating and leaving out a 1-2cm strand of hair out of the braid in each section facing the back of the head as you go.
- Once you reach the other ear, continue braiding down to the end, still leaving out a strand on the same side with each section of the braid.
- Part off a section of hair 2-3 inches wide from ear to ear, directly behind the first section. Secure the rest of the hair with an elastic or clip.
- Starting on the same side of the head where you started the first braid, start an inside-out braid, adding in hair only from the side next to the other parallel braid. With each section, as you bring hair in from the scalp, also include the corresponding strand that was left out of the first braid. It will begin to form a "ladder" pattern.
- Continue all the way across until you reach the other side. Then, braid down normally but continuing to add in the left-out strands from the first braid.
- Secure both braids together with an elastic at the end.
- Style with a ponytail or bun with the braids worked in to it.
Step-by-Step Ladder-Braided Headband


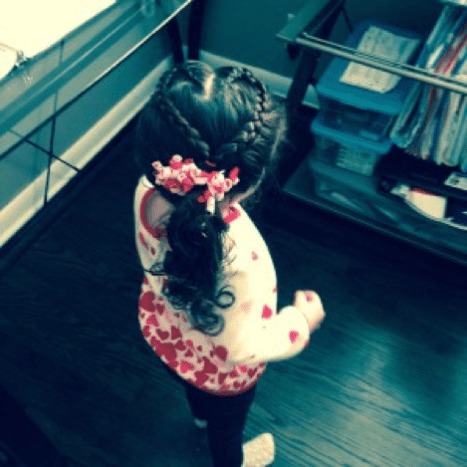


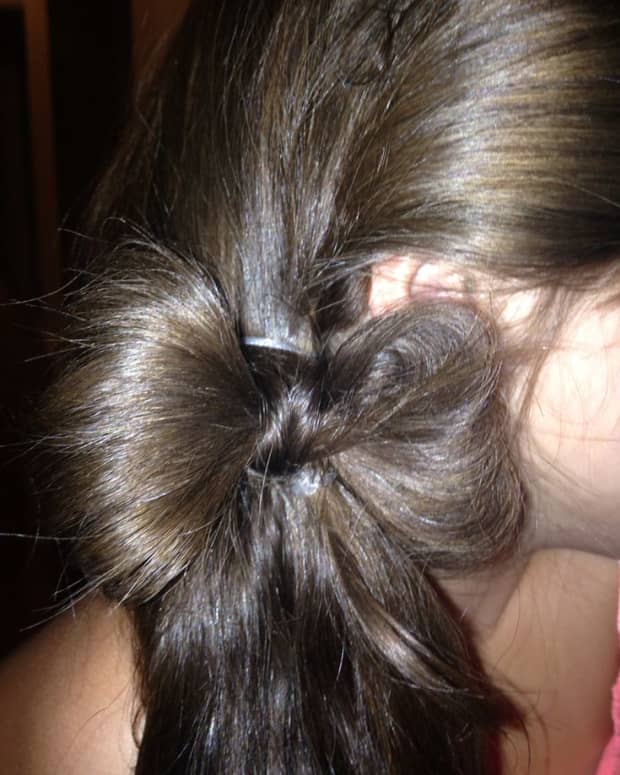
3. Heart Braid
- Part the hair in the middle or off to one side, about 6 inches back.
- Starting at the end of the part closest to the back of the head, begin an inside-out French braid, only bringing in more hair from the section of hair coming from the middle part. Start off with the tiniest strand of hair possible. This will be the middle indentation of the heart, and for it to look defined the braid needs to be very small at that part.
- Continue braiding toward the front of the face, then curve back around toward the ear. Once you get behind the ear, continue as a regular braid for a few inches and tie off with a rubber band.
- Repeat on the other side. When you are done with both braids, tie them together below the part and remove the other elastics.
- Style either with the rest of the hair down, or incorporate with the rest of the hair into a ponytail.
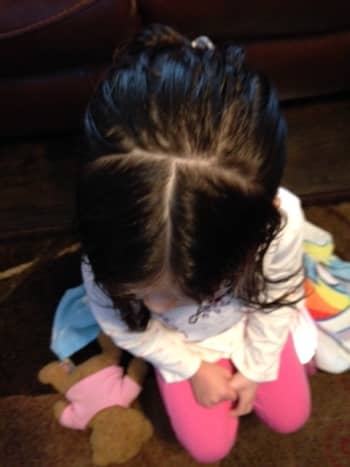
Step-by-Step Heart Braid


Ladder French braid.
Megan Machucho
4. Ladder French Braid
This braid is the same as the Ladder Braided Headband, just done like a traditional French braid straight backwards.
Instructions:
- Part the hair down the middle all the way down. Secure one side with an elastic or clip.
- Do an inside-out French braid on the left side as close to the part as possible, leaving a strand out of each section closest to the part as you go. Only add hair to each section from the left side.
- You will end up with a thick braid immediately next to the part, with the loose strands all hanging down.
- On the second side, do an inside-out braid again as close to the part as possible, adding hair from the right side only, and incorporating each strand that was left out into each corresponding section as you go.
- Continue all the way down. Secure both braids together with an elastic at the end.
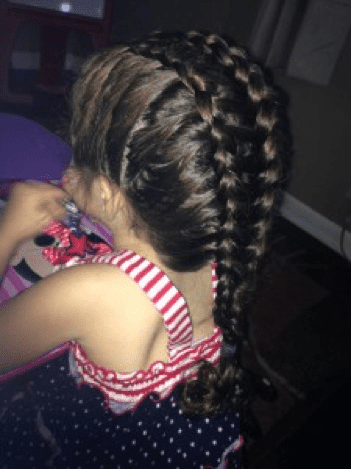
Double ladder braids.
Megan Machucho
5. Double Ladder Braids
This again is the same concept as the French Ladder Braid, just doubled.
Read More From Bellatory


Instructions:
- First part the hair down the middle.
- Part each of those sections down the middle again, and proceed as above for the Ladder Braid on each side.
This one takes a while!
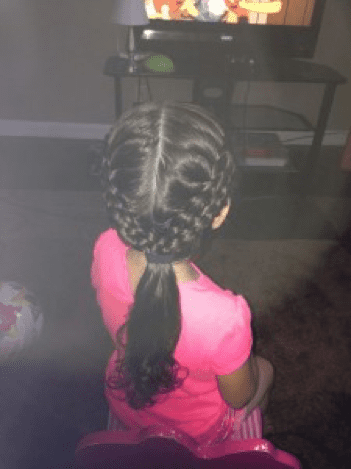
Split rubber band sections.
Megan Machucho
6. Split Rubber Band Sections
- Part of square sections of hair about 2 inches wide, starting with one directly above the nose.
- On either side, create similar sections until you have one complete row of square sections.
- For the next row, split each section of hair from the first row in two. part off another 2-inch square section in a brick pattern (parts staggered), and include one half-section from the two sections directly in front from the first row.
- Proceed for 2-3 rows back.
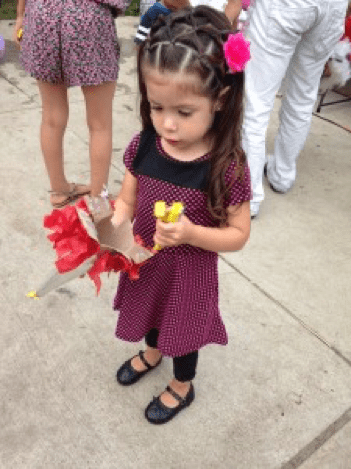
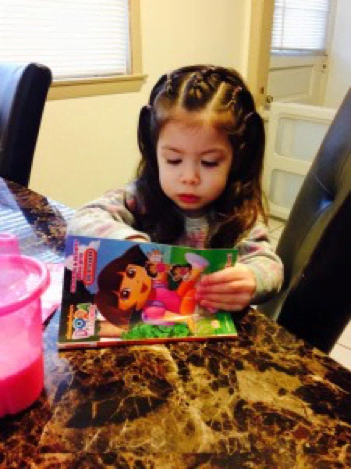
Rubber bands and ribbon headband.
Megan Machucho
7. Rubber Bands and Ribbon Headband
This hairstyle takes about 1 hour to complete, so make sure your little one is in a good mood before you start!
Instructions:
- Part off a section of hair from ear to ear about 2 inches wide.
- Section off hair every 1-2cm and tie off with a very small rubber band.
- Push the hair back from that section out of the way, lay a ribbon behind it, and tie the ribbon in the back of the head like a headband.
- Similar to the style above, part off another section about 2 inches wide ear to ear, separate each section from the first row into 2 sections, and connect in new sections in the 2nd row using a brick (staggered) pattern. This will secure the ribbon in place like a headband.
- Either wear with the rest of the hair down, or gather into a ponytail.
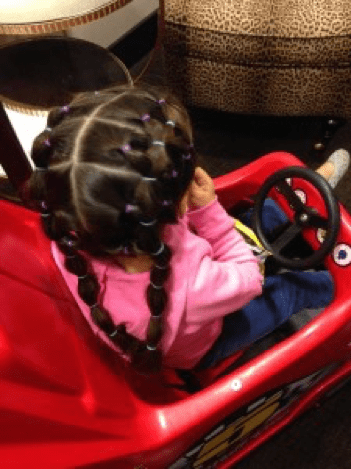
Cascading rubber band pigtails.
Megan Machucho
8. Cascading Rubber Band Pigtails
- Part the hair in the middle as if doing pigtails.
- Part each of those sections down the middle again. You should have four vertical sections of hair.
- Section off rows horizontally (about 2 inches each) in the resulting 4 vertical rows.
- Connect each section from the first two left vertical rows with elastics, and continue all the way down, including the previous hair as you go.
- Repeat on the other side.
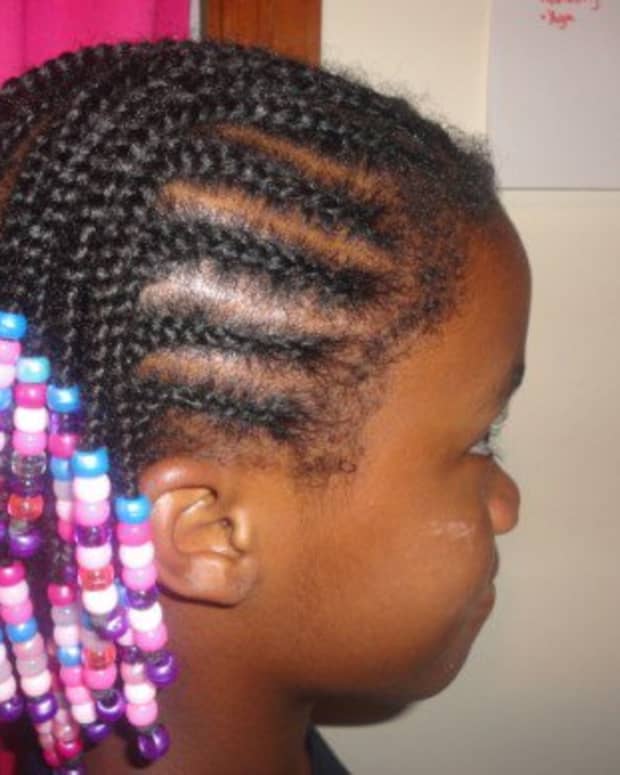
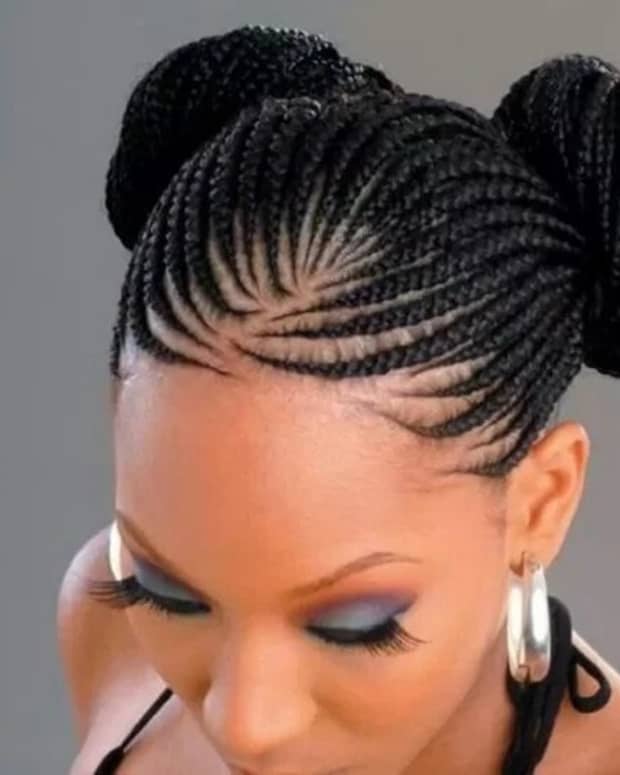
Thick cornrow braids.
Megan Machucho
9. Thick Cornrow Braids
- Part and section off hair ear to ear about 4-5 inches back.
- Divide that hair into 5 sections.
- Using either inside-out or regular French braids, braid each section back until you reach the first part, and tie off with an elastic.
Hair Care for Girls With Long Hair
If you have a little one with long hair, you understand the challenge that comes with keeping it detangled and looking nice. Doing some of the following can help make the hair care process a little easier:
- Brush or comb hair several times a day to prevent excessive tangling.
- Use a wide paddle brush when dry for quicker detangling.
- Wash hair only every other day.
- Use A LOT of conditioner after shampooing, and leave it in for 2–3 minutes before rinsing.
- Don't allow her to sleep with her hair down—a braid is best for sleeping to prevent tangles.
- Every other week or so, use a natural conditioning treatment, such as coconut oil or olive oil.
Enjoy These Style Ideas!
These are just some of the possibilities of different hairstyles you can do with your toddler or little girl that are a step above a ponytail or regular French braid. Keep practicing, and these will get easier and quicker to do. I hope this can serve as some inspiration for you to get creative with your little girl's hair!
Comments
Charity on April 01, 2018:
Wow the waterfall braid is so so so nice but i will be lazy to braid it
ceri on March 05, 2017:
is nice