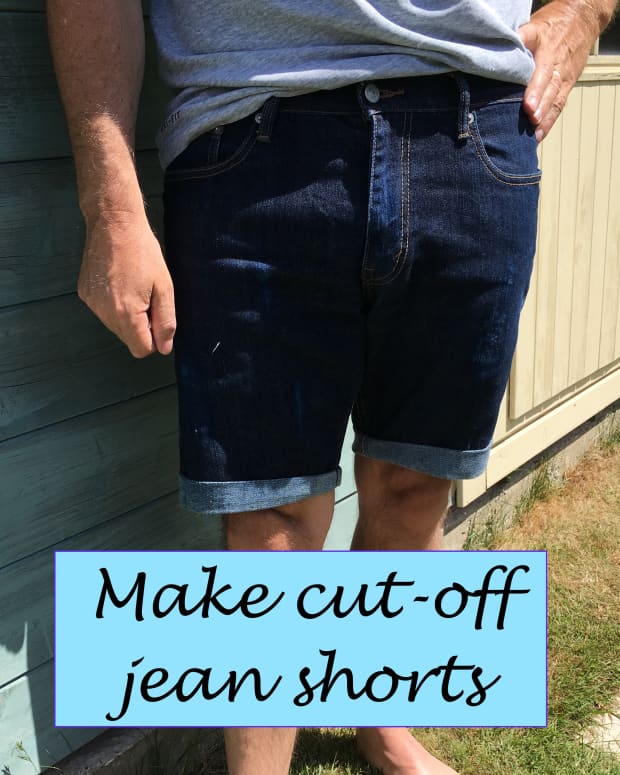
How to Turn a Pair of Jeans Into Shorts
I am a thrifty housewife who loves making old clothes wearable again.
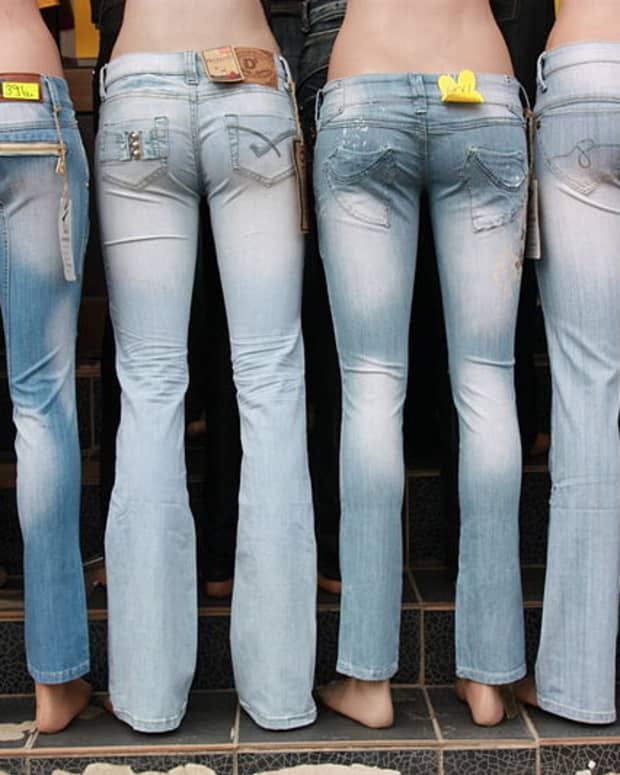
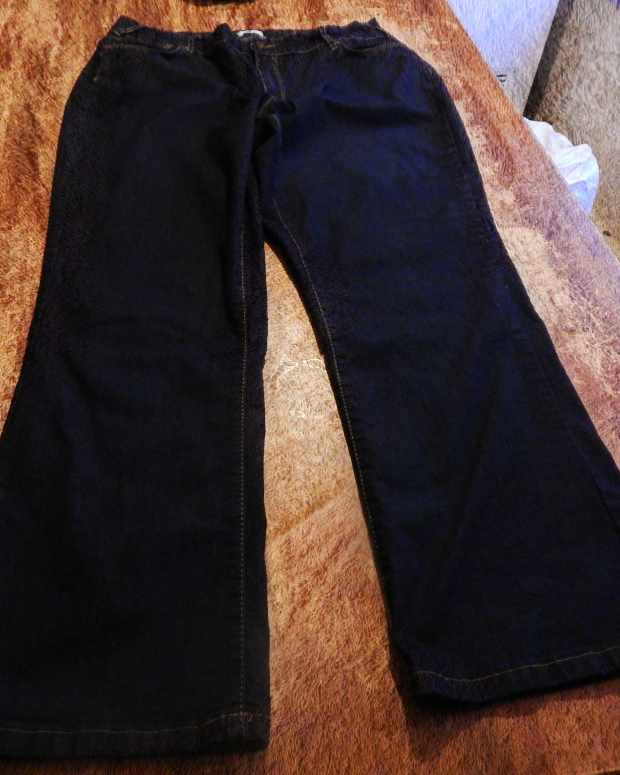
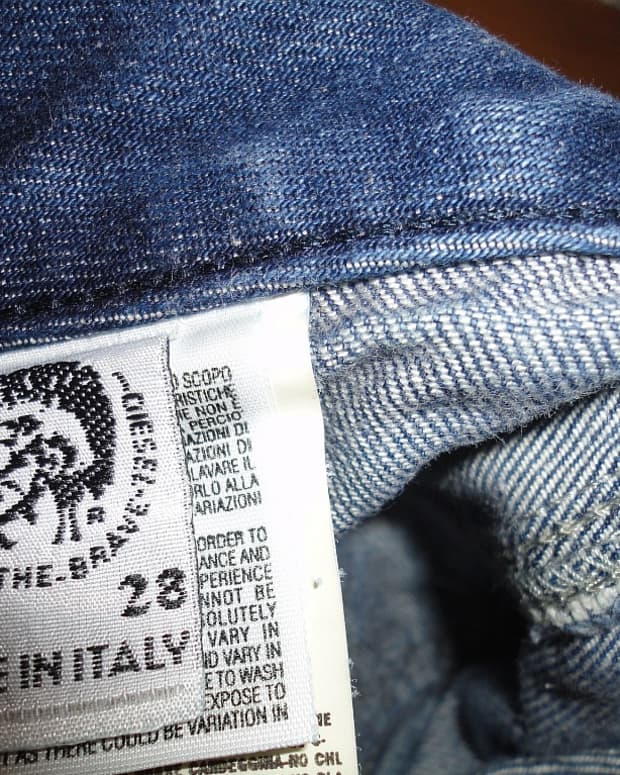
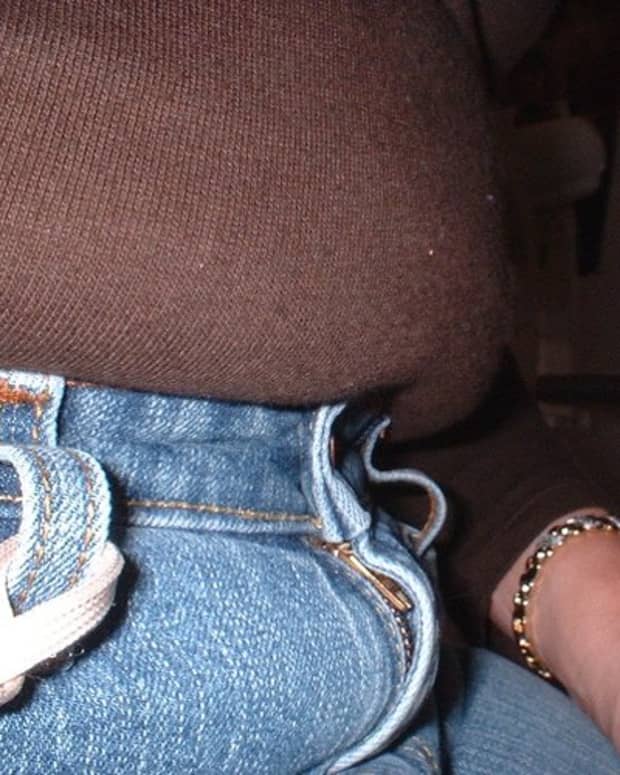
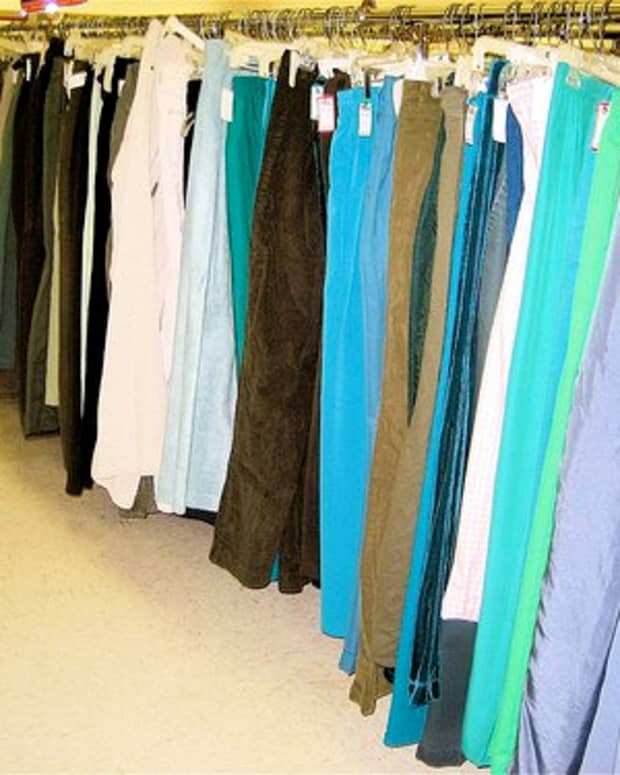
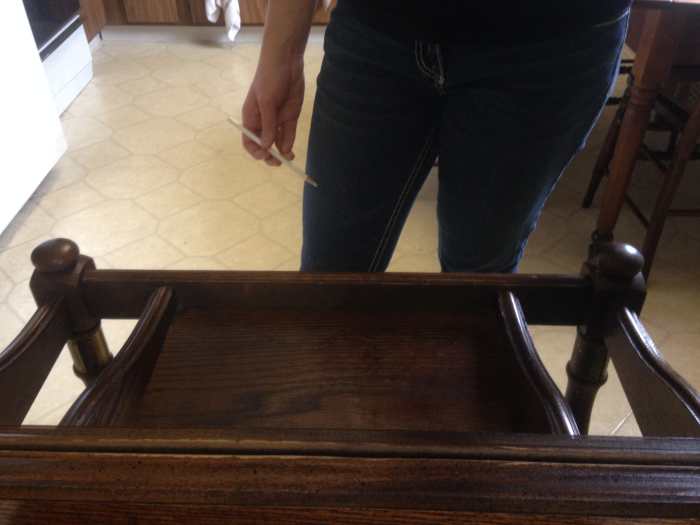
Choosing a Pair of Jeans
I pulled a pair out of my closet that I no longer wear because they're sagging in the back. These kinds of jeans are perfect for shorts because shorts are made with a little extra room in the back (as opposed to skinny jeans). You can use old jeans that feel good around the waist but loose around the butt, or you can buy a cheap pair from the thrift store to turn into a great pair of shorts!
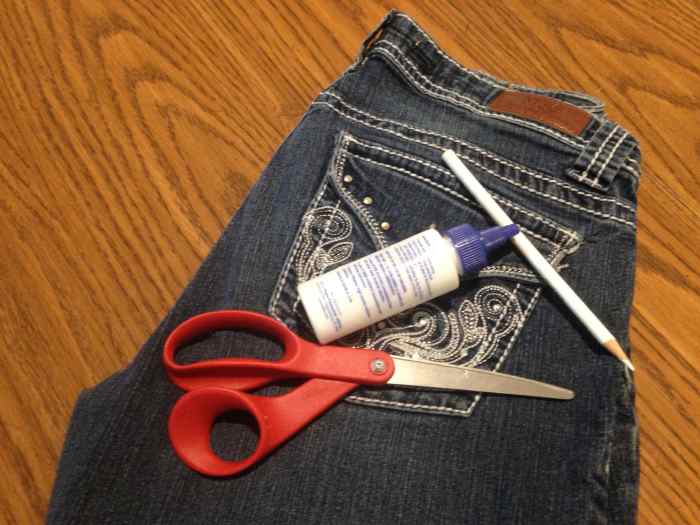
What You'll Need
- A pair of jeans
- Fabric scissors (don't use regular scissors!)
- A sewing machine (optional for the fold-over hem, but I highly recommend it)
For the Fold-Over Hem
- A colored pencil (i used white against my blue jeans) or a fabric pencil
- Fabric glue
- An ironing board and an iron
- Something to measure with (I used a sewing gauge, but you can also use a ruler)
For the Scalloped Hem
- A pen
- A cup
1. Choose the Length of Your Shorts
Put the pants on and look in a full-length mirror. Decide how long you want the shorts, then make a mark (make the mark 1 1/2" below that point with the pencil for the fold-over hem; make the mark at that point for the scalloped hem). I draw a line all the way around for reference. You only need to draw the line on one of the legs; the other leg will be cut based on the length of the first leg.
Read More From Bellatory


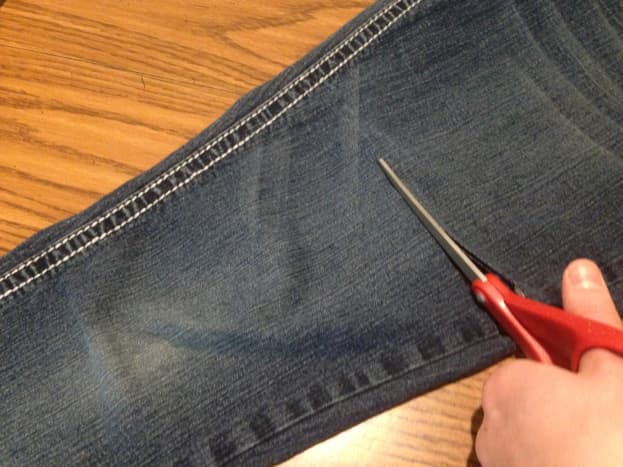


2. Cut the Shorts
Next, lay the jeans out flat on a table. Cut the leg that you drew the line on, cutting through both the front and the back of the leg at the same time. Then, fold the jeans over and make sure you line up the two legs perfectly. Cut the second leg, so it has the same length as the first leg you cut. NOTE: Take the time to actually lay the legs out completely flat (see image two). Otherwise, your legs will have different lengths.
3. Finishing the Hem
Now that you've cut the shorts to the right length, you'll need to follow specific instructions depending on which hem you would like your shorts to have.


Fold-Over Hem (No Machine Required)
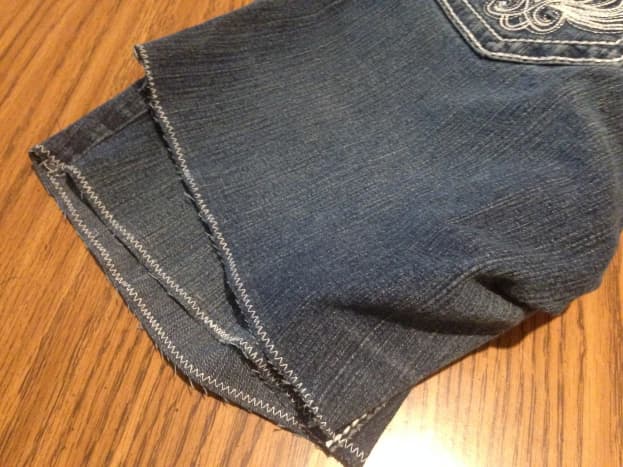
OPTIONAL STEP: If you want to avoid fraying, use a sewing machine and zigzag stitch around the bottoms of the shorts (see image one). Again, this is optional, but if you have a sewing machine, I recommend you take the time to do it.
Fold the bottom of the shorts over (see image two). Then, using the gauge, ruler, etc., iron the shorts so that there is a 1 1/2" hem (see image three). When you've ironed the fold well, unfold it, and you'll see a crease around the shorts (see the crease in image four).
Now, fold the bottom up again, but this time only fold up about 1/2" (use the ruler to guide you...see images four and five). Iron on this fold being careful not to iron over the crease you already made (see image five). When you're finished ironing all the way around, keep the small fold and fold the bottom up again using the crease you made before (see image six). You'll have a cute little fold on the bottom of your shorts.
Next, take the fabric glue and slowly glue the folds down (see image seven). I suggest putting the glue on the 1/2" section because that will hold the best. Make sure you don't use too much glue, but do put glue all the way around; otherwise, there will be holes in your hem. Let it dry as you go, being careful not to undo what you've glued. When you're finished, repeat this step on the other leg (see a completed leg in image eight).
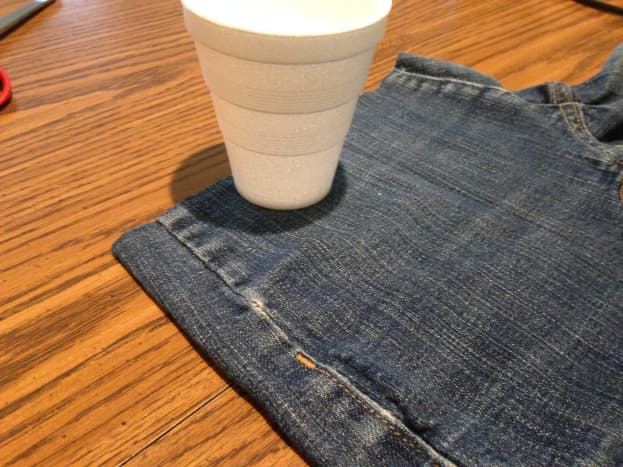


Scalloped Hem (Machine Required)
Use a cup to draw the scalloped edge onto the shorts. Line the cup up to the very edge of the shorts and draw a half-circle (I used a pen; you really need to be able to see the marks clearly, see images one and two). Go all the way around one leg. You may have to adjust the width of some of your half-circles to get the scallop to go all the way around the edge.
When you've finished marking both legs, use fabric scissors to carefully cut along the lines you drew (image three). Then, using the sewing machine, zigzag stitch around the edge of the shorts. Go very carefully as you'll need to move the shorts and re-position the sewing needle in order to get a clean stitch around the bottom (see image four).
NOTE: If the tension on your machine is too high, the scallops will curve up a little bit (like flower petals). If this happens, simply iron the shorts out when you need to. You may want to use one of the pant legs you discarded to test the tension. Remember, every fabric handles a machine differently!
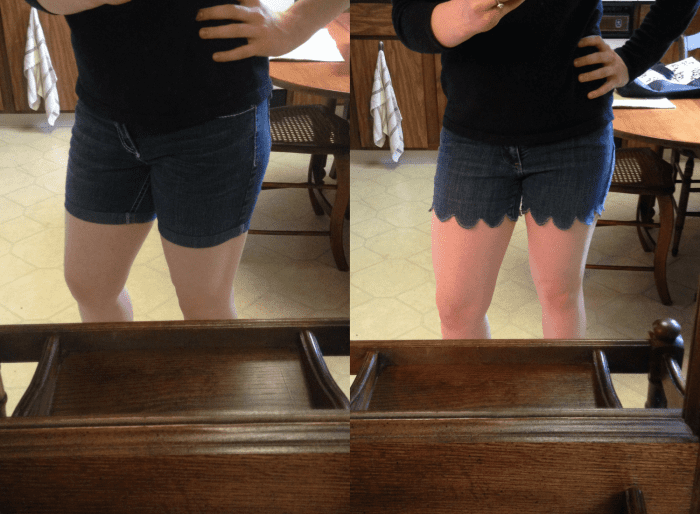
And You're Finished!
Congratulations! You've just made a totally cute pair of shorts out of an old pair of jeans! Embellish the shorts to your liking and wear them with the confidence of knowing you made them yourself :)
© 2017 Brigette Anne Henry