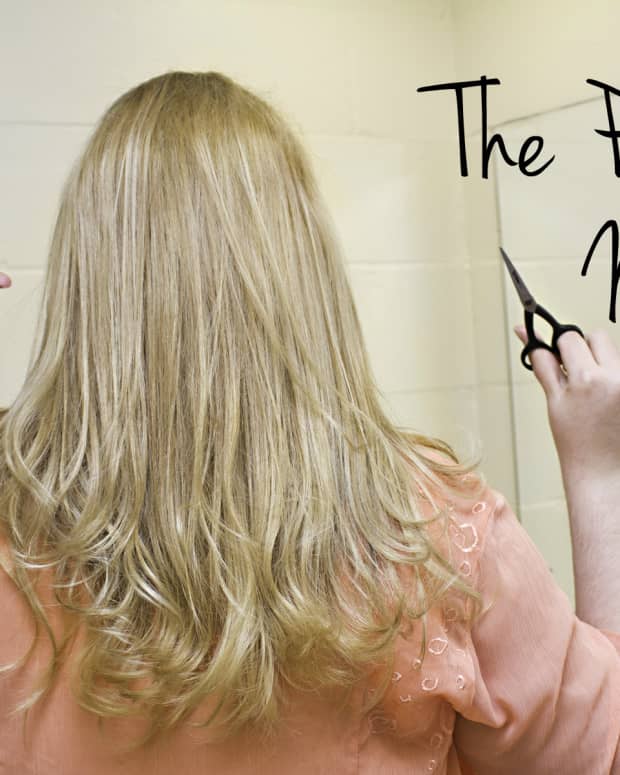
How to Thin Your Hair With a Razor at Home
I enjoy giving tips to others on how to style your hair at home.

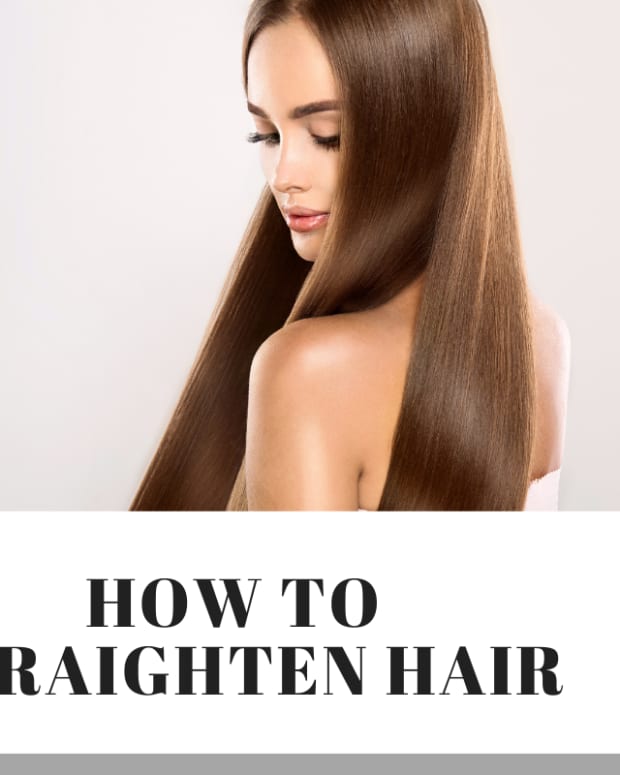
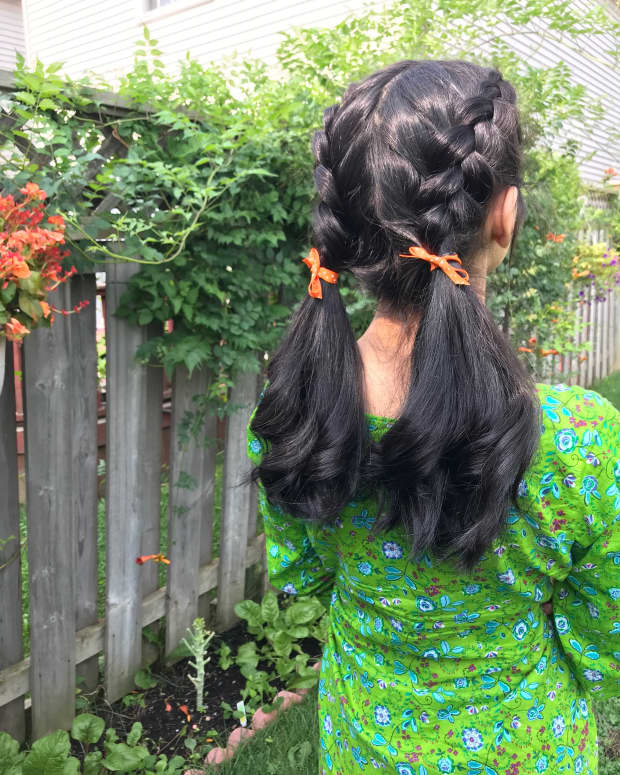
This is what I wanted my hair to look like, needless to say it didn't come out exactly like this, but it's close!
So one day, I decided to be brave and cut off six inches of hair. Now, that's a lot for a college girl to cut off at one time, but I was feeling a little crazy, so I went for it. When I left the salon, I loved my hair. But when I got home and washed it the next day, I realized it was still a little thick for my taste. So I started looking up on the internet "how to thin hair at home" and kept reading about how you're supposed to get thinning sheers, which I was not about to go buy. I also read about how some salons thin your hair with a razor, so I got the crazy idea of thinning my hair with a disposable razor that I shave with. Now I got a new one out the package, so it wasn't one that was already used, and I took off that layer of moisturizer that's at the top because I didn't want to get that in my hair. I tried different methods of thinning my hair, and I found the one that worked perfectly for my hair. I have extremely straight hair that doesn't usually frizz, so just a warning this method may not work for everyone!
Supplies
- A disposable razor. Mine was one of those that you can get in a pack of 20 for like $5.
- A trashcan to collect your hair in.
- A brush.
- A mirror.
Steps
- The first thing I did was start at my ears and bring my fingers around to the back of my head so that I could pull up the top layer of hair and tie it up. I wanted to thin out the bottom layer first so that if I messed up while I was still getting the hang of it, it wouldn't be that obvious.
- Take a small section of hair (about 1/2 inch thick), hold the end of your hair out, and starting about 3/4 of the way down, run the razor down your hair. When I first did this I was really gentle, but after a while you'll see how hard you need to press in order to get some of the hair off. After you run the razor down, gently pull down on the end of you hair and some hair should come out in your hand.
- As I got braver, I gradually started moving a little farther up my hair and around all of the back of my hair. Remember, you can always take more off later, but you can't put it back on. Also what I started to do, was run the razor up and down in one spot of my hair, almost like I was teasing it, but farther down. Only do this if you want to take a lot of hair off though! And be careful you don't saw through the whole piece of hair.
- After I did the whole bottom layer, I moved onto my top layer. I pretty much did the same as my bottom layer, took a small section and ran the razor over it starting 3/4 of the way down. But for the area around my face, I ran the razor down my hair at an angle going away from my face.
- You can continue to use the razor to take off as much hair as you'd like! I took off a lot, and it only took me about 20 minutes, but that was because I was trying to get the hang of it and not mess up my hair. As you go, make sure you check the razor because I kept having to pull hair out of it, or it wouldn't work properly.
Don't forget to brush you're hair as you go too. When I was doing it, I would brush my hair and some extra pieces would fall out that didn't before, so you may have thinner hair than you think!
Comments
anominous on February 18, 2020:
I’m just worried that I will get bald spots
Read More From Bellatory


selena on October 08, 2017:
is it safe to use a leg razor as the thinning out tool, cause i watched a video and in the comments it said to not use a leg razor, it will mess up your hair, is this true?
Holly on July 19, 2016:
I did this it worked but I wanted it to be even more thinner and it cut the front of my hair so I now have a really messed up fringe