How to Repair Split Wellington Boots (Wellies)
I am a writer and website designer. I like to help people to become more empowered and to help them to overcome limitations.
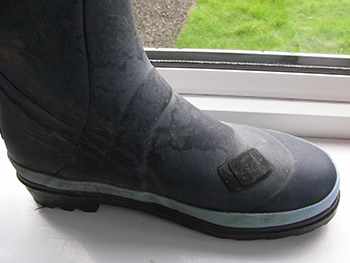
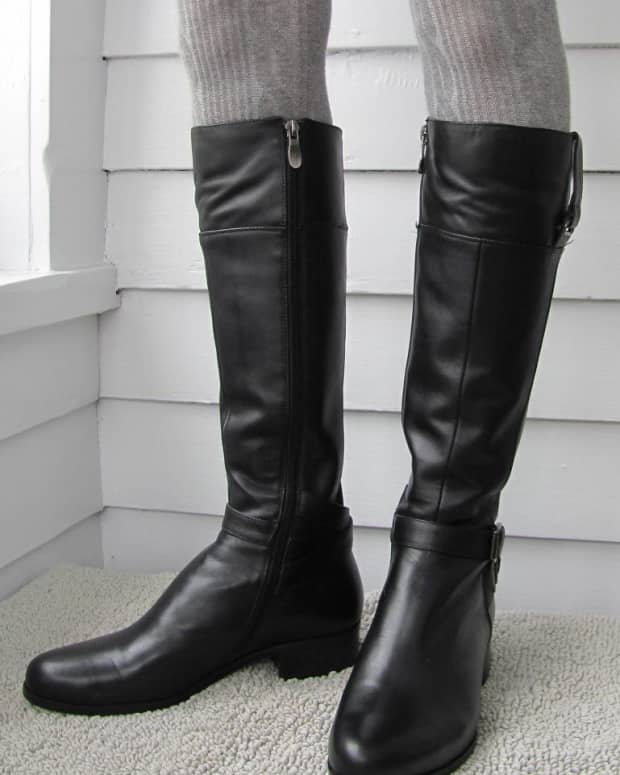
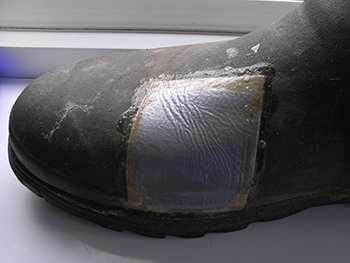
A Wellington boot repaired using a puncture repair kit. As you can see, this one has been repaired twice already.
How to Repair Split Wellies Using a Bicycle Puncture Repair Kit
If you have a pair of Wellington boots (aka 'wellies') and one of them has developed a split somewhere on the upper, you might think that you’ll have to throw them out and buy a new pair, but there are a couple of ways of repairing split wellies.
This method can be very effective for prolonging the life of your favourite wellingtons. The process is very simple and very similar to repairing a puncture on a bicycle. You should find that everything you need is contained within the puncture repair kit. Basically, all you need to do is follow the instructions inside the kit but the following instructions will give you the general idea of what to do.
Supplies
Instructions
- Clean the area around the split thoroughly making sure to remove any dirt or grease.
- Using the piece of sandpaper supplied in the kit (or you can use your own) gently scuff up the area around the split where you intend to apply the patch. This is important to make sure the patch has a rough surface to key onto.
- Cut a piece of rubber from the kit to the required size. Make sure it is bigger than the size of the split so it completely covers it.
- Take the adhesive or rubber solution provided and apply a thin layer to the area that you have prepared. Leave for a few seconds to allow the adhesive or rubber solution to become slightly tacky. Then take the rubber patch you cut in step 3 and lay it on top of the adhesive or rubber solution you just applied.
- If this patch is going to fail it will most likely be because it starts to peel off around the edges so it’s a good idea to make sure that the edges are properly stuck down. If they aren’t simply apply some more adhesive under the edges and stick them down again. To make extra sure you can apply a layer of adhesive over the top, around the edge of the patch so the adhesive overlaps the patch and the boot.
- Once the adhesive is dry you can apply a bit of chalk around the patched area just to make sure that there is no stickiness left which might attract dust. There is usually a piece of chalk in the puncture repair kit for this purpose.
Now it’s possible that there are different types of puncture repair kit available in different countries so you may need to adapt the procedure to suit, but these instructions should work well for any standard kind of kit.
This kind of patch is not going to last forever and you may need to re-patch the boot a few times, but it should help you to prolong the life of your wellies for a few more months or possibly longer.
I have seen the puncture repair kit method work very well and I have used it myself but how well it works will depend a great deal on the type of material used in the upper, where the split is, how big it is, and how much pressure is being put on it when you walk. More recently I have found this next method to work better for my wellingtons.
How to Repair Split Wellington Boots With Tape
For some reason, although I’ve seen the puncture repair kit method of repairing wellies to be very effective for some people, on my boots the patch always came off and I ended up applying layer upon layer of tape over the top. In the end I found an alternative method which works really well. This method uses double-sided tape and gaffer tape to repair the split. Here’s what to do:
Supplies
- Heavy duty double-sided tape (2 inches wide)
- Gaffer tape (2 inches wide)
- Sandpaper
- Contact adhesive
Instructions
- Clean the area to be patched and prepare it by roughing it up with some sandpaper as we did with the puncture repair kit method.
- Take the roll of double-sided tape (I use a roll of heavy-duty tape—I believe it’s intended for sticking carpets down but you should be able to get some from most hardware stores) and cut a piece the right size to cover the area you prepared. The tape I use is about 2 inches wide so I usually end up cutting a piece about 2 inches x 2 inches.
- Stick the piece of tape you cut over the split, making sure you press it down firmly.
- Gently peel off the protective layer so you now have a sticky surface on top as well.
- Cut a piece of gaffer tape to the same size as the double-sided tape and stick it over the top, pressing it down firmly.
- For extra durability apply a layer of contact adhesive around the edge of the patch so that some of the adhesive goes over the patch and some goes over the boot. This provides an extra level of protection and prevents the tape/patch from coming off.
Read More From Bellatory


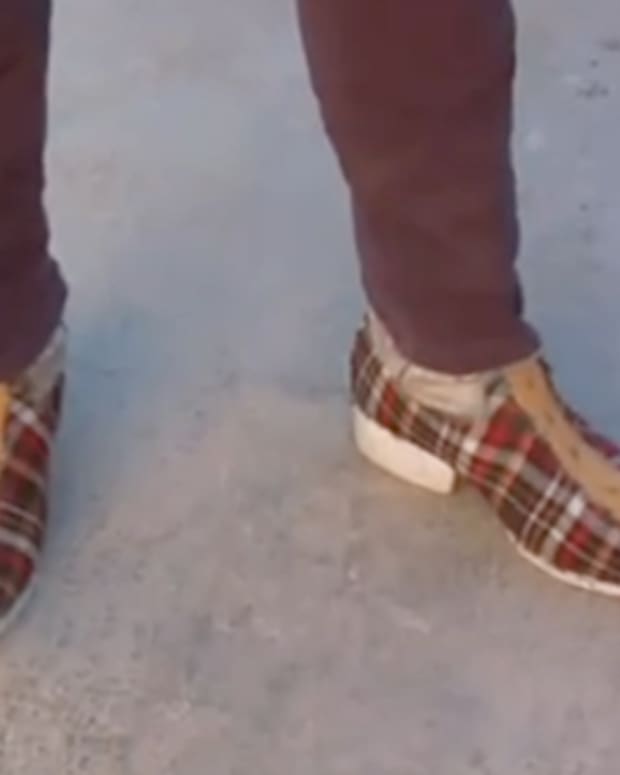
A wellington boot repaired with double-sided tape and gaffer tape. OK so it's a bit rough and ready but it does the job!
Additional Tips for Repairing Your Wellies
Repair Kit Method
With the puncture repair kit method, so long as you stick the edges down properly you should end up with a watertight patch so your feet should stay dry if it rains or if you walk through a puddle. Personally I wouldn’t push it much farther than that though—I doubt the patch would be durable enough for you to go wading through streams.
Tape Method
With the tape method the gaffer tape seems to be fairly water repellent so the patch should be fine for wearing your boots in the garden or going out in a light shower but it probably won’t stand up to a prolonged soaking.
A Warning About Adhesives
You might be tempted to use Super Glue but check the label first to make sure it’s suitable for use with rubber—the Super Glue we have is not suitable. You can get strong adhesives which are meant for repairing wetsuits and other things. I have read that some people have used this method successfully for repairing Wellington boots but it didn’t work for me—mainly I think because the split was in a part of the boot which was being flexed every time I took a step.
Share Your Success Below
Hopefully, one of these methods will work for you. At the very least, you should be able to prolong the life of your Wellingtons and save yourself a bit of money. It might also help you to become more attuned to the mindset of repairing rather than replacing and, who knows, you might even find an even better solution yourself. If you do, please share it below by leaving a comment.
This content is accurate and true to the best of the author’s knowledge and is not meant to substitute for formal and individualized advice from a qualified professional.
Comments
Rob Butler (author) from Pembrokeshire, UK on January 27, 2019:
Hi Melody, Thanks for sharing those links. I haven't seen that before but it looks like it's ideal for wellies. If it works for bouncy castles it's bound to be able to cope with the movement you get from walking in boots. Many thanks, Rob.
anonynomous b on December 31, 2018:
Thanks for these good ideas.
Jack on December 27, 2017:
I used a large repair patch from Halfords instead of a small puncture repair patch.