How to Put Blonde Streaks and Highlights in Brown Hair at Home
I am a DIY-er who loves saving money where I can. I have highlighted my hair at home and want to share my experience and tips.
Save Money by Dying Your Hair at Home Yourself
Most of us cannot afford to go to the salon every time we need to get our hair done. For people like me, who have long and/or thick hair, it can cost over $100 just to get highlights put in your hair. On top of that cost is the price of going back to get your highlights touched up once your hair grows and your roots start to show. Getting your hair done at a salon can really add up, which is why it would be a good idea to learn how to do your own highlights at home.
I spend about $12 on the hair dye I use for my streaks. I only have to touch my hair up every three to four weeks so that's only $12 a month usually. This is a huge savings compared to salon prices. And it's easy to do!
Blonde Streaks in Brown Hair
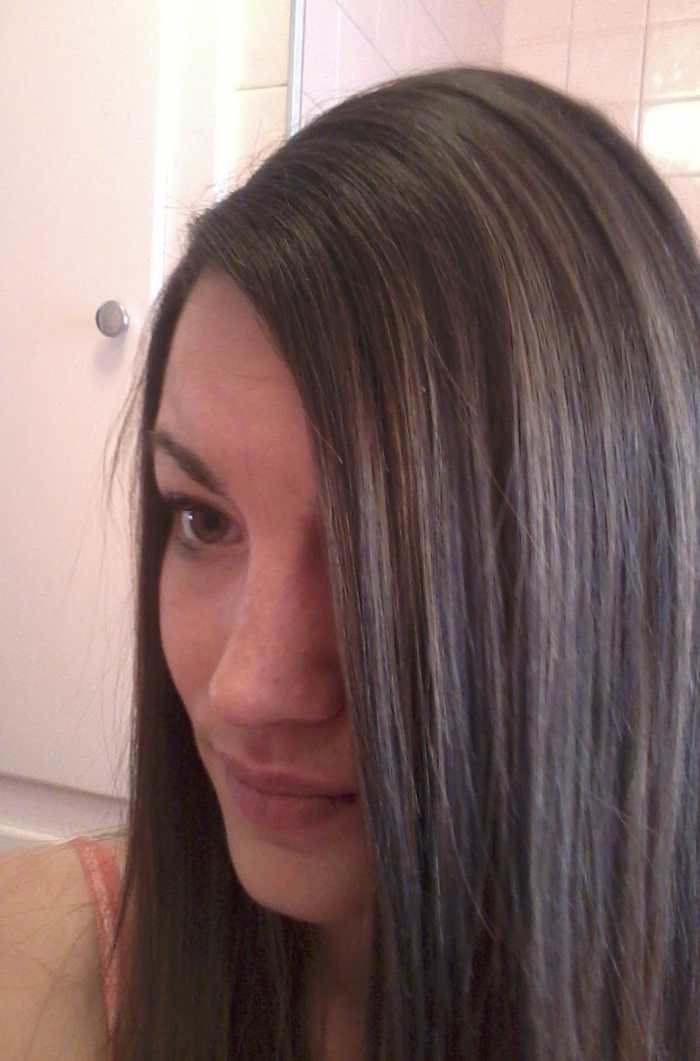
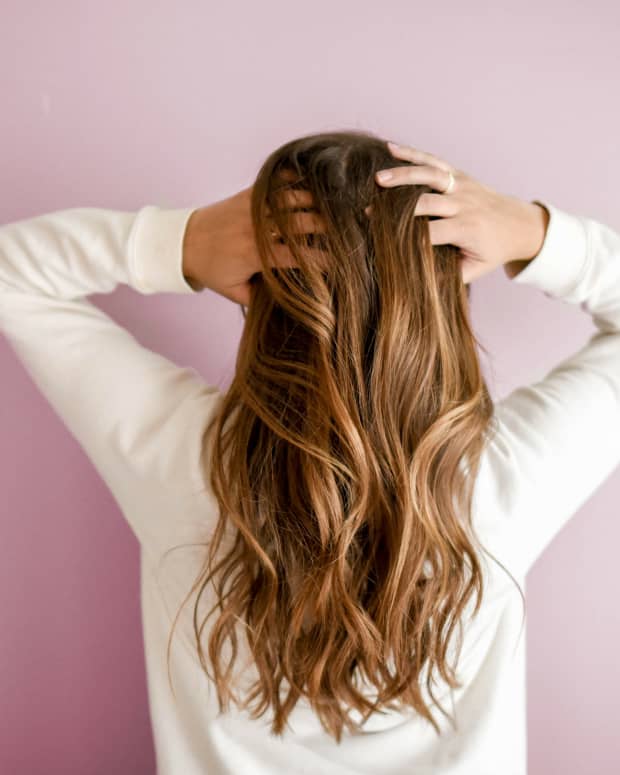
Coloring dark hair can be a hassle, let alone adding streaks! Those of us that have experimented at home know that the color either doesn't show up at all or you end up with an orange tone instead of professional-looking natural blonde highlights. The good news is that I have experimented enough and am here to tell you how to put blonde streaks in your dark hair for about $12 at home, and it will look good! The picture above is my dark hair before adding streaks. If your hair is a little darker or lighter, this process will still work for you. If you have black hair, I recommend asking an expert or trying a few strands of hair before streaking your entire head.
Streaking Your Hair Using a Pull-Through Cap
- The most important thing you will be using is the hair dye itself. "L'OREAL Frost and Design" is one of the best kits I have ever used. They make a color specifically for dark hair to make sure you get the tones you want and no orange or reddish streaks.
- If the dye kit you purchase doesn't come with a cap you can pick one up at your local beauty supply store. I know it sounds like a pain to pull your hair through the small holes in the cap but it actually makes streaking your hair a lot easier. As you can see, I have long hair and have no problem using the cap. Using the cap enables you to dye all of your streaks at the same time giving you the same all-around color without using messy tin foil.
- Before adding your blonde streaks you will need to make sure your hair is completely straightened and easy to pull through the cap. Using a comb and straightener, straighten out your hair in very small sections. You can also add some baby powder to long or curly hair to make it slide through the cap more easily.
- Although using a cap usually isn't very messy, I recommend wearing some old clothes just in case you end up getting some of the dye on you.
- The last thing you want to do when preparing to streak your hair is to sit down and read the directions in your dye kit. Make sure you have everything you need and that nothing was left out of the box. Follow the directions carefully and try the mix on a couple of strands of hair either a day before or allow yourself an extra 30-45 minutes the day you are streaking your hair.
Purple Shampoo and Conditioner for Your Highlighted Hair is a Must
The Blonde Streaking Process
- Decide how thick you want your blonde streaks to be. This will determine how much hair you pull through the holes of the cap. The more hair you pull though, the thicker your streaks will be. Keep in mind that if you only pull a couple of hairs through each hole your streaks might not show up as much as you want them to. If you want all-over highlights, plan on pulling hair through each hole or every other hole.
- If you part your hair to the side do so like you normally do when styling your hair. If you don't part your hair to the side, part it straight down the middle so both sides are even.
- Put the cap on making sure it is tight enough that it won't slide around on your head and that all of your hair is tucked in.
- Using the provided hook begin pulling your hair through the cap trying for all-around even thickness with every pull. Don't worry too much if the strands aren't exactly even. It will look natural to have varying thickness in your strands as long as some aren't too thick. Strands that are too think will cause a large chunk of hair to stand out from the rest.
- In my experience, it is easier to start on top of your head, then go to the back, then go to the sides. You might want to have someone help you with the back if you don't feel confident that you can make it match the sides and top of your head.
- Once you have your hair pulled through the holes it is time to get your dye mixture ready. Each kit is a little different so just follow the directions when mixing.
- When applying the mixture to your hair, make sure that you cover all of the strands and saturate them enough that the color will stick. Not doing so will result in dyed ends and brown roots and you will have to start over and go back to the strands that are half-dyed.
- Leave the mixture on your hair for the time stated in your kit. Check a strand about every ten minutes to make sure you don't leave the mixture in too long or not long enough.
- Once you have reached your desired color rinse your hair out completely before adding the shampoo or conditioner provided in your kit.
- Don't worry if the strands look really bright when washing them out. They will blend in as you dry your hair. It comes as a bit of a shock when first seeing them but don't worry!
What to Do After Putting Blonde Streaks in Your Hair
If your kit doesn't come with a toner, you can add one to your hair to make it blend in with your brown hair a little better. Often times you don't need one because the kit is designed for dark hair and the shampoo or conditioner might already have some toner in it.
The only thing you have to worry about now is touching up your hair when your streaks start to grow out. I just use the cap again and use it on the top of my head. If you redo your whole head every time, you will end up with very light hair. This can work out well during the summer when natural highlights are already being added to your hair.
You can also just go through with a similar dye kit and pick the strands that are growing out and streak them individually covering them in tin foil as you go. This way takes a little bit more patience and you want to make sure you are saturating the roots enough.
Hair Streaking Kit
This content is accurate and true to the best of the author’s knowledge and is not meant to substitute for formal and individualized advice from a qualified professional.
Comments
Brittany B (author) from U.S. on March 27, 2020:
Oh no!
Deborah Snider on March 27, 2020:
Well I tried to do mine yesterday and some how forgot to mix one of the bleaching piwders in and now i look like a pumpkin
Ter on January 10, 2020:
Can I color my roots first then do the highlights after I dry and straighten
Read More From Bellatory
Glenda Stacy on January 28, 2018:
How can you put highlights in hair using bottled hair dye and a big comb
Mimi on July 19, 2017:
how do I put blonde highlights in brown hair using a cap
Brittany B (author) from U.S. on December 12, 2016:
Hi Linda,
I just leave the hair out and pull it through the cap. That keeps it so the hair doesn't get tangled under the cap :)
Linda on December 10, 2016:
I have short hair but the cap doesn't cover everything that hangs down in back under the cap. Should I tuck that in or just leave it out and pull through the cap?
558 on October 01, 2016:
i have know idea how to do this
Brittany B (author) from U.S. on May 29, 2016:
Jordan,
I find it easiest to take the cap off while in the shower after rinsing some of the product off.
Jordan on May 29, 2016:
When are you supposed to take the cap off before or after you rinse?
Brittany B (author) from U.S. on May 09, 2013:
You have to be careful not to push down once you put the dye on your hair. If you do, or if you made the holes larger it can do that.
Nicole S Hanson from Minnesota on May 08, 2013:
So cute on you! Last time I did a cap on my hair, I ended up with splotches and looked like a skunk :(
Kim Lam from California on May 24, 2012:
I used to streak my hair until it got too expensive. I have really long hair too so the salon would charge almost $100 just for cut and streaks! This is a very informative hub...I'm going to forward it to all my teenage cousins who love to change their hair color every month lol. This would save them a lot of money.
Marcy Goodfleisch from Planet Earth on May 22, 2012:
This is such a helpful hub - and it will save women a fortune - hair coloring is so expensive at the salon. I like the fact you can visually control what you're doing and decide how dramatic to make it. Great photos, by the way!
Voted up and up!

