How to Create the Perfect Eyebrow Shape for Your Face
I like writing about beauty and fashion topics, especially topics that require personal experience.
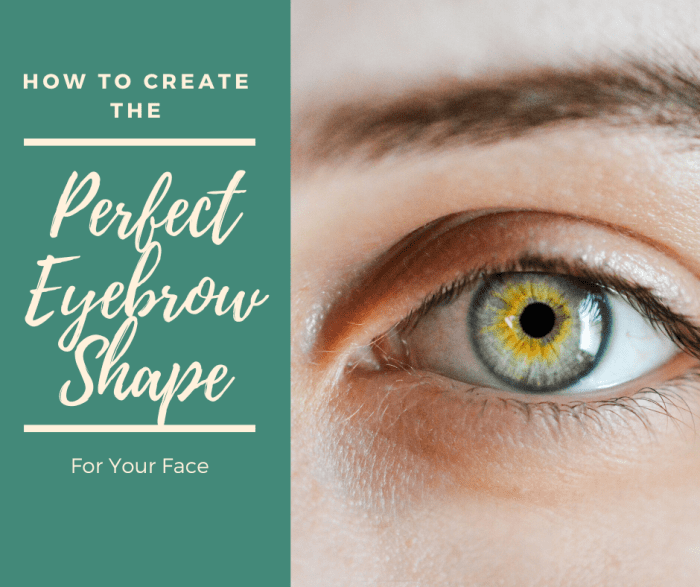
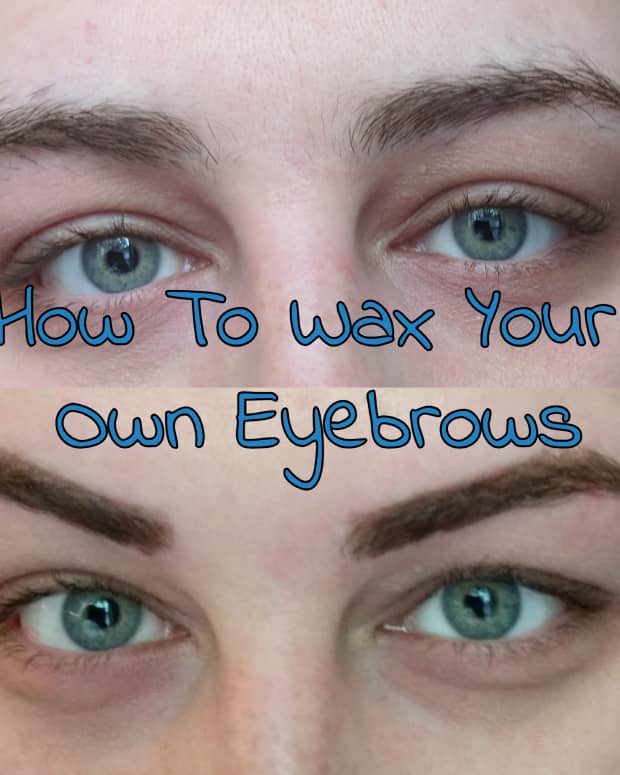
By reading this article, you will learn how to shape your eyebrows in a way that works best for your face shape.
Canva
Remember the first time you attempted to pluck your eyebrows?
For most young women, it was painful, nerve-racking, and confusing.
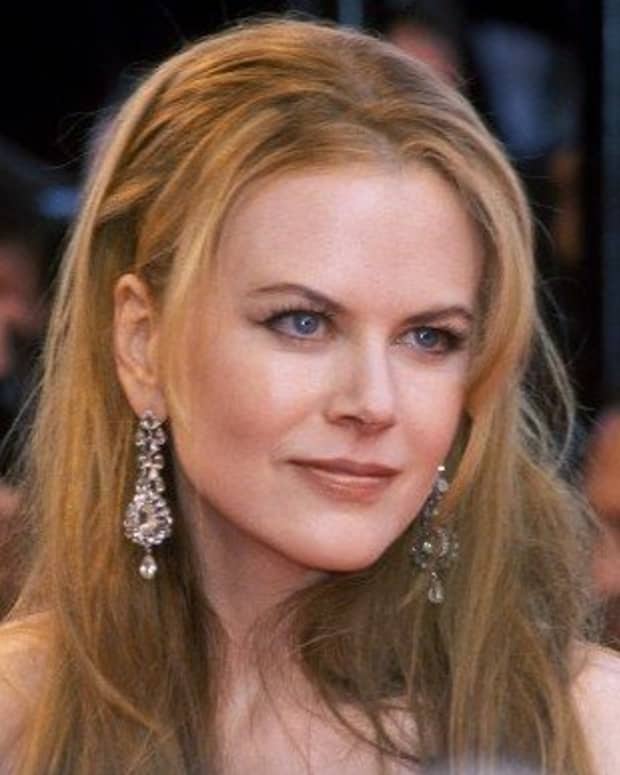
I remember seeing photos of Jennifer Lopez, and I loved her eyebrows! I was 15 at the time, and I realized that I had never plucked my eyebrows. It was surprising—I had never before thought about how much eyebrows impact a person's appearance, man or woman.
By the time that I was done, one eyebrow was paper-thin, and the other was just a mess beyond what words can describe. My whole eye area was red and sore, dotted with tiny pin-pricks of blood from accidentally pinching my skin. I remember stepping back from the mirror and just falling into a heap of tears. My mother thought it was hilarious and took a photo that, to this day, I will never share.
It was definitely far from the glamorous photo of Jennifer I saw. Not only did I look like a completely different person, but it took weeks to get them back into their original over-grown, ungroomed shape.
Over the years, I went through many "oops," "oh no,” and "OMG" moments while attempting to recreate looks I’d seen on the stars. But the truth is, the reason their plucked eyebrows look so wonderful is that they are the correct shape for their eyes and faces.
How to Create the Perfect Eyebrow Shape
Instead of confusing yourself on figuring out whether your face is heart-shaped, oval-shaped, etc., it’s much easier to use these simple rules (illustrated and explained below).
Things You Will Need
- Tweezers
- White eyeliner (or something to mark your points—for beginners)
- A pencil (you can use the white eyeliner if you'd like)
Where to Begin
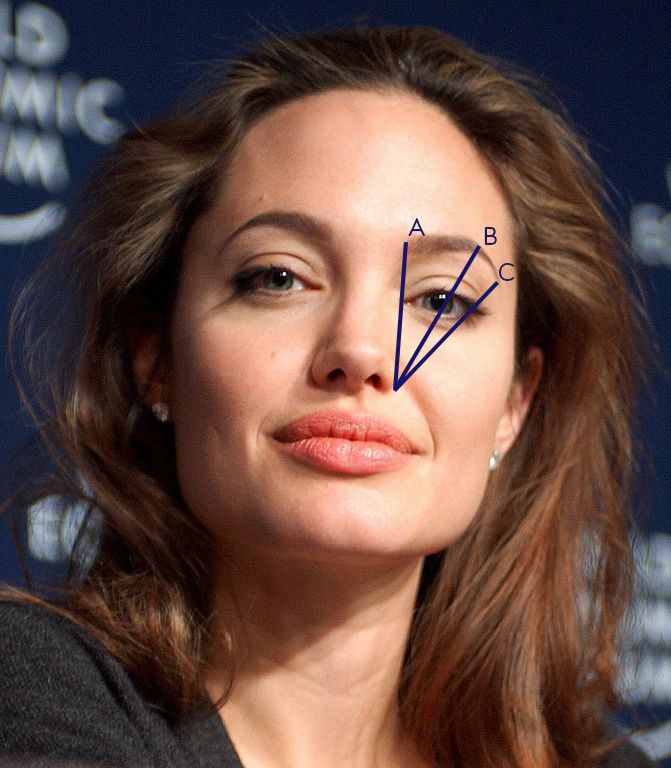
The beautiful Angelina Jolie follows this tip! Or at least her make-up artist does.
Remy Steinegger, CC BY-SA 3.0 Unported, via Wikimedia Commons
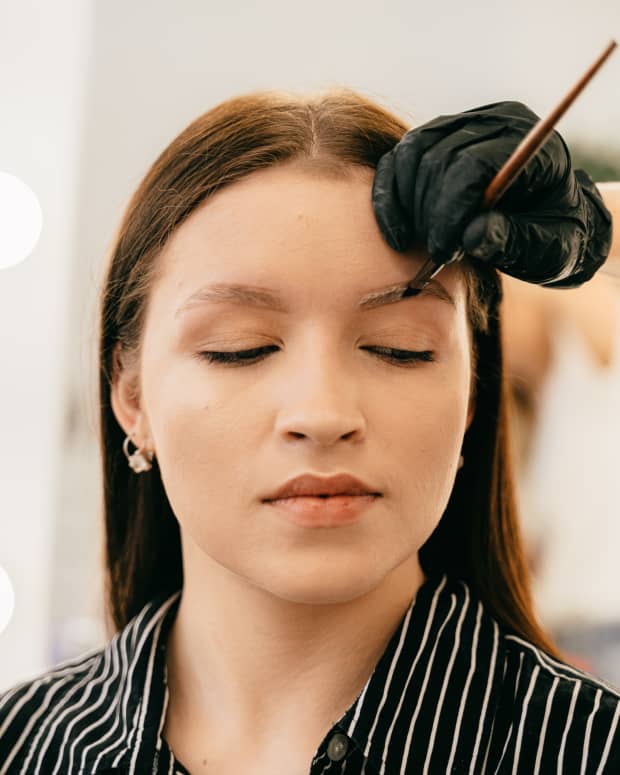
Preparing Your Eyebrows
- Take your pencil and lay it vertically against your nostril so that the stick reaches up to your eyebrow. In the photos, it is listed as "A." That point is where your eyebrow should begin—mark it with your white eyeliner. Do not pluck before that point; anything after it, pluck. Plucking before that line will create more space of no hair and give the illusion that your nose is wider than it actually is. Not plucking before that line will give not only a unibrow effect but also the illusion that your nose is narrower than it may actually be.
- Next, take the same pencil and lay it so that it begins at your nostril and passes directly over your pupil. Mark the point where the pencil intersects with your eyebrow with your white eyeliner. This point is listed in the photos as "B." This is the point where your arch should be at its highest point. How high or low is your own decision. But for beginners, a low arch is always safest.
- Last, still working from the nostril, lay the pencil at the edge of your eye. Mark the point where the pencil crosses your eyebrow with your white eyeliner. In the photos, that point is listed as "C." This is where your eyebrow should end. Anything over that line will make your entire face appear wider and your eyes smaller while anything before that line will do the opposite.
Read More From Bellatory


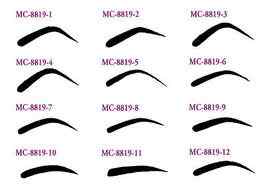
A look at heights and weights of eyebrow looks to incorporate into your shaping. If you like any of them, zoom in and print out. Then cut it out and use it as a stencil! Don't forgot to mark your points!
On to the Plucking
- Now that you've used these lines to draw your points, begin with stray-away hairs, and work your way closer to the brow. Once you've reached the actual eyebrow, stop.
- Start back at A, but instead of plucking up, pluck from the inner edge of the brow and then out.
- Then, ever so slightly, begin to shape your brow upward as you begin to reach your second point. You don't have to pluck too much; it's easier to go back and pluck more than to fix what's damage that's already been done. After point B, slowly begin to shape it downwards once more, making the brow thinner as you reach your final point. If it's too thick, repeat that same process until you reach your desired width and height.
Remember to do this in a mirror where you can see both eyes. When I pluck my eyebrows, I'm constantly looking from one to the other to make sure that I am in line with my natural eye shape and the shape that I'm grooming them into.
After some time, it will easier to see how your eyebrows are aligned. Regular plucking every week or so often can greatly reduce the time and pain involved.
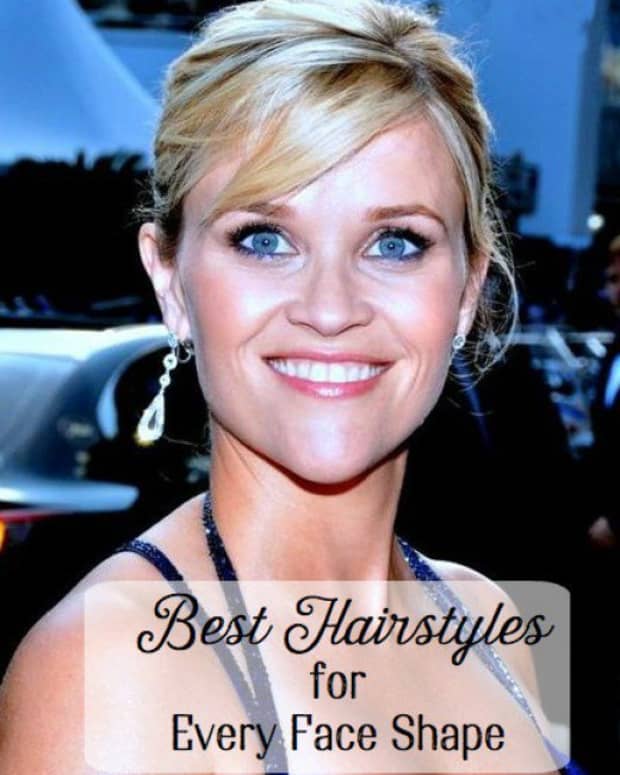
Check out more celebrity photos and see if you can tell if they used tips like these!
This content is accurate and true to the best of the author’s knowledge and is not meant to substitute for formal and individualized advice from a qualified professional.
© 2012 Amanda Carvajal
Comments
Carter on March 26, 2018:
No don't do this. Eyebrows are too far apart!
Shayla Cochran on September 09, 2017:
Please send me info on fouling hair to a carmel
Lyndsay on February 29, 2012:
Very helpful! Thanks Amanda! Keep these articles coming! You're amazing!