How to Curl Hair Without Heat
Kasja enjoys learning new ways to style her hair and shares her tutorials with others.
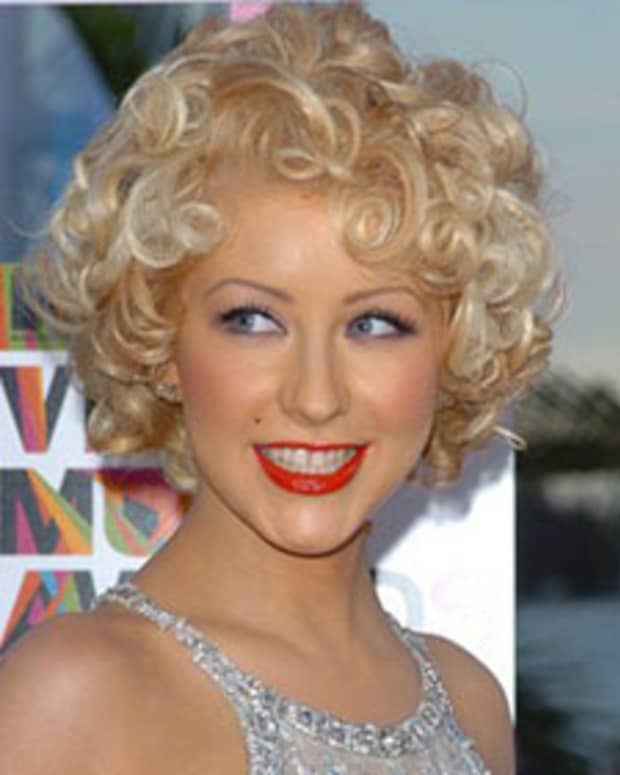
Heatless Pin Curls.
Have you ever wanted to curl your hair without the use of a flat iron or wand? Perhaps you don't own a hot styling tool or simply wish to give your hair a break by curling it in a safer and more natural way. Well, have you ever thought of giving pin curls a try?
Pin curls are a fun and easy way to curl your hair without using styling tools that could potentially really damage your hair. It was quite popular as early as the 1920s that has recently become popular on sites such as Youtube and Pinterest. Pin curls do not require any special tools as you probably own most of the items that are required. If you want to learn how to complete this vintage hairstyle, read on!
Items You Will Need
- A large number of bobby pins, especially if you have really thick hair. An estimated amount of 20-30 bobby pins should be enough for all hair types.
- A comb and brush to de-tangle hair.
- Water (optional). This tutorial can be done on damp or dry hair.
- Hairspray (optional). Hairspray will keep your curls in place throughout the day, but it is not a requirement.
- Bandanna or hair net (optional). If you are planning on doing this hairstyle overnight, you may want to wrap your hair up to keep it from becoming undone while you sleep.
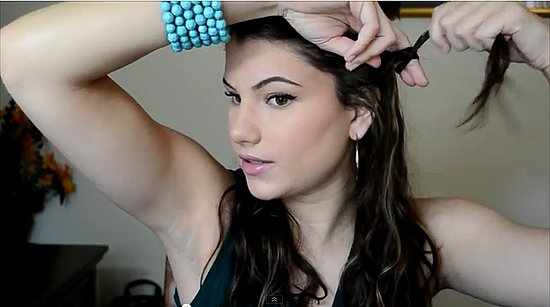
Wrap hair around fingers starting at the roots.
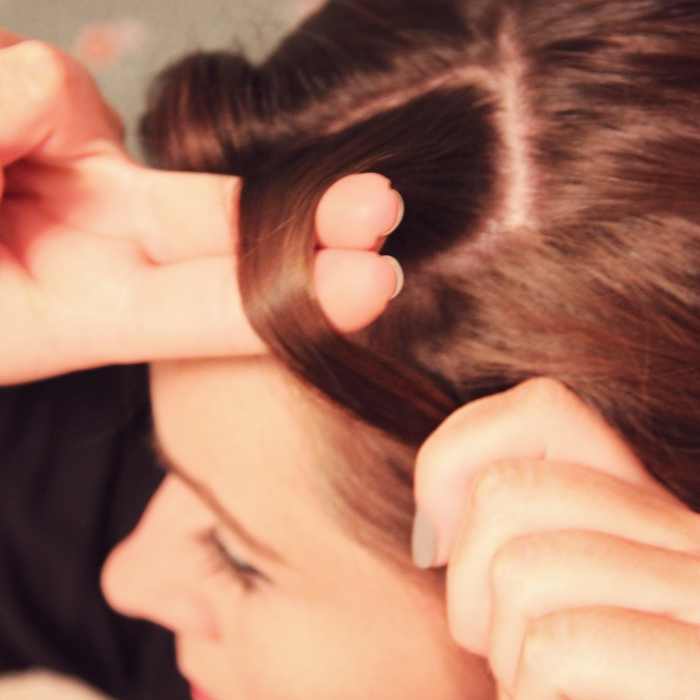
Makes sure that you begin wrapping your hair as close to your scalp as possible.
Step 1: Wrapping Curls
- The first thing is to section off your hair to be curled. An inch in width will usually suffice. However, if you wish to have your sections larger, that is completely up to you. Larger sections may prove difficult when it comes to wrapping hair around your fingers, though.
- Detangle your hair using a comb or brush.
- If you are planning on wetting your hair, do so at this time using a spray bottle or by dipping your fingers in water and then running them through your hair.
- Place your index finger (finger right next to your thumb) and middle finger as close to the root of your hair as possible and begin to wrap the sectioned bit of hair around these two fingers. Make sure that you wrap hair tightly enough so that it will not lose shape. (see side images).
- Once your hair is completely wrapped around your finger, gently slide the wrapped hair off your two fingers (while keeping its shape) by using your other hand and immediately lay it flat against your scalp.
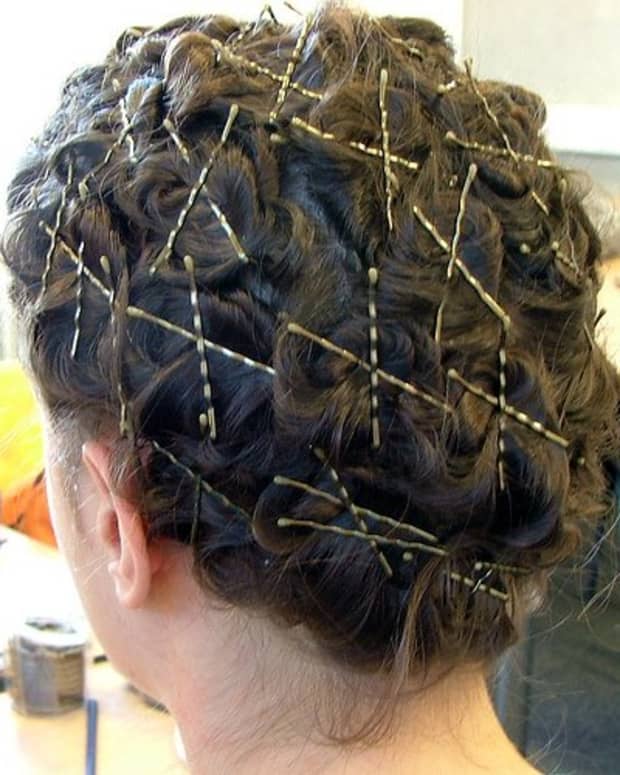
- Secure the curl with two bobby pins by crisscrossing them over one another.
- Continue with this method until all hair is curled.
- If you are planning to do this hairstyle overnight, place your hair net or bandanna over your head at this time and proceed to bed.
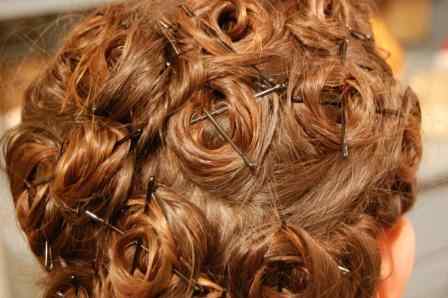
Hair should look like this in the end. Crisscrossing bobby pins over curls ensures a secure hold.
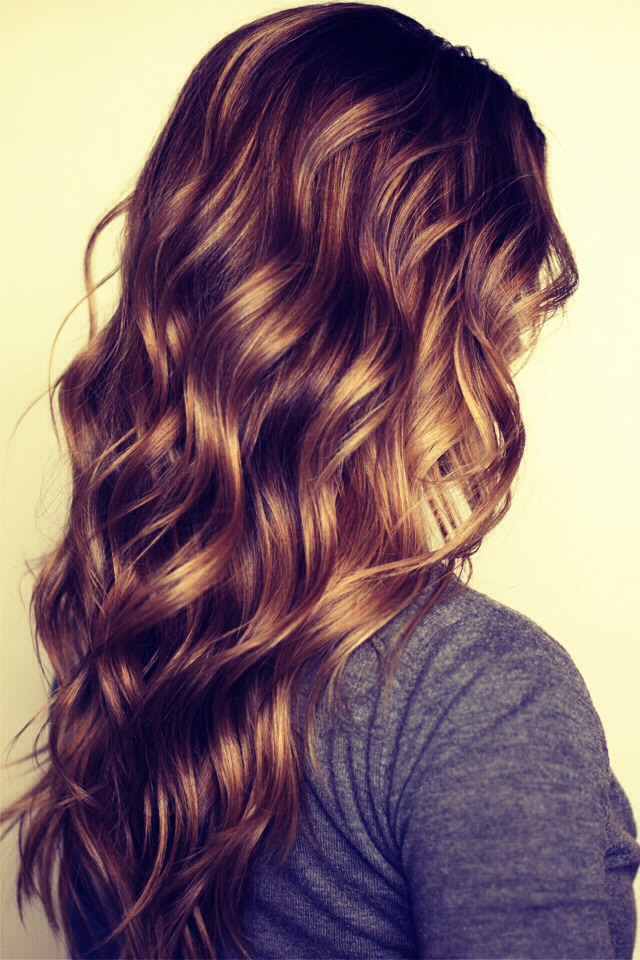
Step 2: Revealing Curls
Once you have allowed your curls to set for a minimum of four hours (if you wet your hair, make sure it's completely dry first), you are now ready to unravel your curls.
- Carefully remove bobby pins from each curl individually. Your hair should automatically fall from your scalp into a curl.
- Tease your hair if desired or leave curls as is. This is completely up to you. To tease your hair, gently run your fingers through each curl to separate them.
- Apply hairspray (if desired) at this time to keep curls in place. This is a great idea if you wish to wear the same hairstyle over and over.
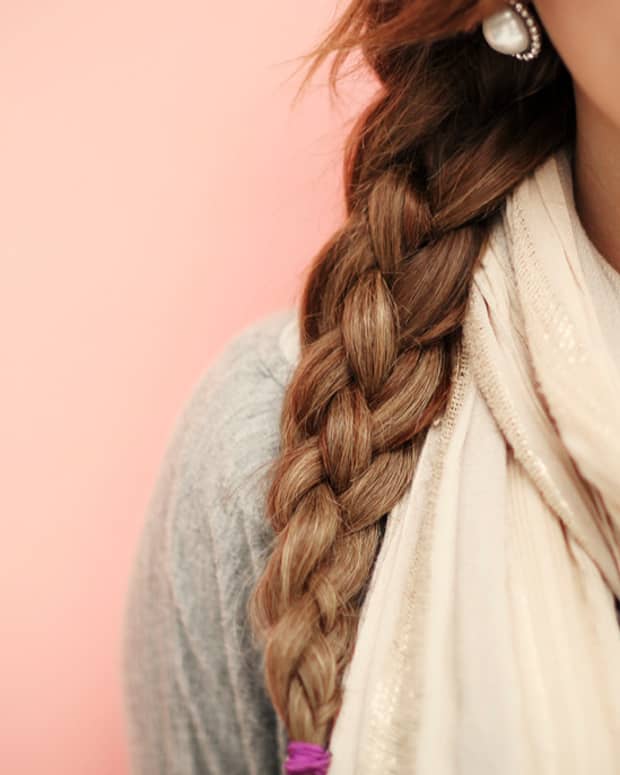
- Showcase your hairstyle to the world! You can either leave curls falling as they are, or place them into a cute half-do, or side ponytail. This is completely up to you!
Read More From Bellatory


The Youtube tutorial provided above provides a detailed example of the hair tutorial. This tutorial is from popular Youtuber Andreaschoice and was how I first learned to curl my hair this way.
Please note that in this tutorial, the technique is applied to dry hair.
Pros and Cons of Pin Curls
| Pros | Cons |
|---|---|
requires no heat, which results in far less damage than if curls were obtained using a flat iron or curling wand | may be difficult to perform for those with very short hair |
can be repeated for days with minimal change to curls, especially when hairspray or mousse are used | Depending on the thickness of your hair, a large amount of bobby pins may be required. This can cause discomfort with some individuals, especially when trying to sleep on the curls at night. |
can be done on wet or dry hair and results with be fairly the same | If bobby pins are not secured properly, curls can unravel or become extremely loose. |
| requires hours to set so it is not recommended for moments when time is crucial |
Final Tips
- Try to keep the pins in for as long as possible, with a minimum length of four hours. Curling hair before bed and sleeping on it overnight yields the best results.
- Remember to use two bobby pins and criss-cross them over curls. This will keep curls firmly in place.
- Using one finger will give you tight, smaller curls, whereas using more than one finger will result in larger, looser curls.
- Individuals with extremely thin hair may have trouble obtaining a curl. Try using water or mousse right before you begin the actual curling step to see if this helps.
- Curling thick hair may take some time and require a large number of bobby pins. It is always best to have a minimum of 20-30 pins available in that case.
Comments
Aleya on December 28, 2019:
I haven't tried this but have seen it a lot. This method may not work if you have shoulder length or shorter hair.
Finnley on March 23, 2016:
That looks painful
Jennifer on November 27, 2015:
Graet curls