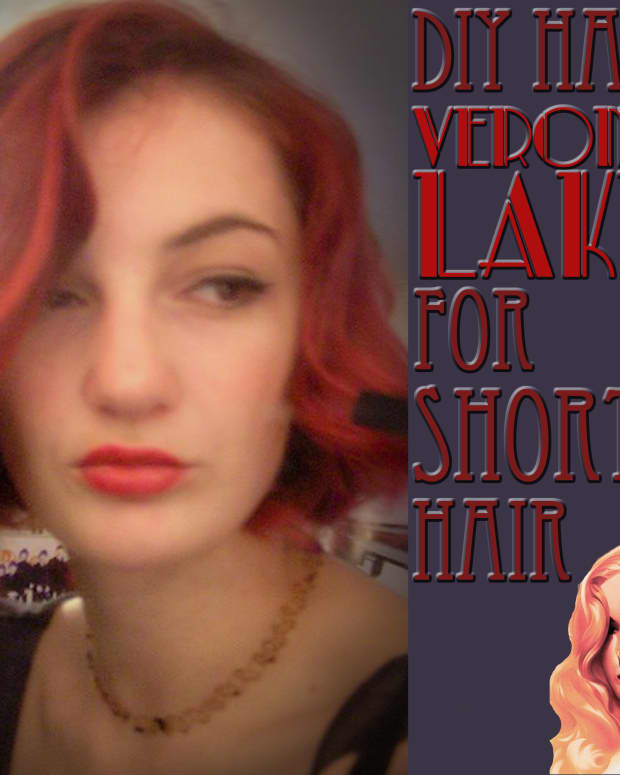
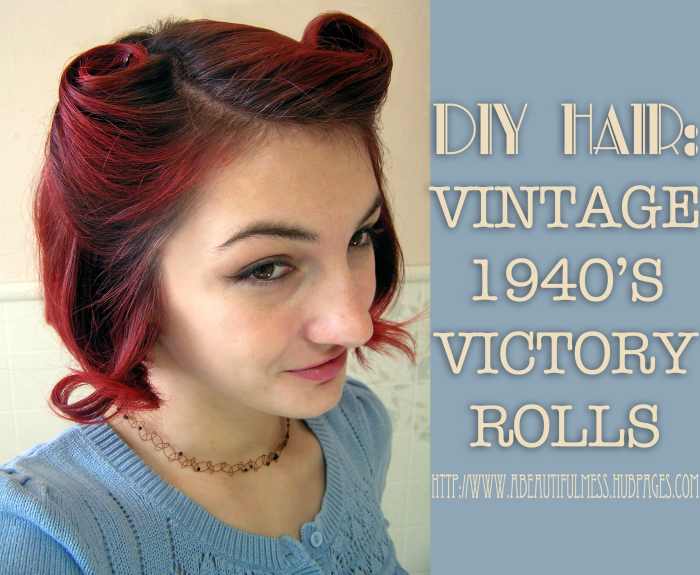
DIY Hair: Vintage 1940s Victory Rolls
I love to dye my hair all colors of the rainbow. I love all things vintage, and I enjoy creating art, taking photos, and doing it myself.
Victory rolls are adorable for any occasion!
Prepping for Victory Rolls
I am doing this style on my short hair, but it works on all lengths. The only difference is that those of you with long hair will have more to roll. You might also have a different curling pattern.
Materials Needed:
- Curling iron
- Bobby pins
- Brush (for teasing)
- Hairspray

With this tidy 'do you'll look like the bees knees.
Instructions for Creating the Victory Rolls
Curling the Hair
- I start off by curling my hair in about 2"x2" sections.
- I curl my bangs towards my face, and everything else away.
- Once I've curled a section, I roll it back up and leave it pin-curled. I prefer to leave my curls kind of standing on my head, rather than lying flat against my scalp. This helps give my roots some volume.
- Leave the curls pinned on top of your head for about 20 minutes.
Creating the Victory Rolls
- Once my hair has set, I'll take all the pins out.
- Take your bangs (the section that was curled towards your face) and comb them out. Split the bangs in half, and spritz a bit of hairspray on the roots in the middle of your part. Then, lightly tease the hair near your roots.
- Once your bangs are sufficiently teased, gather them back. While holding them straight up, smooth the hair on the front and the outside. You don't want your teased hair showing!
- My part is on the right, so I pulled my bangs up to the left. Loop the hair around your finger and curl the ends around to create a circle. Try to keep the ends towards the back of your head so they don't stick out! Position your roll how you'd like it. You can have it standing like mine, or place it flatter to your scalp.
- Secure the roll with bobby pins and hair spray. I make sure to use bobby pins that are my hair color, so they aren't easily seen. I usually put one in from the bottom and one in the front. Because you've teased your hair, you should have some volume!
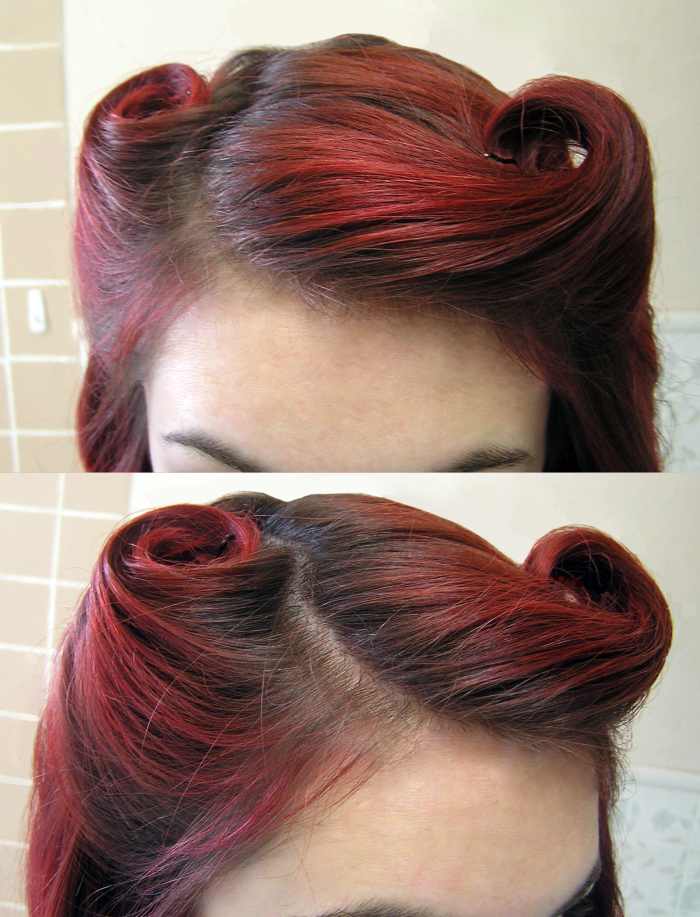
It's important to keep a clear part and maintain volume in your rolls.
Read More From Bellatory


Finishing the Look
Now that you've got your hair rolled up, it's time to tame!
Since my hair is short, all this really takes is some running through with my fingers. There's not much else I can do. If you have longer hair, try to define your curls!
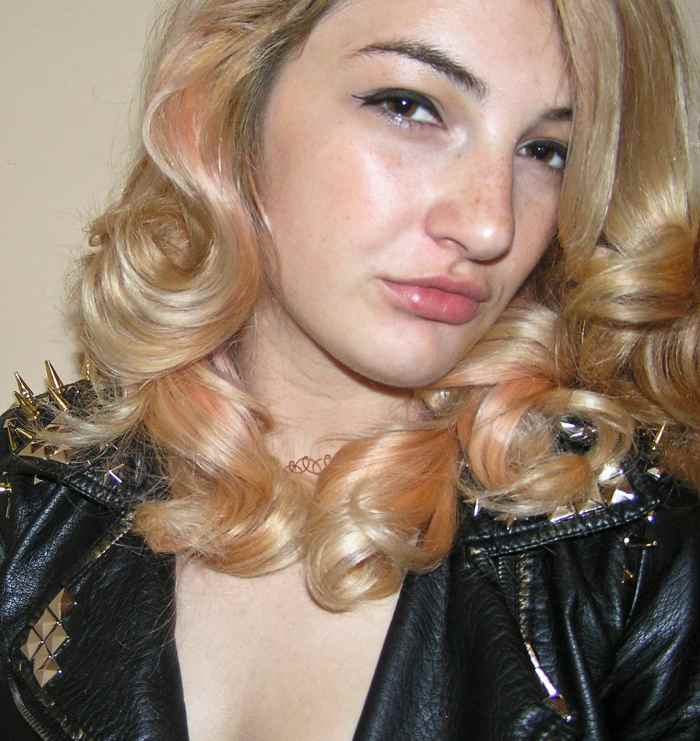
For Longer Hair
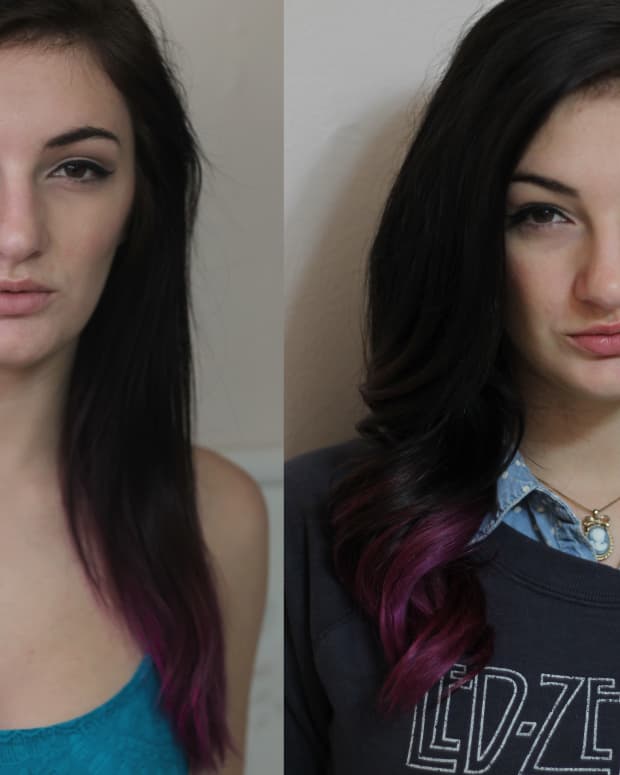
Take each curled section that seems to be clumping together and brush it out on your palm. This will help the curls look smooth and help it take shape. The picture below illustrates how your hair will look if you use this method (it was back in my longer-haired days).
Go over everything with some hairspray, and you're done!
More Vintage Hair
Thanks for checking out this tutorial! If you're interested in more vintage dos, I'm always working on something new! But for now, kick it back a decade with this everyday vintage curl.
© 2014 Alex Rose
Comments
Jennifer from New Jersey on January 30, 2014:
Very pretty. And quite creative, bringing the look back!