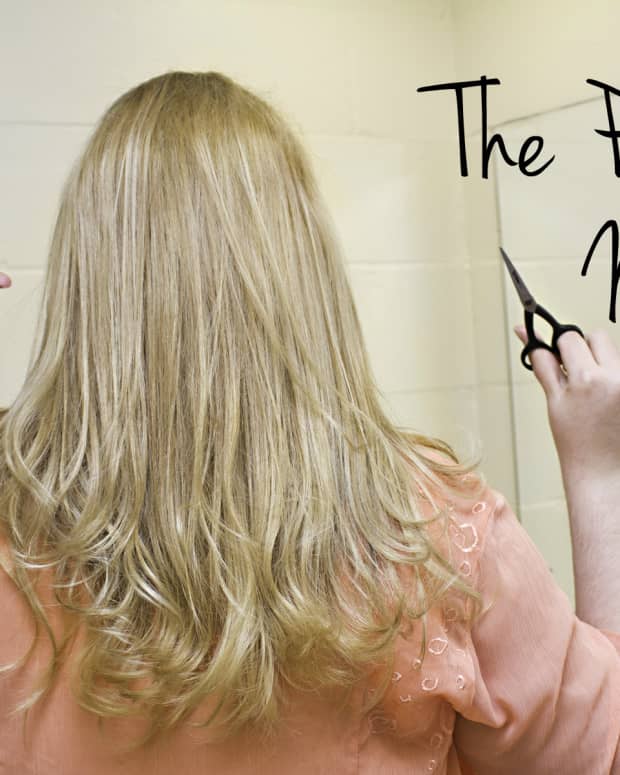
DIY Haircuts: 5 Ways to Cut Your Own Hair
Lauren is a busy mother of two magnificent children and loves music, food, and experimenting with her hairstyle.
These five cuts will have you looking your best for less!
While I always appreciate a good professional haircut, those trips to the salon can be expensive. I’ve gotten to a point in my life where I’m not too picky about my hair, as long as it looks fairly decent. If you want to save money and are willing to be stylistically adventurous, maybe you should try giving yourself a haircut. These five cuts will freshen up your look and won't cost you a dime!
5 Easy DIY Haircuts
- Simple Trim
- A-line Bob
- Pixie
- Bangs
- Layers
But cutting your hair is only half the battle. To look good, you have to have healthy hair too! That's why I've also included some post-cut haircare ideas to keep those locks tame and healthy.
How Not to Eff It Up
By following these tips, your cut will (most likely) not end in disaster.
- Prepare the proper materials for your hair—splurge on that fancy comb or a nice hand mirror.
- Work in a private space with good lighting. (Most likely a bathroom.)
- Leave some wiggle room; you can always cut more later.
- Don't cut your hair when it's soaking wet. It will shrink once it's dry.
- For wavy or curly hair, cut dry. For straight hair, cut damp.
What You'll Need
Before you embark on your haircutting adventure, make sure you have these items.
- Haircutting Shears: You probably shouldn’t hack your tresses off with old rusty scissors from the kitchen drawer. You can get a decent pair of shears for about ten dollars.
- Mirror(s): A large bathroom or full-length mirror and a hand mirror with a handle to see the back. You know, so you can see what you’re doing.
- Hair Bands: To hold your hair.
- Distraction-Free Space: You’ll want to focus all your attention on your hair. And your hands. Because they’ll be cutting your hair. Unless, of course, you want to go crazy and try it with your feet.
- Broom or Vacuum: To clean up your cut hair.
- a Sense of Humor or a Backup Plan: Just in case things go badly.
- Towels: Lay a towel on the ground to make cleanup a little easier. You may also wear one around your shoulders to keep hair off of your clothes.
- Casual Clothes: Wearing a simple t-shirt and sweats will make it easy to just throw your clothes in the wash to remove any extra hair after your done.
1. Simple Trim
Best Hair Type: Any hair type
Best Face Type: Any face type
Difficulty: Easy
This easy haircut works best for longer hair and is ideal if you've never cut your own hair before. You can trim as much as you like. By tying your hair in a ponytail at the top of your head, you are able to clearly see what you are doing. This video does a good job of showing how to texture the ends after the initial cut. I’ve done this cut twice, and both times I was very pleased with the results.
Cut Overview
- Brush out your hair.
- Gather all of your hair into a ponytail at the top of your head. You want it to be right at the edge of your hair.
- Measure how far you want your first layer to fall.
- After using your fingers to mark the desired length, simply cut straight across below your fingers.
- Cut upwards over your initial cut to prevent choppiness.
If you have short hair, the process is slightly more involved. This is because you may not be able to tie your hair at the top of your head. If it is only halfway there, your cut will be layered poorly.
2. A-Line Bob
Best Hair Type: Straight or wavy
Best Face Type: Oval, long, or heart-shaped
Read More From Bellatory


Difficulty: Intermediate
This is another cut that you can do from a ponytail, but it requires a bit more nerve and steadiness of hand. It might be helpful to have an additional mirror so you can see what you’re doing in the back. I’ve given myself this haircut three times, and while none of them were perfect, I really liked the fun look. Sometimes the messy, uneven end result of this haircut is preferable to straighter lines. But if you are a perfectionist, using a trimmer on the ends while your hair is still in a ponytail can straighten things out. Also, as demonstrated in the video above, don't be afraid to go through each step multiple times until you reach your desired length. doing several passes assures that you don't cut too short or unevenly right off the bat.
Cut Overview
- Put your hair in a low ponytail.
- Part two more separate sections in the front.
- Cut your hair in the back right below the hair tie. (Slide the hair tie down if you want it longer.)
- Even everything out with scissors or a trimmer.
- Let this section down.
- Take the front two sections and cut diagonally, starting at the length of your initial cut.
- Twist strands of hair from these sections and slide your scissors down.
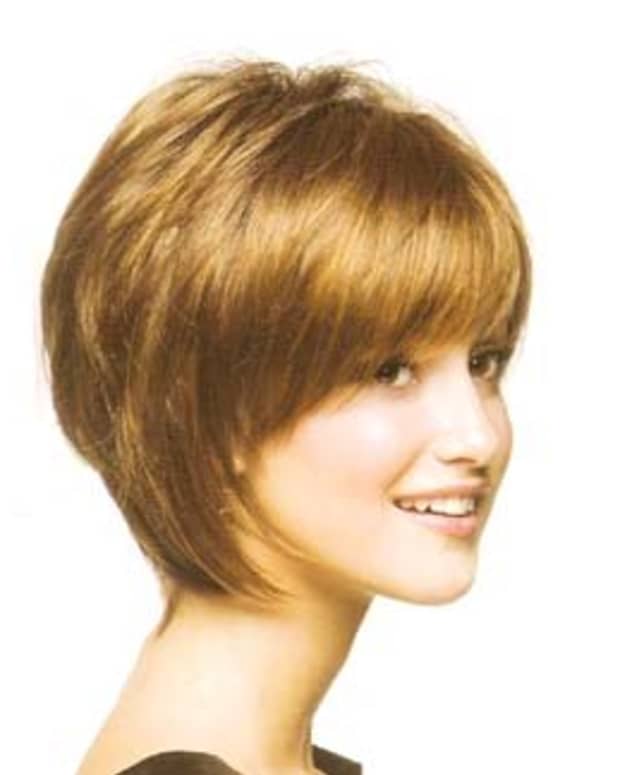
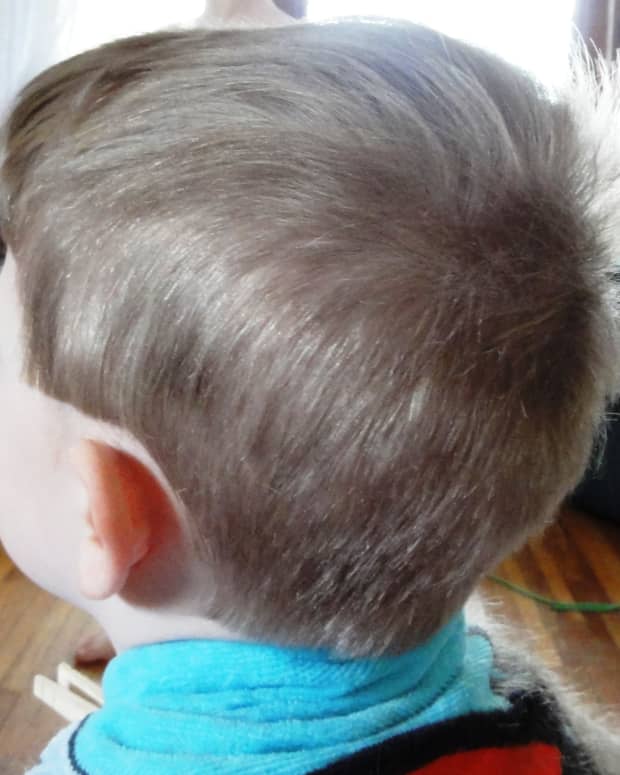
3. Pixie
Best Hair Type: Straight or wavy
Best Face Type: Oval, square, or heart-shaped
Difficulty: Intermediate
If you’re feeling really adventurous, you can tackle this pixie cut. I haven’t tried this one yet, but maybe I will someday. The hurdle with this cut is that since you’re cutting it so short, there’s not a lot of wiggle room to get it professionally fixed if you mess up. But if you’re really confident with your abilities or just apathetic towards your hairstyle, give this one a try.
The video above describes how to trim up hair that is already short into a pixie style and she gives some good hair cutting techniques. This is obviously a less nerve-wracking cut to do if you already have short-ish hair, but if you think you're ready to make the chop, go for it!
Cut Overview
- Section the hair that you want to keep long on top of your head.
- Clip the rest of your hair up so only the bottom layer is present.
- Use a No. 5 trimmer to cut to the desired length.
- Move on to the second layer. It should be slightly shorter than the first. (If it's particularly long, you will need to cut with scissors before using the trimmer.)
- Layer the last section of hair on your crown with scissors. (It should be slightly shorter than the hair you sectioned off at the beginning.)
- Use a more fine trimmer to even and smooth edges.
- Add layers hair you initially sectioned by pulling it in front of your face cutting downward.
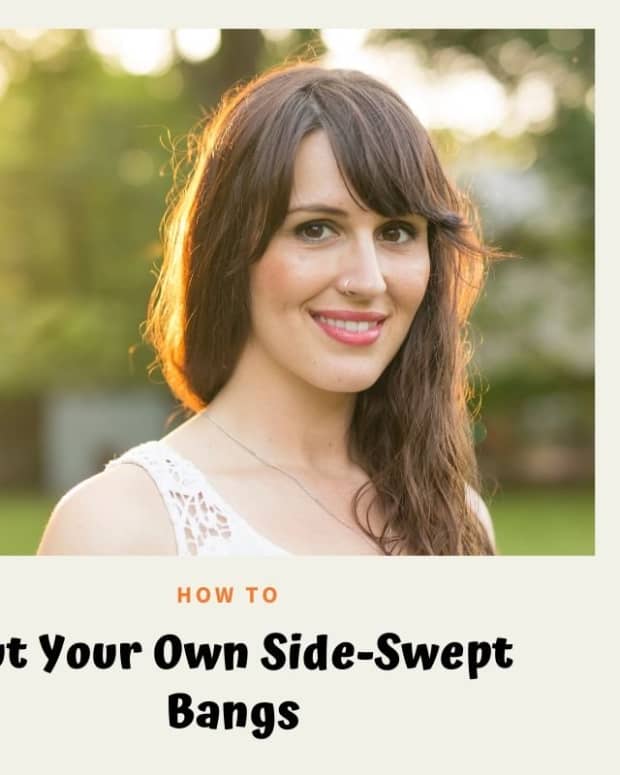
4. Bangs
Best Hair Type: Any hair type
Best Face Type: Round
Difficulty: Easy
Bangs can be a great addition to almost any hair length and style. If you've been dying to try bangs, this is the perfect beginner cut. (Before you get started, be sure that you have a fine-tooth comb or another tool that will part your hair precisely.) It is much easier than trying for blunt, straight across bangs. Cutting upward after the initial cut allows for a more natural finished product. This style is pretty straightforward, but there are tons of different bang styles that you can try.
Cut Overview
Note: Be sure you have a skinny comb; anything that can precisely section your hair.
- Section the hair to be cut by putting three fingers across the hairline. Brush down from above.
- Follow the line you've made down to your ear and pull that hair forward. Do the same on both sides.
- Use a hair mist to wet your hair a little and brush down.
- Take the section of hair from the top of the crown and clip it up.
- For longer fringe, cut straight across. Don't cut too short initially because you will pass through again. (In the end, your fringe should fall to where the arch of your brow is.)
- Turn scissors vertically and trim upward to even it out.
- Use the same motion to cut diagonally along the hair outside of your fringe, until about the edge of your brow, to help it fade.
- Let down the top section of hair.
- Trim upward on the longer hair to blend with the rest of the cut.
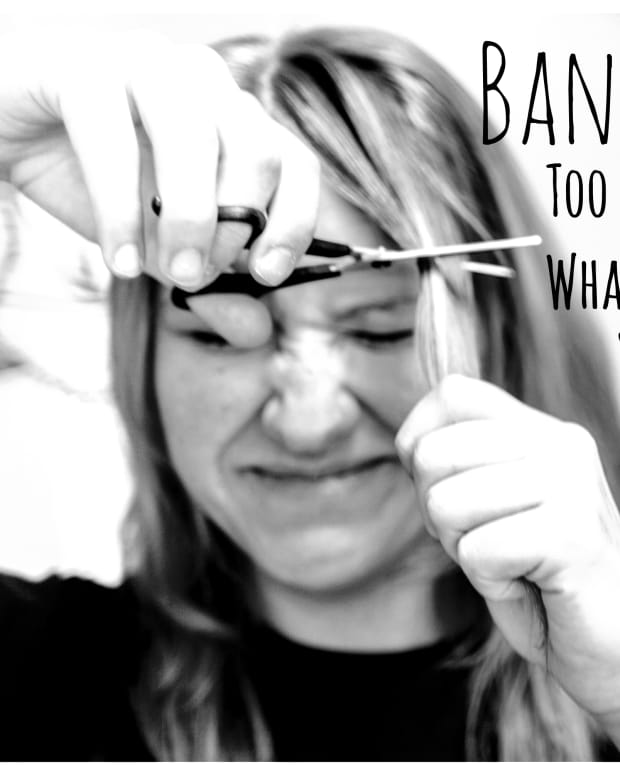
If your bangs don't come out quite as you would have liked them to, there are some creative fixes out there that'll get you through the growing out stage.
Trimming pre-existing bangs is obviously much easier than cutting them for the first time. The technique is very similar, but you flip the hair up to trim rather than cut straight across.
5. Layers
Best Hair Type: Straight or wavy
Best Face Type: Any face type
Difficulty: Easy
Sometimes, all you need to freshen up your look is some layers. This style will make your hair feel lighter while creating volume and the illusion of length throughout.
The process outlined above includes a haircut that gets longer as it gets closer to the spine. For people who prefer a little more movement in their hair, this type of cut will make your layers flow better and look more natural.
Cut Overview
- Separate top two-thirds of your hair into a bun.
- Cut off the desired amount from bottom third by bringing your hair in the front and dividing it into two parts on each side.
- Take one part and cut straight across and then upward to help blend the layers. Use this as a guide and cut all three other parts.
- Tie up the bottom and bring down the two-thirds.
- Create a center part. Take a 1 cm section of hair from the right and bring it to the left. Then tie up the right side of your hair.
- Starting from the part, create a 2 cm section on the left side.
- Pull this section straight up. Keeping your fingers parallel, cut straight across, and then up.
- Move about half of this hair to the right side.
- Do the same thing with another layer of hair.
- Continue moving half of the hair to the other side and keeping the rest as a guide to cut again.
- Let down the right side of the hair, but remember to section a 1 cm portion to use as a guide.
- Do the exact same thing on this side.
- Once done, create a center part.
- Create a line from the center part to the top of the ear.
- Wet if needed, and bring hair down at an angle with your fingers.
- Cut a little on an angle to shape your face.
- Repeat on both sides.
The Possibilities Are Endless
These are five great haircuts to try on yourself, but you don’t have to be limited by these styles. You can find a video or tutorial showing you how to give yourself a haircut in pretty much any fashion or type. In addition, you can learn how to color your hair or give yourself extensions. (There is no limit—feel free to break out the shears and get creative. But also it's important to be prepared.) Obviously, it's preferable to get your hair cut by a professional, but if you're running low on money or just want to have a little fun and experiment on yourself, there are tons of videos and resources out there that can help you do it yourself.


Post-Cut Care
Now that you've got a new 'do, it's time to give it some TLC. Here are a few easy at-home post-cut treatments.
Apple Cider Vinegar Hair Mask
This mask is super easy to make and will nourish and moisturize dry and frizzy hair.
Ingredients
- 1 egg
- 1 tablespoon apple cider vinegar
- 1 tablespoon honey
Instructions
- Mix all ingredients in a bowl.
- Run through hair.
- Leave on for 30–40 minutes.
- Rinse thoroughly.
Cleansing Scalp Scrub
Using a scalp scrub made with oil will clear dandruff and promote healthy hair growth without drying you out. Scrub away!
Ingredients
- 2 tablespoons sea salt
- 1–2 tablespoons lemon juice
- 1–2 tablespoons olive oil
Instructions
- Mix all ingredients in a bowl.
- Wet your hair.
- Massage scrub thoroughly into scalp.
- Let sit for 5–10 minutes.
- Rinse well and shampoo.
Hot Oil Treatment
A hot oil treatment is an easy way to help build hair strength, moisturize frizzy strands, and prevent dandruff. But it's not for everyone—if you have sensitive skin, be sure to do a patch test on your wrist before applying. Also, be sure to use pure oil for the best results.
If oil just isn't for you, there are plenty of other moisturizing options available.
Ingredients
- 3 to 6 tablespoons of the oil of your choice (almond, argan, avocado, jojoba, olive, etc.)
Instructions
- Wash hair thoroughly.
- Brush to remove knots.
- Microwave oil for 10 seconds.
- Test oil to make sure that it isn't too hot.
- Apply evenly over hair and massage into scalp.
- Cover head with a shower cap for 20 minutes.
- Rinse oil from hair and condition.
The Best Natural Ingredients for Your Hair
| Hair Type | Ingredient |
|---|---|
Dry | Honey |
Sensitive | Grapefruit |
Dyed | Coconut Milk |
Weak | Coconut Oil |
Greasy | Sea Salt |
Supplementary Resources
- How to Trim Natural Hair
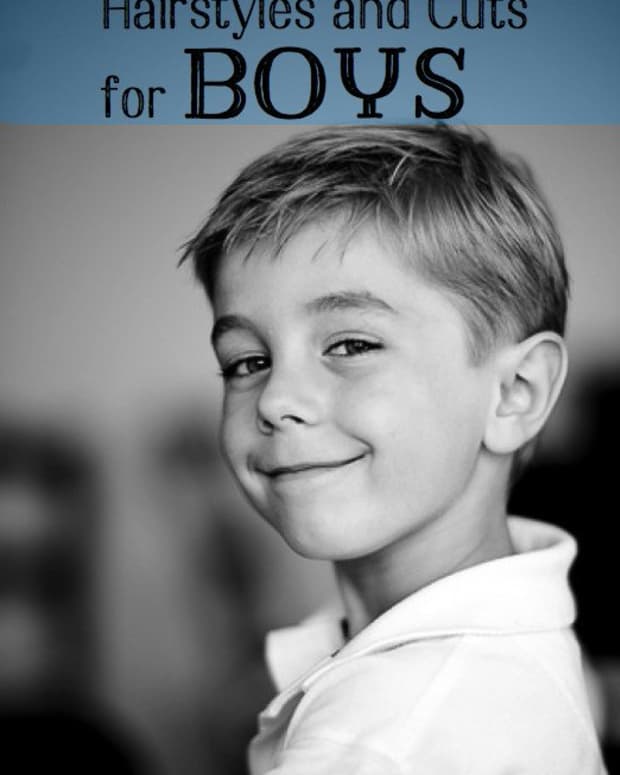
These expert tips make trimming your hair at home a breeze. - Men's Hairstyle Tips
Celebrity hairstylist Chris Appleton shared a tutorial for cutting men's hair at home. Ahead, find a step-by-step guide for an at-home haircut.
© 2018 Lauren Flauding