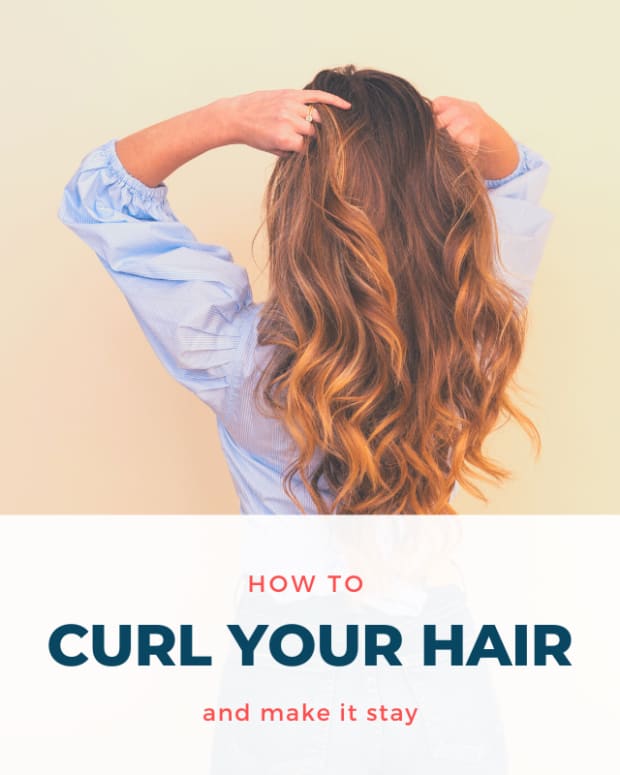
DIY Hair: Perfect No-Heat Curls
I love finding alternative ways to style my hair without using heat or products. I can achieve salon results without damaging my hair!
Perfect no-heat curls are easy to achieve.
author
Finding the Solution to No-Heat Curls
I've tried everything. Curlformers, foam curlers, bendy foam stick rollers, rag rolls, pin curls, you name it. I am serious. And there's something wrong with each one for me.
Curlformers? They work, but they are not comfortable to sleep in, and I value my sleep more than my hairdo.
Foam curlers are not only uncomfortable, but they give me Shirley Temple hair, which is not exactly what I'm going for.
Bendy foam stick rollers usually don't get my ends curled. They also fall out while I sleep and produce inconsistent curls.
I actually do like rag rolls, but I found that the best way to get results is to use a curling iron first to get the basic shape. While my hair was still warm, I would then roll it up on the strip of fabric, and tie it off. Basically, I was defeating the whole purpose of no-heat. Same with pin curls.
Then I found the best way ever to curl my hair. It eliminates all of the previous issues with every other method. It doesn't hurt to sleep in, it doesn't fall out when I sleep, I can keep my ends curled, and I don't have to use a curling iron before rolling my hair up! It's seriously perfect, and it looks cute as-is. I mean you can go out with your hair rolled up and not look like a hot mess.
So let's talk about what you need first (which is very little), and then I'll go into how you can master this witchcraft.
Supplies
I think the best part about this tutorial is that you only need a bandana, two bobby pins, and your hair. The other best part is that it really does give you perfect curls. Or maybe it's how quick and easy it is to do. Who am I kidding? The whole thing is the best part!
Prep Your Hair
Depending on the level of curl you want, you may need to add some water to your hair. If you're looking for loose waves, don't bother with the water. Sleeping with your hair up in the bandana overnight is enough to get the look you are going for!
If you want more of a bouncy spiral curl that will last a day or so, then add water! Don't get your hair wet—just damp. I usually just dampen my hands with water and run my fingers through my hair. Be sure to get the ends, because you want those to set properly in a curl.
Sometimes, I'll add a bit of coconut oil to my ends. Be careful with this, because if you add too much, it can hinder your curls from setting. Just a teaspoon spread evenly throughout your ends should be enough to give them the nourishment they need! Because you may be a little confused, I'll actually tell you how this all works next.
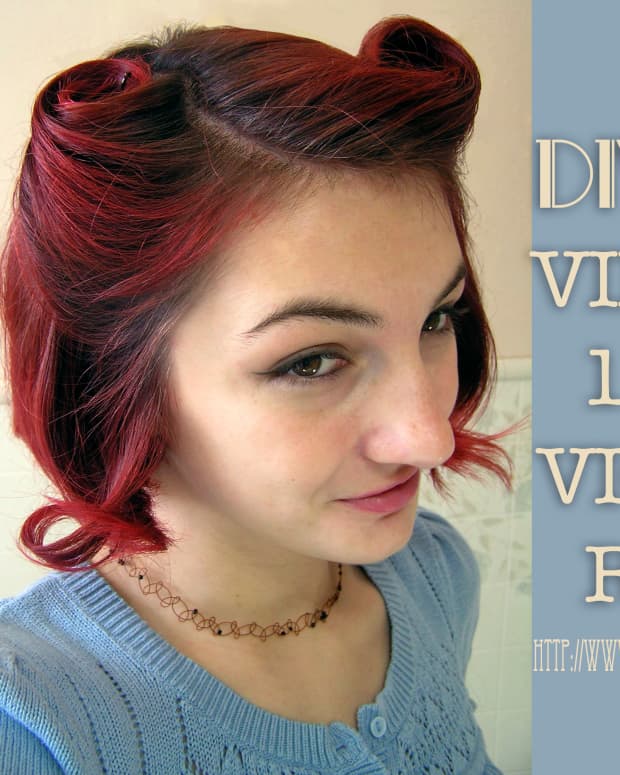
Hair wrapped up and curling!
author
Folding the Bandana
The first step to this is really getting your banana tied off to fit your head. To do this, you're going to have to fold it properly.
Read More From Bellatory


- Lay a square bandana out flat.
- Fold it on a diagonal (from corner to corner). Once you've done that, it should be a big ol' triangle.
- Begin rolling the bandana into a strip starting at the widest part of the triangle.
- Wrap it around your head like a headband, and tie it off at your forehead. Make sure you don't tie it too tightly—you'll get a headache. It should be loose enough that you can fit a few fingers between the band and your head.
It looks stylish and pretty as it curls throughout the day, then take the bandana out in the evening, and you're ready for a night out.
author
Wrapping Your Hair
This whole thing is kind of weird to explain in words, so bear with me. If you have any trouble, be sure to watch the video demonstration at the end of the article.
- Part and brush your hair.
- Place the bandana around your head with the tied-off end at your forehead. The back of the bandana should sit at the nape of your neck—at the bottom of your hairline.
- Start on one side of your face by grabbing a small, 1-inch section of hair.
- Pull it away from your face, and then up and over the bandana. You're basically just spiraling your hair away from your face and around the bandana.
- Hold the section of hair you just wrapped around the bandana, add a small section of hair to it, and wrap it around again. At this point, it becomes kind of like a french braid.
- Repeat until you reach the center of the back of your head.
- Stop adding more hair to the spiral when you've reached the center, right at the nape of your neck.
- Continue to wrap that section of hair without adding any more sections until you come to the very ends.
- Secure them with a bobby pin at the back of your head.
- Repeat steps three through nine on the other side.
Play the Waiting Game
The process of wrapping your hair is super easy once you have done it a few times, and it only takes about five minutes. The wait is what gets you! Depending on how curly you want your hair, you can leave it in for anywhere between four hours and overnight.
I usually do this as an overnight process, so my curls will last longer the next day. There have been times where I will put my hair up in the bandana in the morning so that I can go somewhere with curly hair that night. I definitely recommend sleeping with your hair up, though.
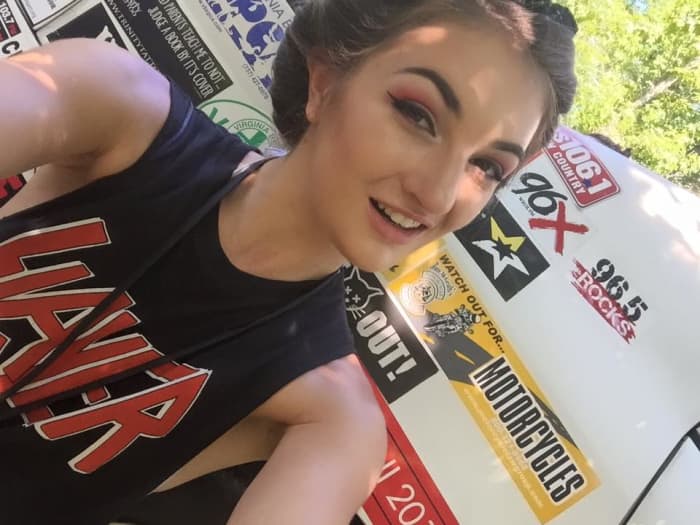
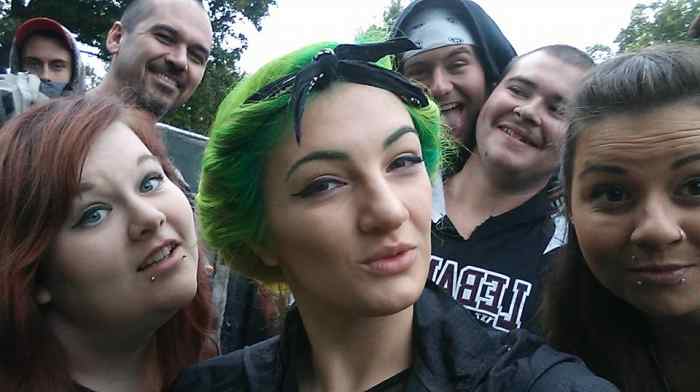
Like I said earlier, this is a cute look you can wear out in public. Several times I've been at concert festivals where it is either hot or rainy, so I leave my hair up in the bandana, and once the weather has improved, I will take it out and have a flawlessly beautiful hairstyle.
Wrapping Hair Instruction Video
Comments
liesl5858 on March 26, 2018:
What a beautiful curly hair you got there. You made it look so easy to curl your hair without chemicals. Good tips Alex. Thank you, I must try it as I got long hair now.
Alex Rose (author) from Virginia on January 28, 2017:
I'm happy it worked for you too! As you can see my hair is REALLY long but it works perfectly!
Marlene Bertrand from USA on January 25, 2017:
I came back to say I tried this and it works! I had some doubts about it working on shoulder length hair, but it truly works. Now I know why you roll your bangs back the other direction. Good tip. I will do the same next time I curl my hair. Thank you for the best "no heat" hair curling solution.
Marlene Bertrand from USA on January 24, 2017:
I have been wishing there was a way to curl my hair without using heat. Like with your experience, all the other methods, for some reason or other, don't work. But, this headband treatment looks like it is not only comfortable, but will produce excellent results. The bonus is that it is cool enough to run errands while curling my hair. It's perfect! Thank you for sharing this amazing hair styling technique.