DIY Hair: How to Touch Up Roots at Home
I love to dye my hair all colors of the rainbow. I love all things vintage, and I enjoy creating art, taking photos, and doing it myself.
Depending on how quickly your hair grows, you may need to perform a root touch-up anywhere from two weeks to a month after dyeing your hair! My hair grows pretty slowly, so I usually wait about a month or two before I actually do something about it. I think by now everybody knows my natural hair color isn't really blue.
However, the majority of people who need to touch up their roots are dyeing their hair more natural colors. It's important to keep your current hair color looking fresh by hiding the fact that your hair color isn't really what people think it is.
Ideally, you'll need to touch up your roots if half an inch to an inch of growth is showing. If you let your roots grow much more than an inch, it can be difficult to bleach or dye them evenly. The warmth from your scalp processes the chemicals faster, so if your roots are super long, the color may end up uneven.
You're either going to need to bleach your roots to lighten them or dye them if you need them darker. So, ask yourself if you want to go lighter or darker? Then, decide which process will work for you.
Dyeing Roots
When my hair was its natural color, I used to dye it a natural-looking red. My skin tone was light enough that red hair looked believable—until the roots started to show. Luckily, the red hair dye worked so well on my naturally brown hair that I didn't need to bleach it first. You may find yourself in a similar situation.
If you end up needing to dye your roots, don't worry. The process is pretty easy and can be completed in your own home. Stores like Sally's Beauty Supply and WalMart have kits specifically for touching-up roots—or you can purchase a regular box dye (just be prepared to not need all of the mixture).
There are also root comb applicator bottles you can buy for just a few dollars that allow you to deposit color easily to just your roots.
Tips for Dyeing Hair Roots
- Mix the dye according to the instructions on the box.
- Fill the special root comb applicator bottle (if using).
- Comb it through your hair while gently squeezing the bottle. Make sure you're coating your roots, but not overlapping your previously dyed hair too much.
- Massage the color into your roots to ensure it's spread evenly!
- Leave the dye on your hair for the specified amount of time.
- Rinse it out with lukewarm water.
Bleaching and Toning Roots
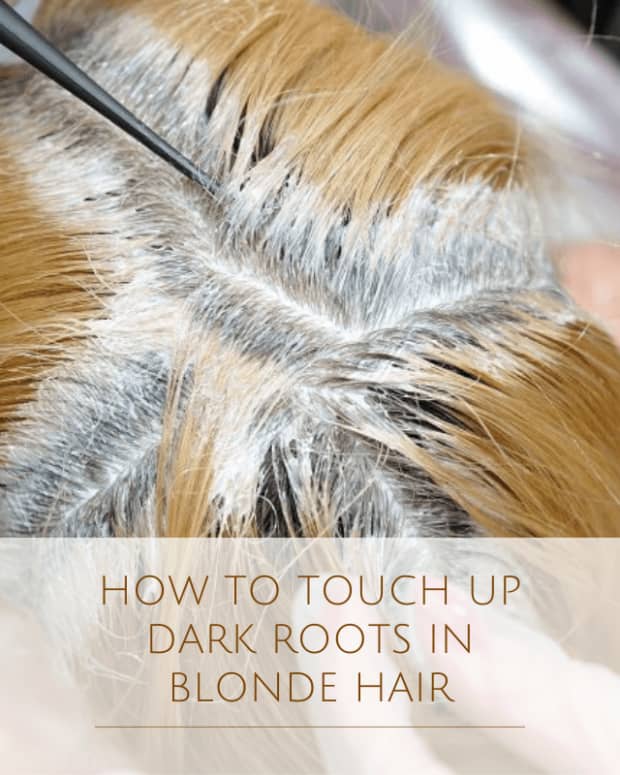
If you lightened your hair and your dark roots are coming in, you're going to have to pick up some bleach! This process is going to be a bit more delicate and tricky than just dyeing light roots darker.
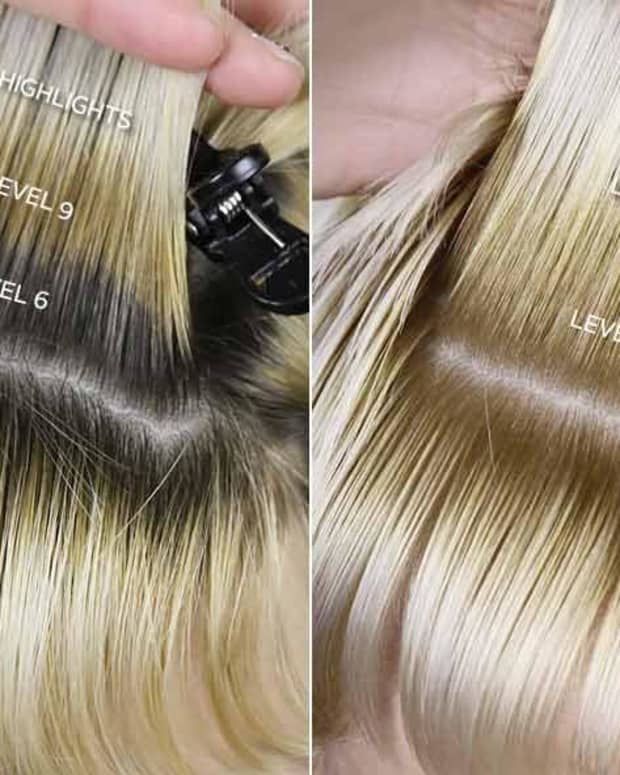
Simply bleaching dark roots will not fix your hair. When dark hair is bleached, it tends to lift to orangey and yellowy tones. That means you're going to have to neutralize the color after bleaching to get your roots to match the rest of your hair.
The video below shows how I bleached my own roots before dyeing my hair pink. The first half of the video will be most relevant to the majority of you—unless you're going for the unicorn thing.
If you went to a stylist to get your initial process done, try to find out what kind of toner they used—brand, product number, and tone. Was it golden? Ash? These things will be important for matching your hair at home!
You'll need to bleach your roots within half a shade of the rest of your hair. Go easy with some bleach powder and a 20 volume developer.
Read More From Bellatory
How to Bleach and Tone Your Roots at Home
- Separate your hair into four even sections. Divide it down your center part vertically, and then horizontally across the back of your head.
- Apply the bleach layer by layer, section by section. Cover the full growth of the roots while being careful not to overlap hair that is already bleached.
- Leave the bleach on until it has lightened your hair to the proper shade.
- Wash it out with lukewarm water.
Now it's time to get ready for toner! Toner is typically mixed with 20 volume developer. I've included a Wella toner chart below to help those looking for the right shade of blonde!
Apply toner in the same way you applied the bleach—covering your roots first. When your roots are just about the right shade, use the rest of the toner to blend into the length of your hair. This will help the color to appear more even and intentional. Rinse again with lukewarm water and move on to conditioning!
Bleaching Roots (Before Dyeing Pink)
Conditioning and Aftercare
Whether you've dyed your roots or bleached and toned them, ease up on the shampoo for a few days. Color processing tends to dry your hair out and leaves it feeling fragile, and shampoo will only further strip your hair of natural oils.
A great product for re-moisturizing your hair is coconut oil! The molecules penetrate your hair shaft and repair from within. I always apply a small amount of coconut oil after processing or washing my hair to keep it shiny and healthy. I've had a few readers who are allergic to coconut oil. In that case, argan oil and vitamin E oil are great substitutes! Make sure to just use a small amount and massage it into the ends and dry areas of your hair. That way you don't end up with a greasy mess.
You may also want to avoid hair products for a few days while it bounces back to its old self. Heat can further damage your hair, so it's a good idea to give it a rest after processing so you don't fry it off.
More Hair DIYs
Now that you're enjoying the no-root life, check out some of my other articles for your next hair journey!
This content is accurate and true to the best of the author’s knowledge and is not meant to substitute for formal and individualized advice from a qualified professional.
Comments
Lynsey Hart from Lanarkshire on March 27, 2018:
Hey nice hub. Love the pink colour in the video, so need to try making that up! Just want to share with you something that I do when touching up my roots (bleaching for bright colours) I put coconut oil on before the bleach. Sounds mad, but means that when you wash out the bleach your hair is lovely and manageable. You can brush through without torturing yourself and makes the sectioning while dying and bleaching much more manageable! Also, your hair still absorbs loads of colour afterwards as it isn't left oily at all.

