DIY Hair: A Guide to Hair Extensions
I love to dye my hair all colors of the rainbow. I love all things vintage, and I enjoy creating art, taking photos, and doing it myself.
Hair extensions can be a great way to shake up your look. Here are a few options you can choose from.
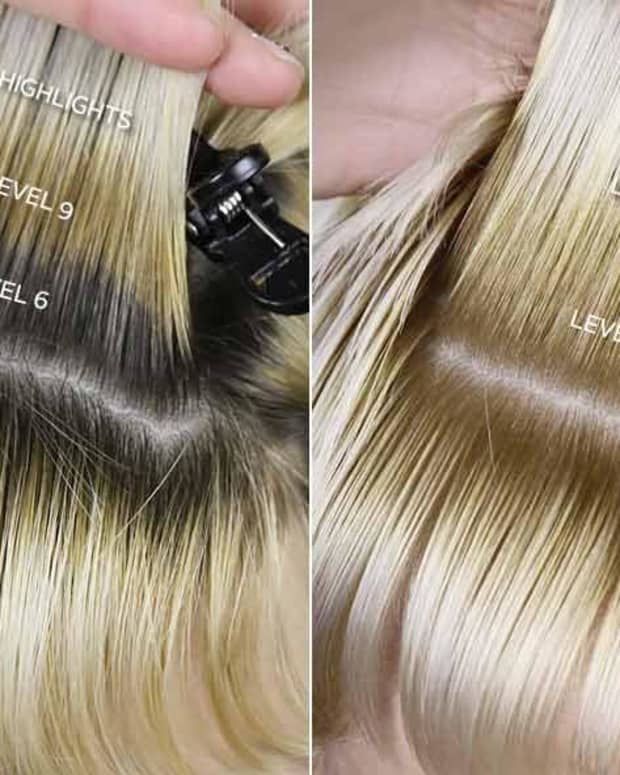
I think everybody secretly wants long hair. But, for some reason or another, we chop it off before it has a chance to get there! Extensions are the perfect cure. There are several types of hair extensions; whether they're glue-in, clip-in, sew-in, or tape-in, learn about them here!
Below is a handy dandy comparison chart, but we'll go more into the details of each specific type of extension further in the article.
Comparing Different Types of Extensions
| Type of Extension | Clip-Ins | Glue-Ins | Fusion | Sew-Ins |
|---|---|---|---|---|
Easy to put in? | Yes | Somewhat | No | No |
Length of time? | As long as you want! | About a week | 3 months | 1-2 months |
DIY? | Yes | Yes | No | No |
Painful? | Sometimes | No | No | Sometimes |
Hair Damage? | No | Little to none | Yes | No |

I love clip-in extensions!
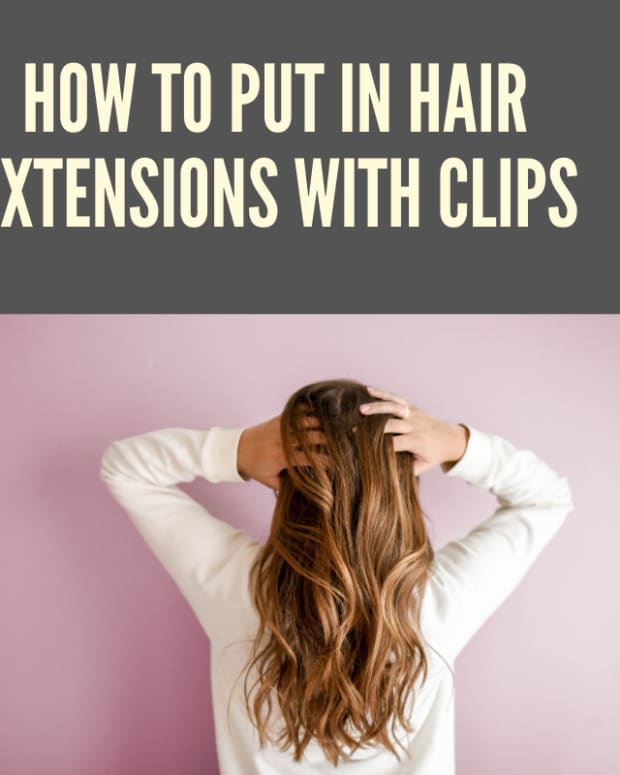
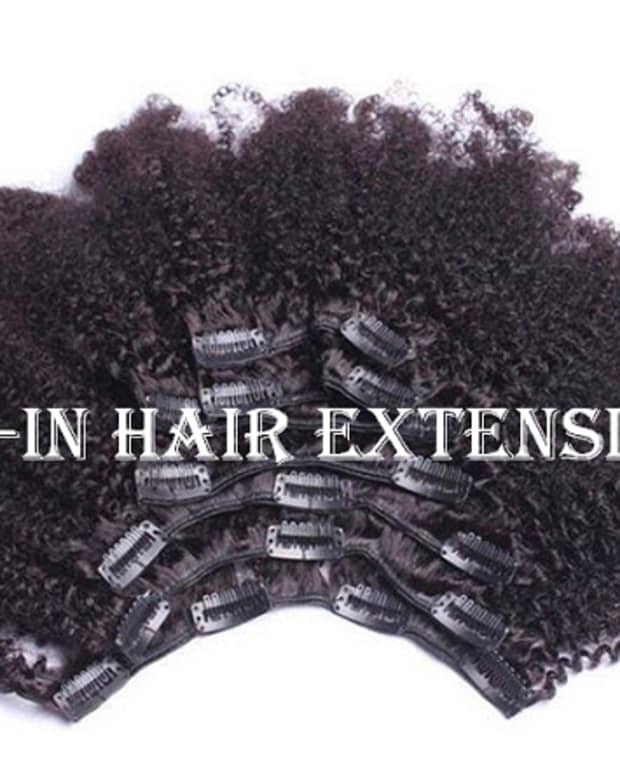
Clip-In Hair Extensions
Clip-In Extensions
Clip-in extensions are probably the easiest to use. You can put them in and take them out at your own discretion–which is perfect for indecisive folks! The only problem I have with my clip-ins is that they're long and heavy. I have 18" curly synthetic clip-ins, and when clipped, they tug on my hair. It can make my scalp pretty sore after an extended period of time, because I don't wear them that often. I would not recommend clip-ins to someone with a sensitive scalp!
The hair, be it synthetic or real, is sewn onto a track, which is sewn or glued onto clips. You can buy clip-ins by the section, or get enough to do your whole head. The set that I have comes with 14 pieces of varying widths. It contains six 1-inch wide pieces, four 3-inch pieces, and four 6-inch pieces.
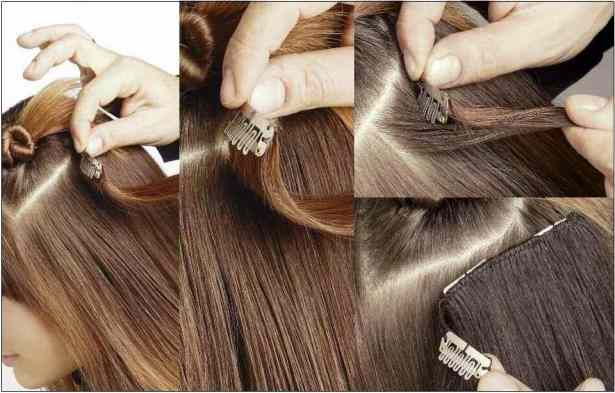
When putting in clip-ins, you'll need a giant butterfly clip. If you have multiple pieces to put in, you're going to want to start from the bottom on the back of your scalp and work your way up.
Divide your hair into a part horizontally about an inch above the bottom of your scalp. Secure the hair above the part with a butterfly clip, and let the hair below the part hang. Grab a large-width extension, and pop all of the clips open. One by one, push the clips upward to secure them to the hair on the bottom of the part. Snap them closed when they've grabbed enough hair to remain in place. You've just put in your first extension!
Use the wider sections to fill up the back of your scalp, working your way from the bottom of your head to the top. Then, use the smaller sections to fill in the sides. Be careful not to put the extensions in too close to your part, otherwise, the tracks will be visible!
That's all there is to clip-ins. Like I said, very simple! Just make sure to secure them well, and you can take them out whenever you please.
Glue-In Extensions

Glue-In Extensions
Glue-In Extensions
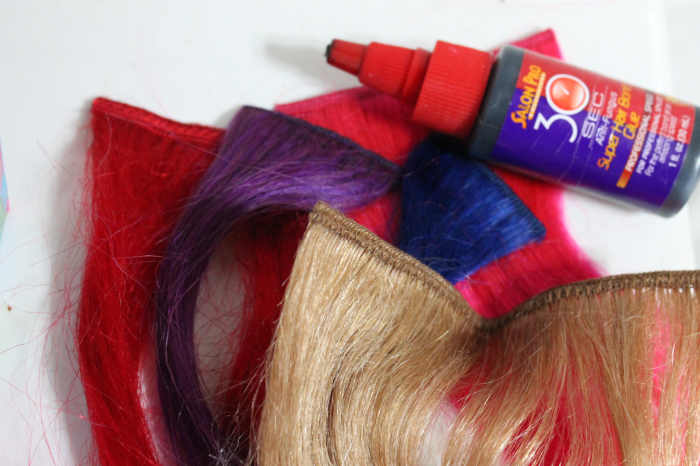
If you're looking for something slightly more permanent, glue-ins are the way to go. Depending on how much conditioner you use, glue-ins can stay in for around 2 showers. I usually don't wash my hair every day, so I can keep these sorts of extensions in for about a week. The downsides are sometimes you can get glue stuck in your hair . . . But with lots of conditioner, you can usually get it out quickly.
Glue-ins, like clip-ins, are sewn onto a track. You can find tons of colors at beauty shops and wig shops, along with latex glue. The latex glue usually comes in black and in white, but I suggest getting black unless you have platinum blonde hair.
To put in a glue-in, it's best to have several mirrors so you'll be able to see the back of your head. You'll need a butterfly clip as well, because you'll be sectioning your hair using the same method as you would for clip-ins.
Read More From Bellatory


When I use glue-ins, it's never to lengthen my hair—only to add colored streaks. I have only put in 5 pieces at most, and I usually just add them to my bangs and the hair around my face. It's hard to glue these extensions onto the back of your scalp by yourself, so I recommend getting some help.
For these, you're going to part your hair horizontally wherever you'd like the extension to go. Secure the hair above the part, so it won't get in the way when you're gluing. Lay down the track and add a thin line of glue across the top of the sewn part. Immediately press it onto the part you've made. I try to press it onto my scalp more than onto my roots, so that I don't get the glue stuck in my hair. The glue is quick to dry, so press it down to your scalp for about 20 seconds and it should be secure.
To remove your glue-ins, hop in the shower and rub lots of conditioner into your roots around the extension. With a little work, it should slide right out.
Tips
Tape-Ins
Fusion/Tip/Tape-In Extensions
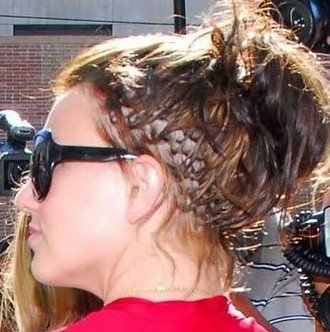
This type includes beads, tips, and things that require heat to seal to your hair. I won't dwell on these long—they're expensive ($1k+), gross, and damaging, and I wouldn't recommend them to anyone. I used tips once, and it ended up damaging my hair and leaving glue in it, which was MUCH more difficult to get out than latex glue.
You shouldn't do fusion things by yourself, because there's a chance you'll just get glue everywhere. And, this stuff is like superglue. You can totally screw up your hair.
Also, when brushing your hair, you can end up pulling out a lot of your own hair, which defeats the purpose. Not to mention, tips look really gross when they're in. All of those Britney Spears hair photos out there? Yeah. Don't do it.
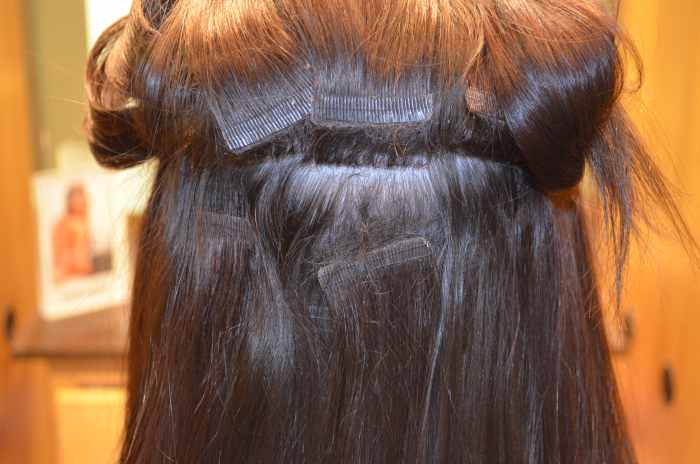
Tape-ins are the one that has merit. Basically, the extensions sandwich a thin row of your hair between two rows of tape-in. They have to be removed with a solution. They can be done very badly, but if you're careful or go to a good salon, you can do them right. Tape-ins have to be removed every month or so, and moved back up to account for hair growth.
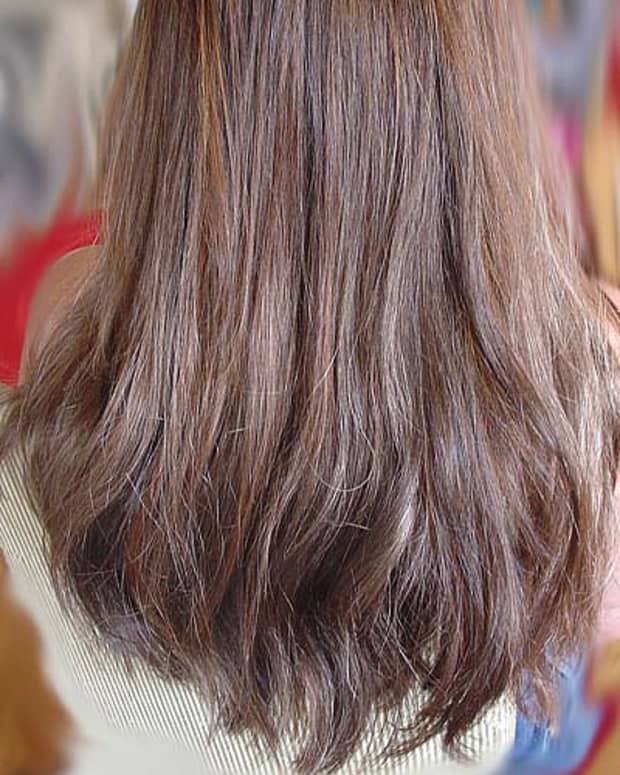
Sew-In Extensions
Sew-In Extensions
Sew-ins are the most like the real thing. You can treat these sorts of extensions like they are your own hair, and they can last around two months with minimal damage. You'll probably have to go to a salon to get them put in, but it shouldn't cost more than $50–$80.
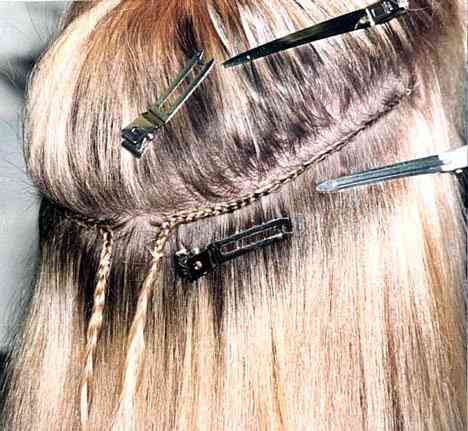
When you go to get extensions sewn in, you bring the hair. You're going to want human hair, so that you can curl and straighten and style without worry. Search online for good quality hair, like Indian Remy.
To put the hair in, synthetic hair will be braided in with your own hair, in a thin braid close to the scalp. The track of the extension will then be sewn onto the braid. This can sometimes be painful, because just like clip-in extensions, the long hair will tug on your scalp.
More on Hair Care
My sister and I often go on hair adventures . . . So check out her article on taking care of long hair!
Here are links to a few articles on how to bleach or take care of bleached hair!
- How to Bleach Dark Hair
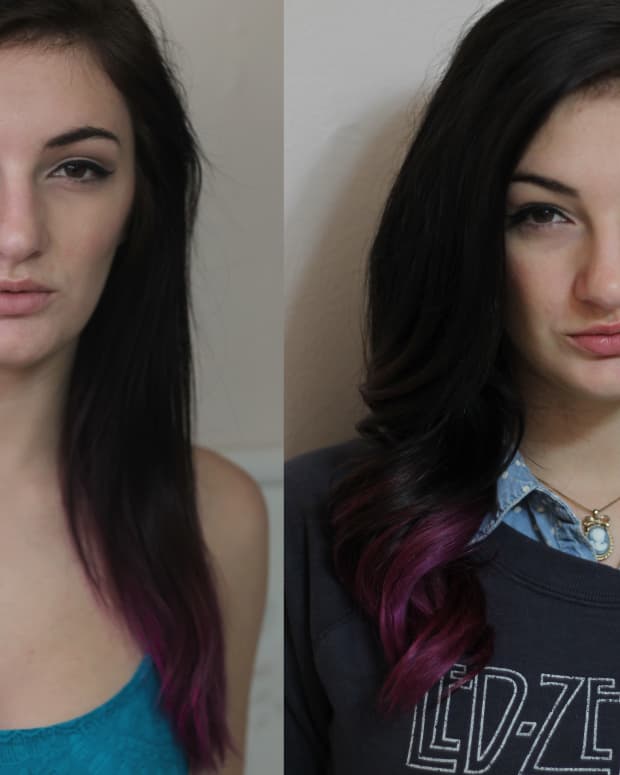
- Grow Out Bleached Hair with an Ombre
- How to Bleach an Ombre
- How to Take Care of Bleached Hair
© 2014 Alex Rose
Comments
FlourishAnyway from USA on May 06, 2014:
Although I am blessed with naturally long flowing hair such that even strangers stop me to give me compliments, not everyone is as fortunate. This is a great way to get instant glam! Voted up and pinning.