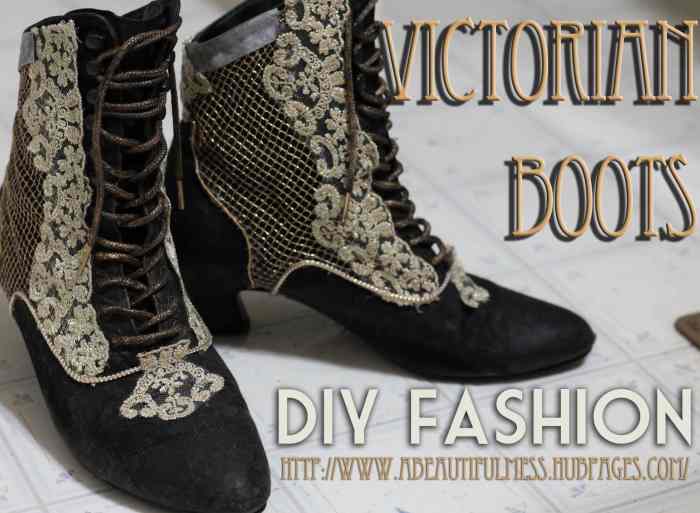
DIY Fashion: Victorian Boots
I enjoy fashion and looking trendy on a budget. I also create art, take photos, and save money by doing things myself.
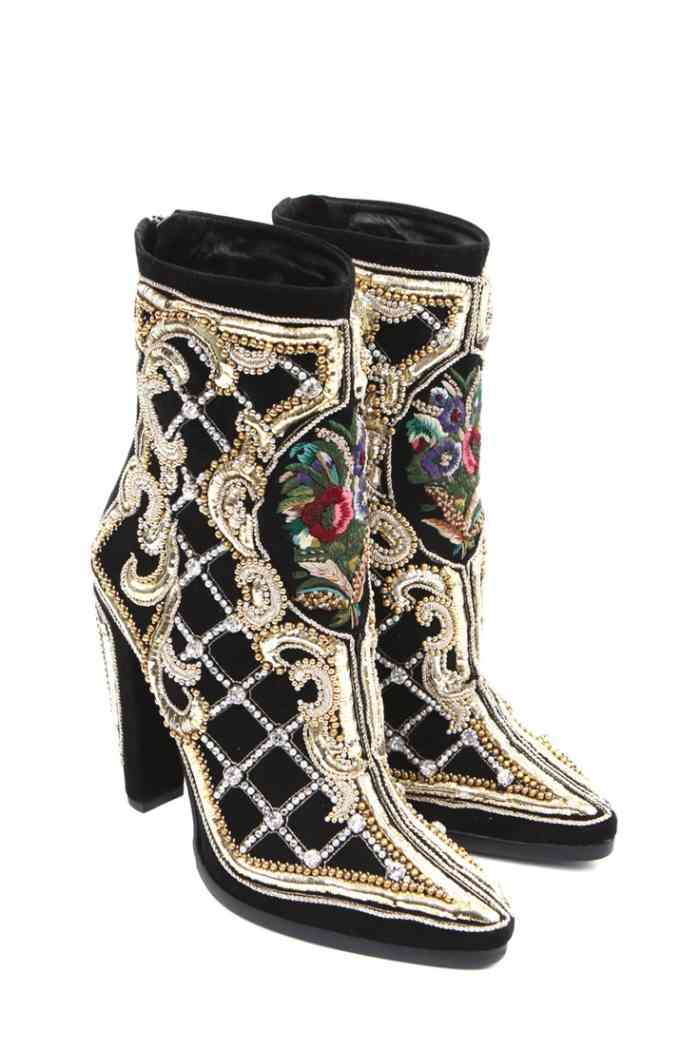
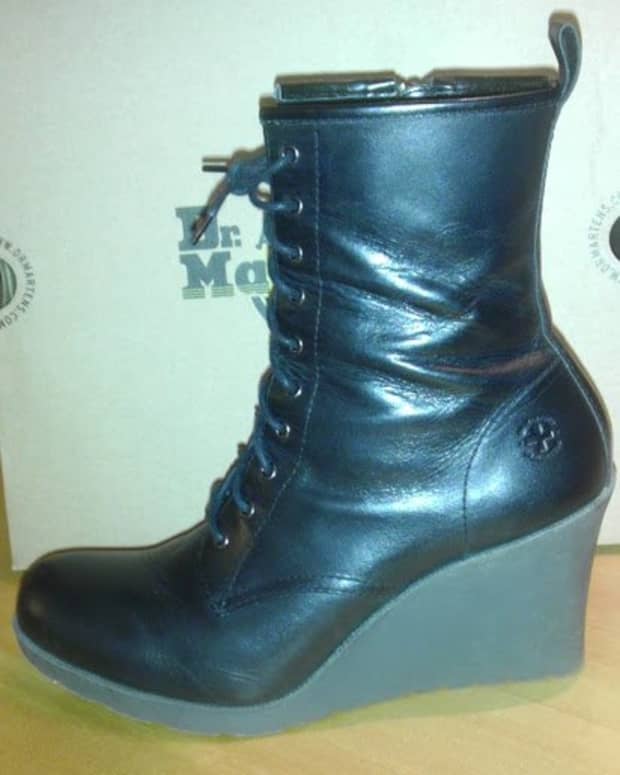
The inspiration - Bailman boots.
Bailman
Sometimes I get a little ambitious. I see a photo or come up with an idea, and I determine that I could easily make that thing, rather than buy it.
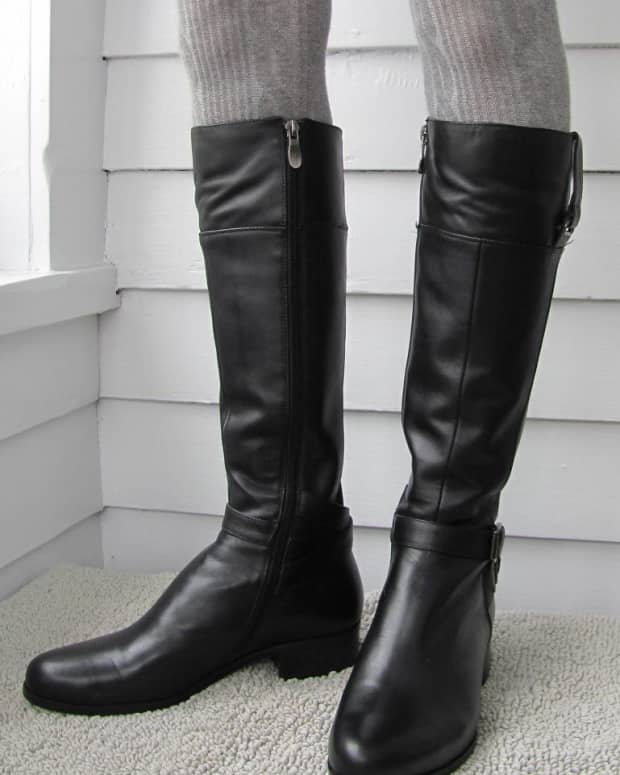
This time, it was these gorgeous Victorian boots. I saw a photo on Pinterest and immediately fell in love. It didn't seem like a possibility until I visited my granny. It just so happens that she's super stylish and also my size, so when she gets rid of clothes and shoes, she'll often ask if I'd like them first! She was getting rid of a black pair of boots, and I knew they were perfect!
I started collecting things to Victorian-ize them: twine, ribbons, embroidery. In the meantime, I still put the boots to good use! They made for a pretty awesome pirate costume, which was also created by granny's hand-me-downs.
I finally collected enough things to create the boots of my dreams—and I also need them for my St. Patrick's Day outfit. Hard work and motivation!

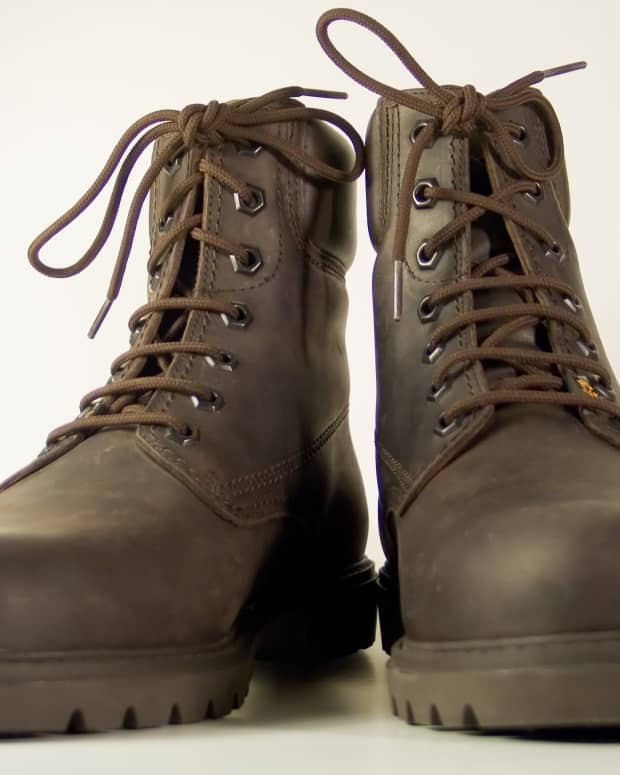
Before bedazzlement. Corset, skirt, and boots all courtesy of granny.
Materials
Honestly, I just used things I found. The only thing I purchased for this project was the embroidery, and I found it on eBay for about $2.
- Granny boots: Seriously, that's what they're referred to as. You can search Google for "granny boots" or "Victorian boots," or just have a really cool granny who can't wear heels anymore.
- Embroidered trim: Search by the yard on eBay or at a craft store.
- Twine, ribbon: The gold mesh that I used on these boots was actually from a bow on a Christmas present from my other grandparents. One side has cool shoes, one side has cool wrapping materials. I'm a hoarder. Whatever.
- Glue gun
- Scissors
- Paint: I just grabbed some enamel paint because it was in the right colors. I didn't use it too much, but on repainting the laces of the shoes to be gold!
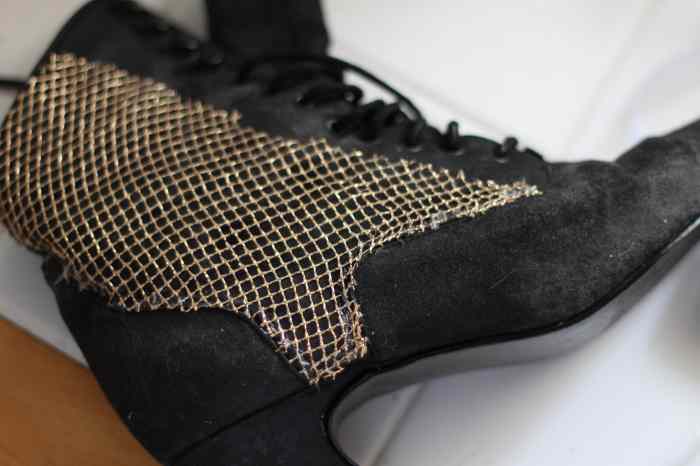
Step 1: Covering the Sides
This was the hardest part of all—and it wasn't even that hard! The thing was, I had a limited amount of mesh fabric (only enough to make a bow on a Christmas gift!). I had to be careful cutting it and gluing it down because of the way it stretches.
Basically, once I had cut out a piece big enough to cover one side of a shoe, I outlined the area with hot glue a few inches at a time and carefully pressed the mesh down. Remember, you're dealing with hot glue—so BE CAREFUL!
I filled in both sides of each shoe with the gold mesh fabric, making sure to keep it trimmed within the borders of the shoes.

Step 2: Adding the Embroidered Trim
If I had enough trim, I would've used it around the top of the ankle. Unfortunately, when I ordered it all those months ago, I only got a yard. I had just enough to line the outside of the lacing. Again, I attached it by laying down a line of glue and carefully pressing the trim down.
Read More From Bellatory


Step 3: Adding Twine Borders
The next step was to add ribbon and twine borders, to cover up the rest of the edges of the mesh. I used a thick gold twine to line the entire toe, and a thin gold twine to line the heel.
You won't see the thin gold twine in the next photo since I didn't decide to add it until later.
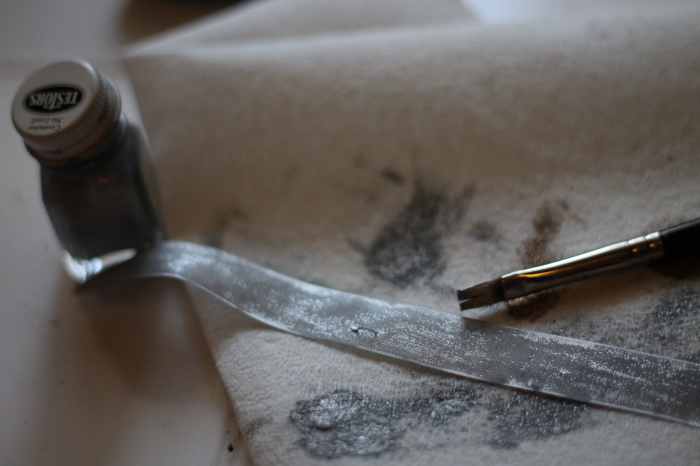
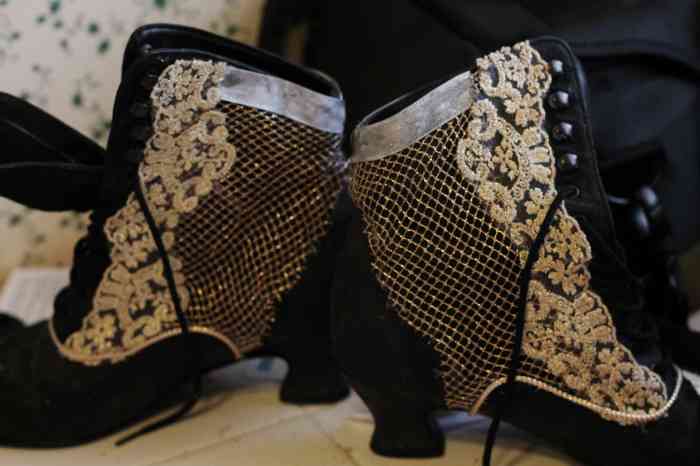
When it came time to add a border to the ankle, I was running out of materials. I had some sheer ribbon, which I then painted silver. I used it to line the ankle when it was dry.

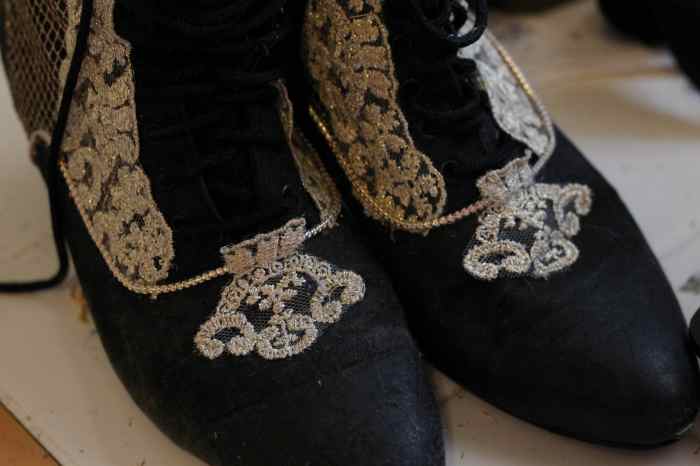
Step 4: Small Details
I had just enough embroidered trim to add some details to the shoes. I cut out several of the shapes from the trim and decided to place them on the toe and heel of the shoe. Additionally, I used a bit of trim to cover where the ribbons/mesh came together at the back of the ankle.
My last act was to paint the shoelaces gold, which I do not recommend. You should either buy them or make them using a thick gold twine—because painting ended up being very tedious and messy. It didn't even turn out that bright! But it was certainly better than plain black laces. See the photos below for comparison!

Final Product!
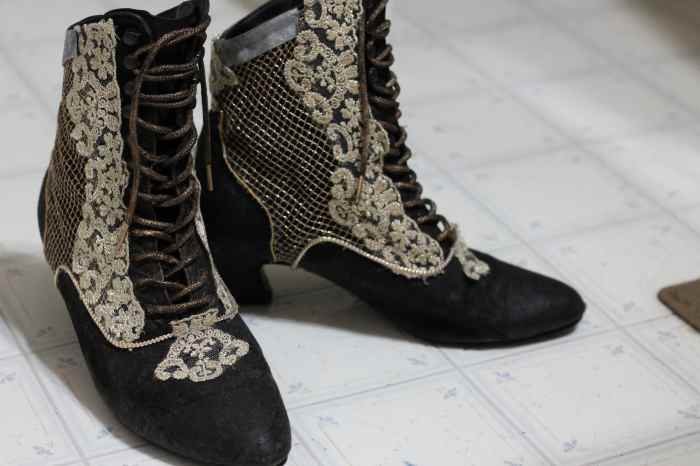
© 2014 Alex Rose
Comments
Maria on January 03, 2020:
All i can say is WOW!!!!!!!!!!
Alex Rose (author) from Virginia on March 16, 2014:
thank you so much!
FlourishAnyway from USA on March 15, 2014:
These are stunning. Voted up and pinning!