DIY Fashion: Make a T-Shirt Into a Tank Top
I enjoy fashion and looking trendy on a budget. I also create art, take photos, and save money by doing things myself.

DIY Fashion: Make a T-Shirt Into a Tank Top
I don't really like t-shirts. They either don't fit right or they're too plain. Tank tops, however, I love! Something about not having baggy sleeves is appealing to me. And wouldn't you know it, turning a t-shirt into a tank is pretty easy. This step-by-step tutorial will show you how to transform your tees into their more awesome sibling.

Materials
- T-shirt
- Marker: Since my shirt is black, I used a silver sharpie to outline where I would cut
- Scissors
- Sewing machine (optional): You don't need a sewing machine, you can just cut up your shirt and leave it as is. But if you want to take in the sides a bit and hem, a sewing machine is a must.
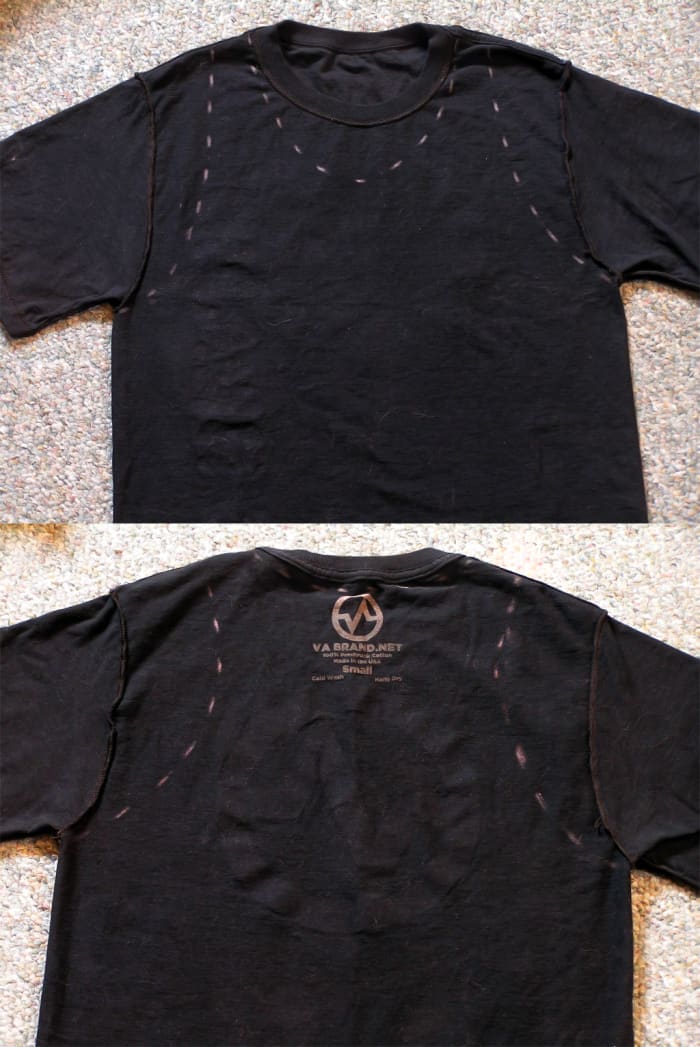
Step 1: Front (above) and back (below) of the T-shirt, marked for cutting.
Step 1: Outline Where You Will Cut the T-Shirt
You're going to outline the front neckline and the tank top straps first! When you're outlining, you'll want to make sure you keep the straps of the tank top close to where the original neckline of the shirt was. If you cut them too wide, they won't even fit on your shoulders . . . personal experience.
- Turn your shirt inside out and lay it so the front is facing upwards. Outline where you are going to cut.
- Make the straps about an inch wide, or a little wider if you plan to hem them. The neckline I outlined was about 2 inches lower than the original neck for the shirt.
- Now, flip the shirt over and focus on the back! I made mine like a racerback, to avoid losing the logo that was printed there. I drew the back neckline just outside of the original hem, and had the back straps curve in a little.
Once you make sure that the front and back outlines match up at the shoulders and armpits, you're ready to cut!
Read More From Bellatory


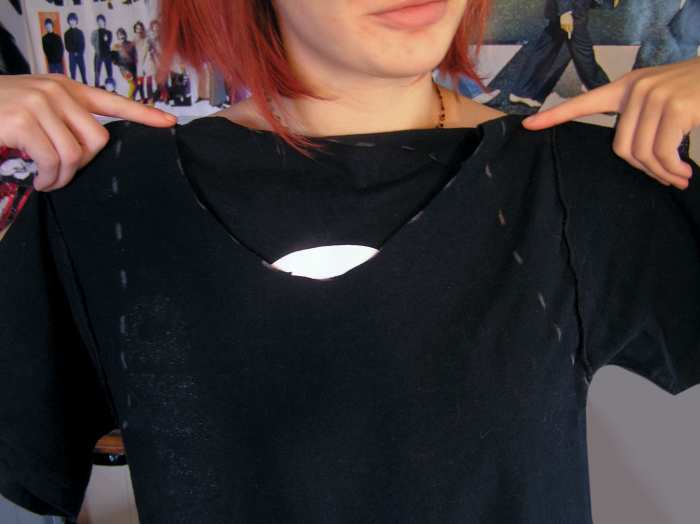
Step 2
Step 2: Cut Sleeves and Neckline
This is the easiest part! just cut along the outlines you made. Be careful to cut smooth lines, and try to keep everything symmetrical.
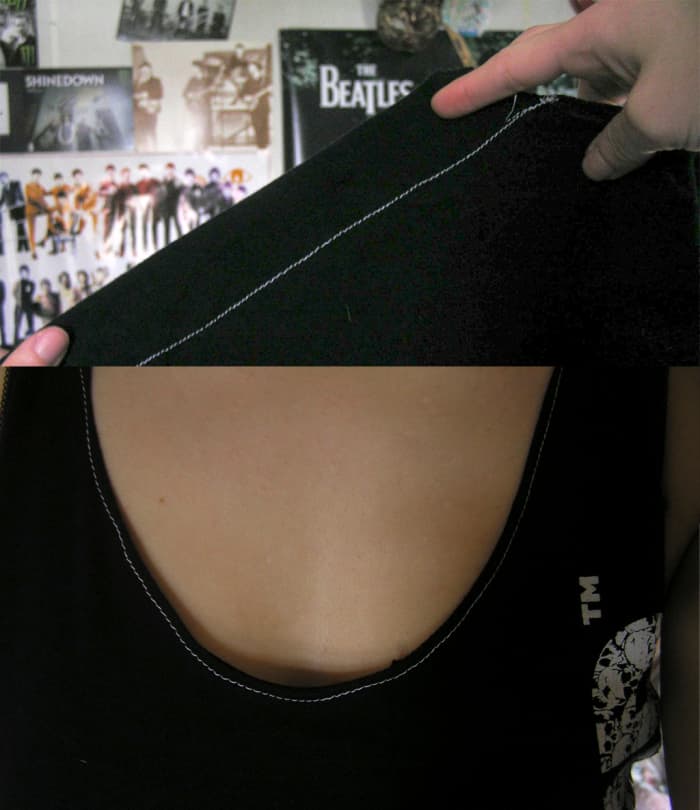
Step 3: Taking in the side seam and the finished neckline.
Step 3: Sew Sides and Neckline (Optional)
So, you can stop after cutting if you want. I prefer the look of the hemmed neckline, and my shirt was also a little baggy, so I opted to sew it up. I took in the sides a bit, outlining in silver sharpie as before. I used a stretch stitch, which is zig-zagged, and sewed up both sides.
After that, I hemmed the neckline of the shirt with white thread. To do this, simply fold the edge over about a centimeter. You can use an iron or a straightener to flatten the fabric into place. Then, with the shirt inside out, sew around the neck hole. Cut off the excess thread or string and you're done! I didn't want to sew the armholes, so I just stretched those out a bit and called it a day.
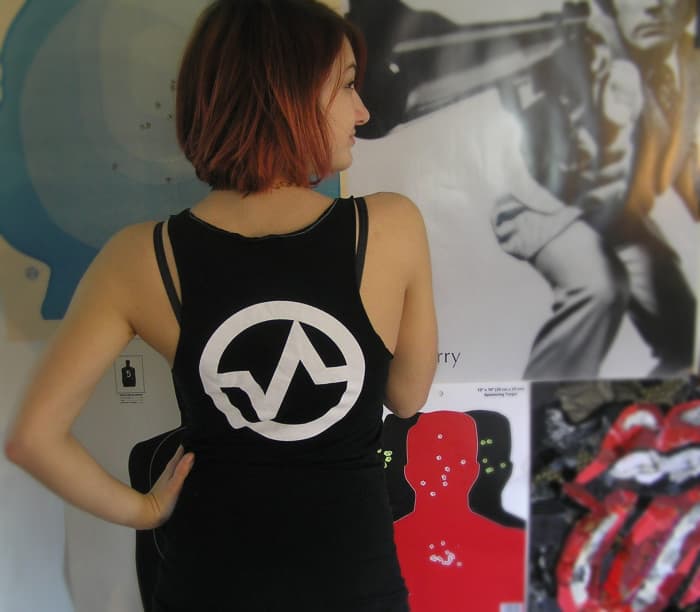
Modeling the Finished Tank Top

Comments
Carrie on June 19, 2017:
I've looked everywhere and u are the most informative. So ciye. Ty so much!