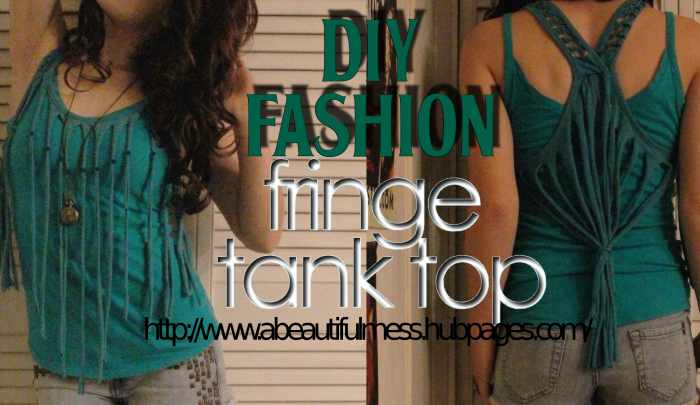
DIY Fashion: Fringe Tank Top
I enjoy fashion and looking trendy on a budget. I also create art, take photos, and save money by doing things myself.
I work at a radio station, and with this job comes many concerts during the summer. I want to look exciting at concerts, especially if I get to meet a band. It's fun to stand out! This DIY fringe top is one of my favorite concert shirts, and it's fairly simple to make, too.
Materials
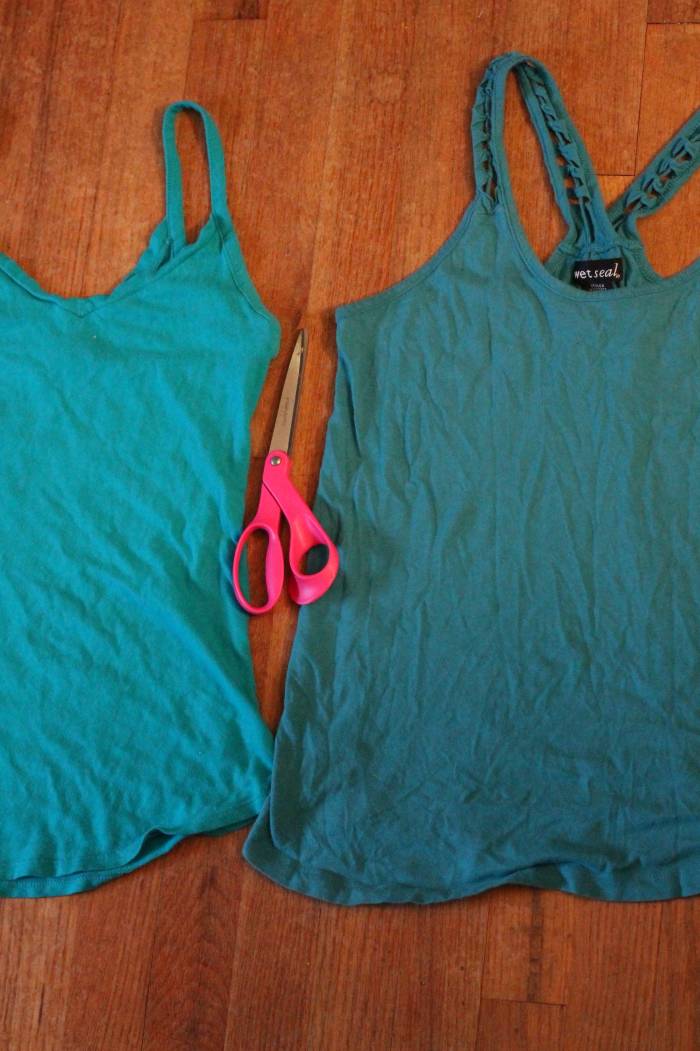
- Two tank tops: I used the same-ish color of two different tank tops. Ideally, you'd buy two of the same tank.
- Scissors
- Beads
- Sewing machine/safety pins: You can sew by hand if you'd like, though I imagine it'd be pretty time-consuming. Or, you can not sew at all! I had originally planned on sewing mine but ended up safety pinning instead. That way, I can wear the fringe over another tank if I want.
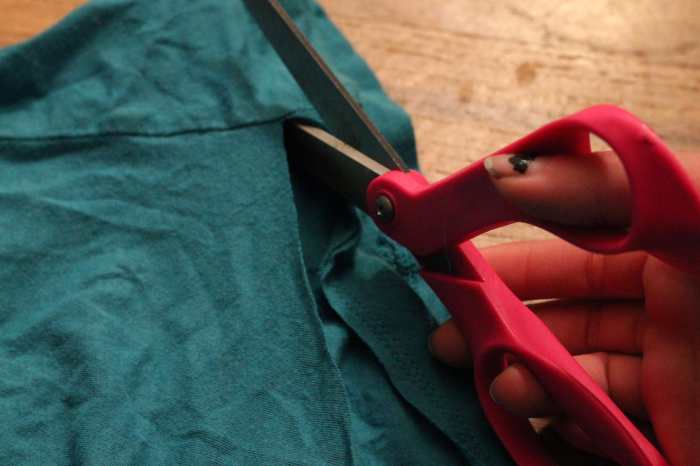
Step 1: Cut Off the Hem
Take the shirt that you'll be using as fringe and cut off the bottom hem. Make sure it's not jagged!
Step 2: Cut the Fringe
Now you're going to start cutting the fringe. I suggest cutting 3/4 inch wide strips. It's time consuming, but worth it! Cut the strips all the way around the shirt, up to the hem at the top.
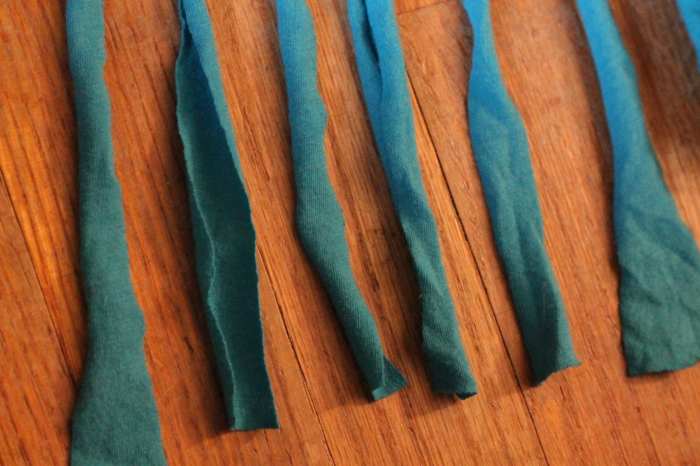
Step 3: Stretch It Out
Stretch out each strip by pulling on it. This will cause the edges to curl, and your fringe won't look so awkward. Be careful not to pull too hard. I nearly ripped off a fringe strip because apparently I don't know my own strength (it's like Hercules').
Read More From Bellatory


At this point, your shirt should look like the photo below. As you can see, the bottom is uneven, and it looks kind of plain. We'll remedy these things next!

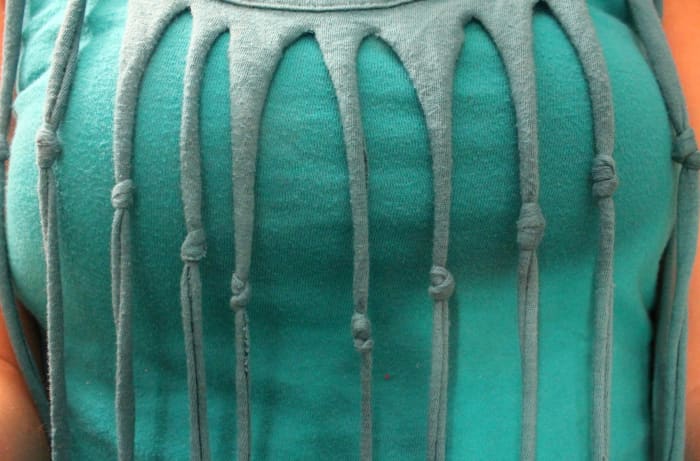
Step 4: Finishing Touches
So this is the part where you add beads, if you have them. I don't have beads, so instead I just knotted the strips of fringe in a "V" pattern. This helps the strips to not be all over each other.
I only knotted the front strips individually. The back I gathered and tied together with an extra strip of fabric.
Once I had finished knotting the front, I cut the bottom into a "V" shape as well.


Finished Product
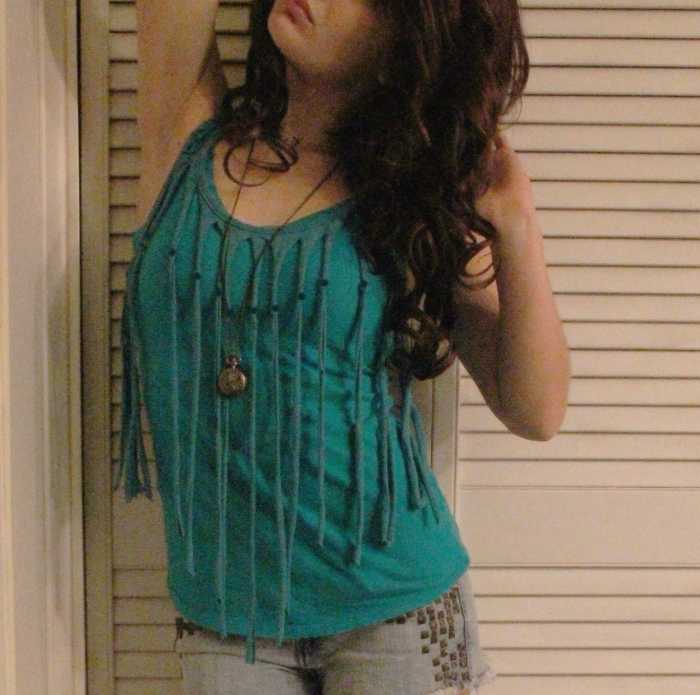
Front
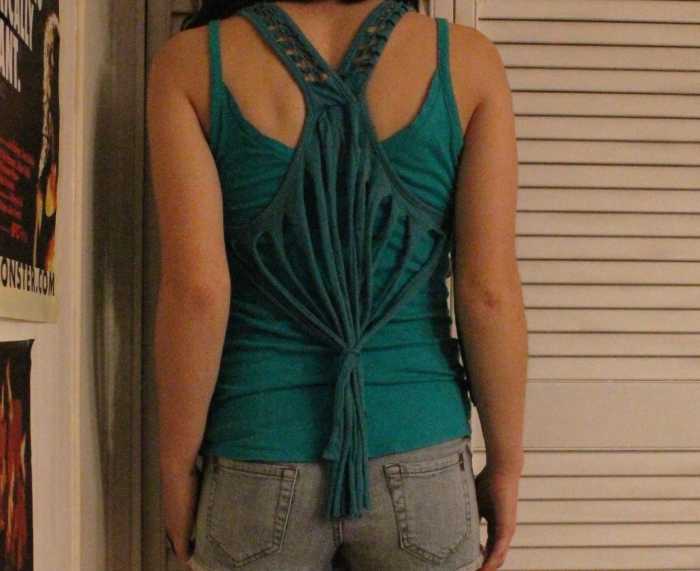
Back
More DIYs
To finish it off, you can either sew or safety pin the fringe tank to the normal tank. I just left mine separate so I could switch the bottom tank top out!
If you're interested in more fashion DIYs, check out some of my other stuff!