How to Make DIY Bleached Jeans (A Step-by-Step Guide)
Sam is the mother of two young boys, Juju and Blaze. Their family enjoys going on trips, crafting, learning, and exploring.
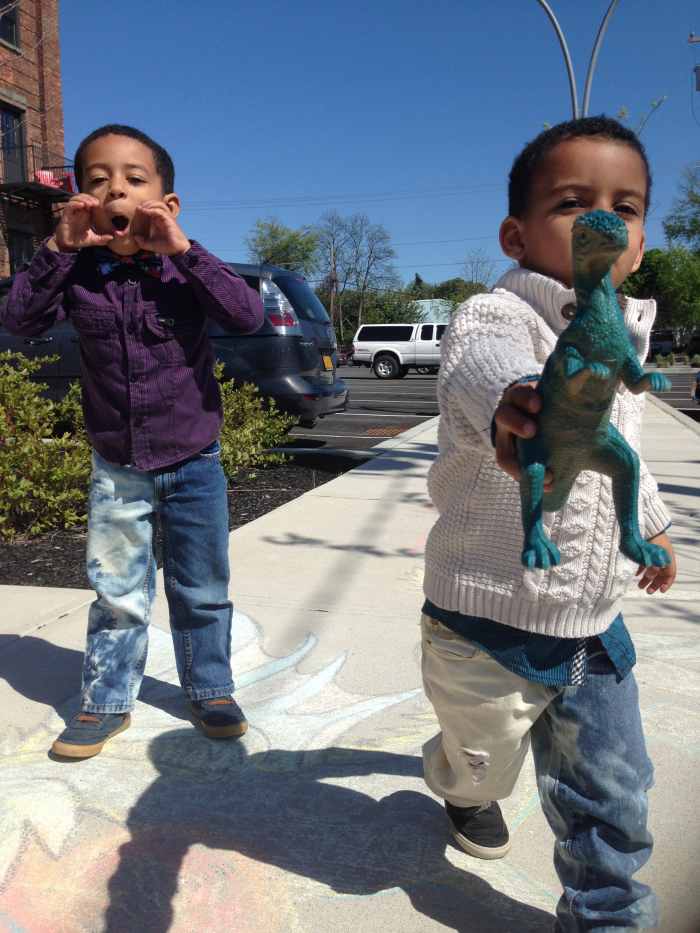
Juju & Blaze goofing off and modeling their bleached jeans.
How to Bleach Jeans
Shopping for boys is sometimes rather frustrating here in the states. While girls get loads of styles, colours, and accessories to choose from, boys are usually stuck with only a few choice colours and styles of clothing. It gets a bit boring after a while as a mom with two boys to shop for.
So, I've decided to start creating my own fashion and accessories for my sons. I started with their costumes (including Angry Birds Hoodies which they love to wear on the regular) but am now focused on daily fashion items. This is the first of, what I hope to be, a series of DIY fashion articles. The tutorials apply for all but will be using my sons' clothing as examples.
I hope you enjoy this tutorial and if you have any questions or requests for future tutorials please let me know in the comments below!


Step 1: Get Your Supplies
Supplies
- a pair of jeans
- rubber bands or plastic hair ties
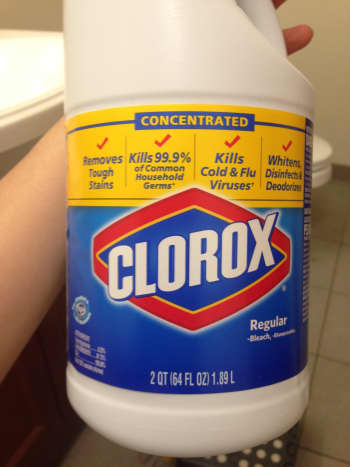
- bleach or bleach cleaner
- a plastic bin (unless you are working in the bathtub like I did)
- plastic gloves
Optional
If you want to distress your jeans, you'll also need:
- scissors
- tweezers
Types of Denim
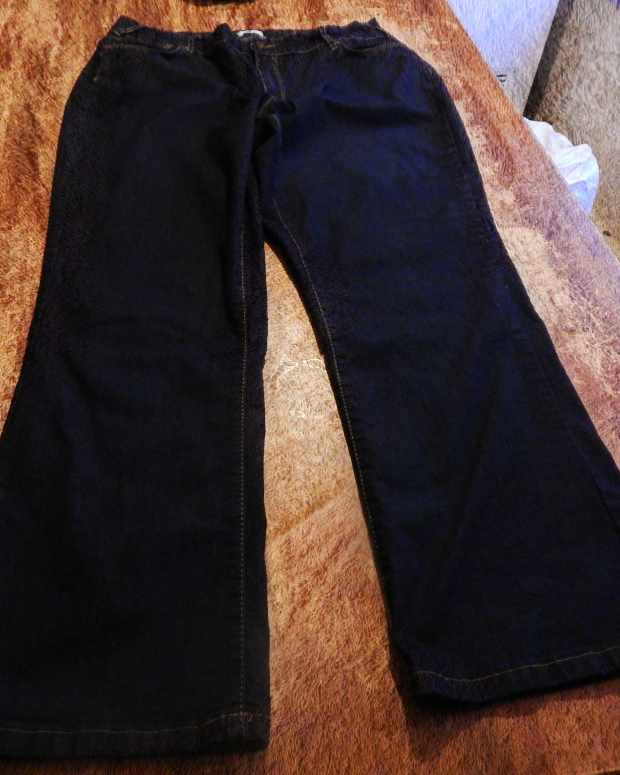
Now, the jeans I used were affected by the bleach differently. The first pair began to fade as soon as I sprayed it with the diluted bleach. However, the second pair barely faded at all until I used undiluted bleach. Here are some notes on the pairs of pants I used that may help you determine how your pants will react.
The first pair:
- Children's Place Original Brand Est. 1989
- 100% Cotton
- Made in Cambodia
- feels lighter, softer, and thinner than the other pair, hand me downs so they've been around awhile
The second pair:
Read More From Bellatory


- sonoma life + style
- 100% Cotton
- Made in Nicaragua
- thicker, stiffer, and newer than the other pair


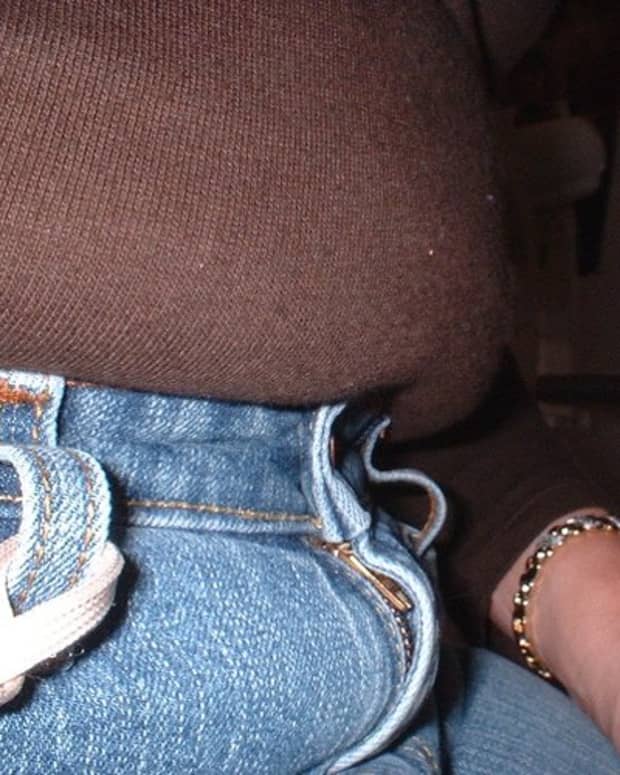
Step 2: Prep Your Jeans
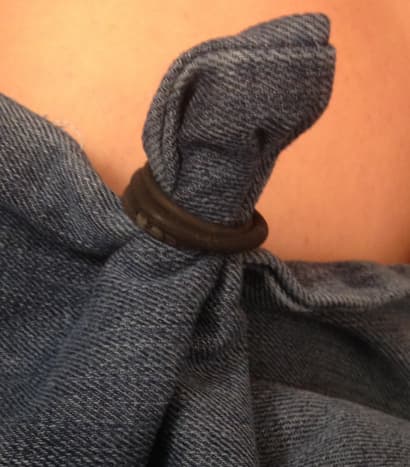
Tying rubberbands to the jeans will create a tye-dye flowering effect when you bleach them. I decided to work on two different pairs of jeans. On the first pair I tied my first rubber band at the foot of the jeans, rolled it, tied another rubber band, rolled it, then tied another, and so on. On the second pair I started at the hip, rolled it, and worked my way down the pant leg.
I used Scunci's rubber hair ties to tie up my pants. They're really tough and never stretch or snap.


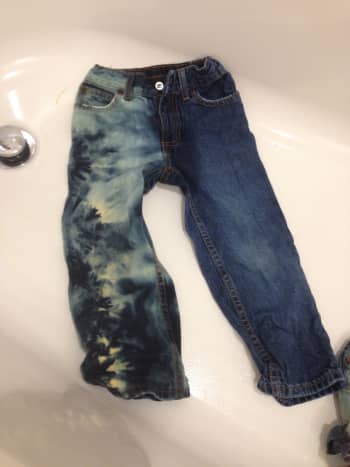
Step 3: Bleach
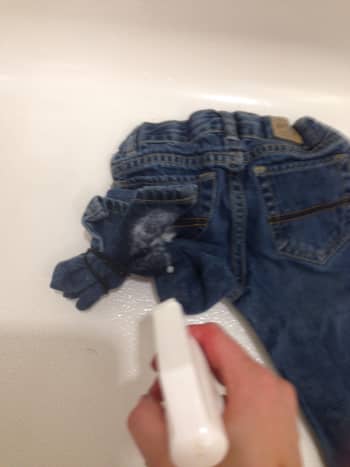
There are many ways you can go about bleach your jeans. I did not bleach them the way that is depicted in the above video, though that is what I was inspired by. Instead, I placed them in my bathtub and sprayed them down with my bleach spray bottle.
As I mentioned, by second pair of jeans did not take to the spray bleach very well, so after a half hour of letting them sit I poured some undiluted bleach to them.
As you can see from the pictures, I did one pant leg at a time. I loved how the design came out on the second pair (sonoma jeans), but wasn't thrilled with the first pair (Original Brand). So I repeated the process I used on the sonoma jeans to the other leg of the Original Brand jeans (spray diluted bleach then pour some regular bleach).


Wash cold after rinsing in cold water in the sink.
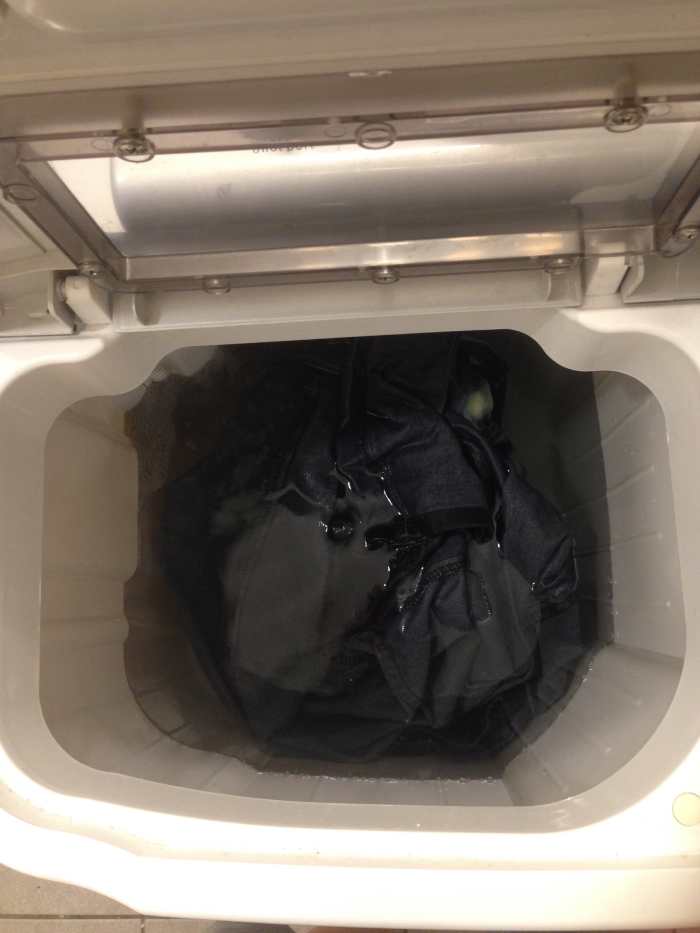
Step 4: Rinse and Wash Jeans
I let my pants sit for about an hour. You can leave it for more, but keep in mind that the longer the material stays in bleach the weaker it will be, holes may even appear. After, I removed the rubber bands I rinsed the jeans in cold water then threw them in a cold wash in my mini washer. Then left them out to dry.
How to Distress Denim
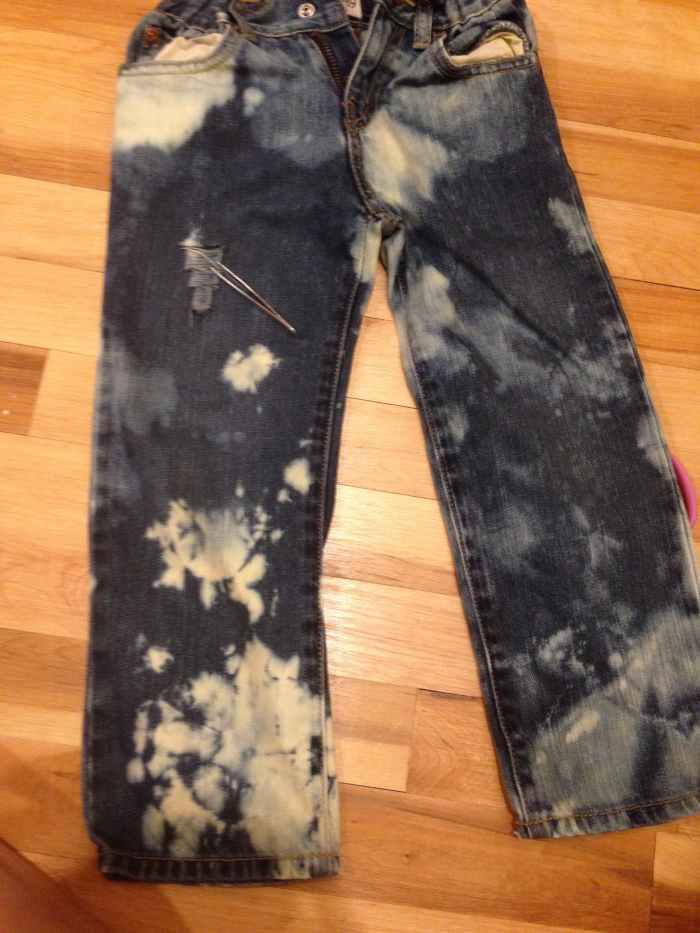
Jeans with some distressing.
Step 5: Distress Them
I wasn't too crazy about how the first pair of jeans turned out so I tried out some distressing. Still not entirely pleased with them, so I will probably try some other things with them until I'm happy. My method of distressing is the same as what is depicted in the video above.
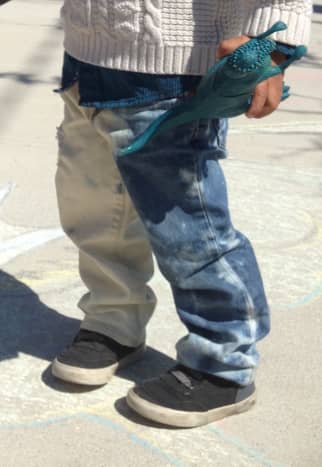


Full-Bleach Pant Leg
I was really unhappy with the results of one of the jeans, so I decided to bleach one entire side of the jeans. I just placed the pant leg in a basin with 1 part water, 2 parts bleach and let it sit until all the colour from the pant leg was bleach away. Then I rinsed and washed as I did before. The results were a lot more pleasing with a mostly solid white leg on one side and a spot bleached other side. The effect makes me think of a white fluffy cloud passing through.
Questions, Comments, Requests
I hope this tutorial was helpful! Please feel free to post your questions, comments, and requests in the comment box below.